FRUIT TART W/ MASCARPONE CREAM FILLING

IMG_4703.jpg

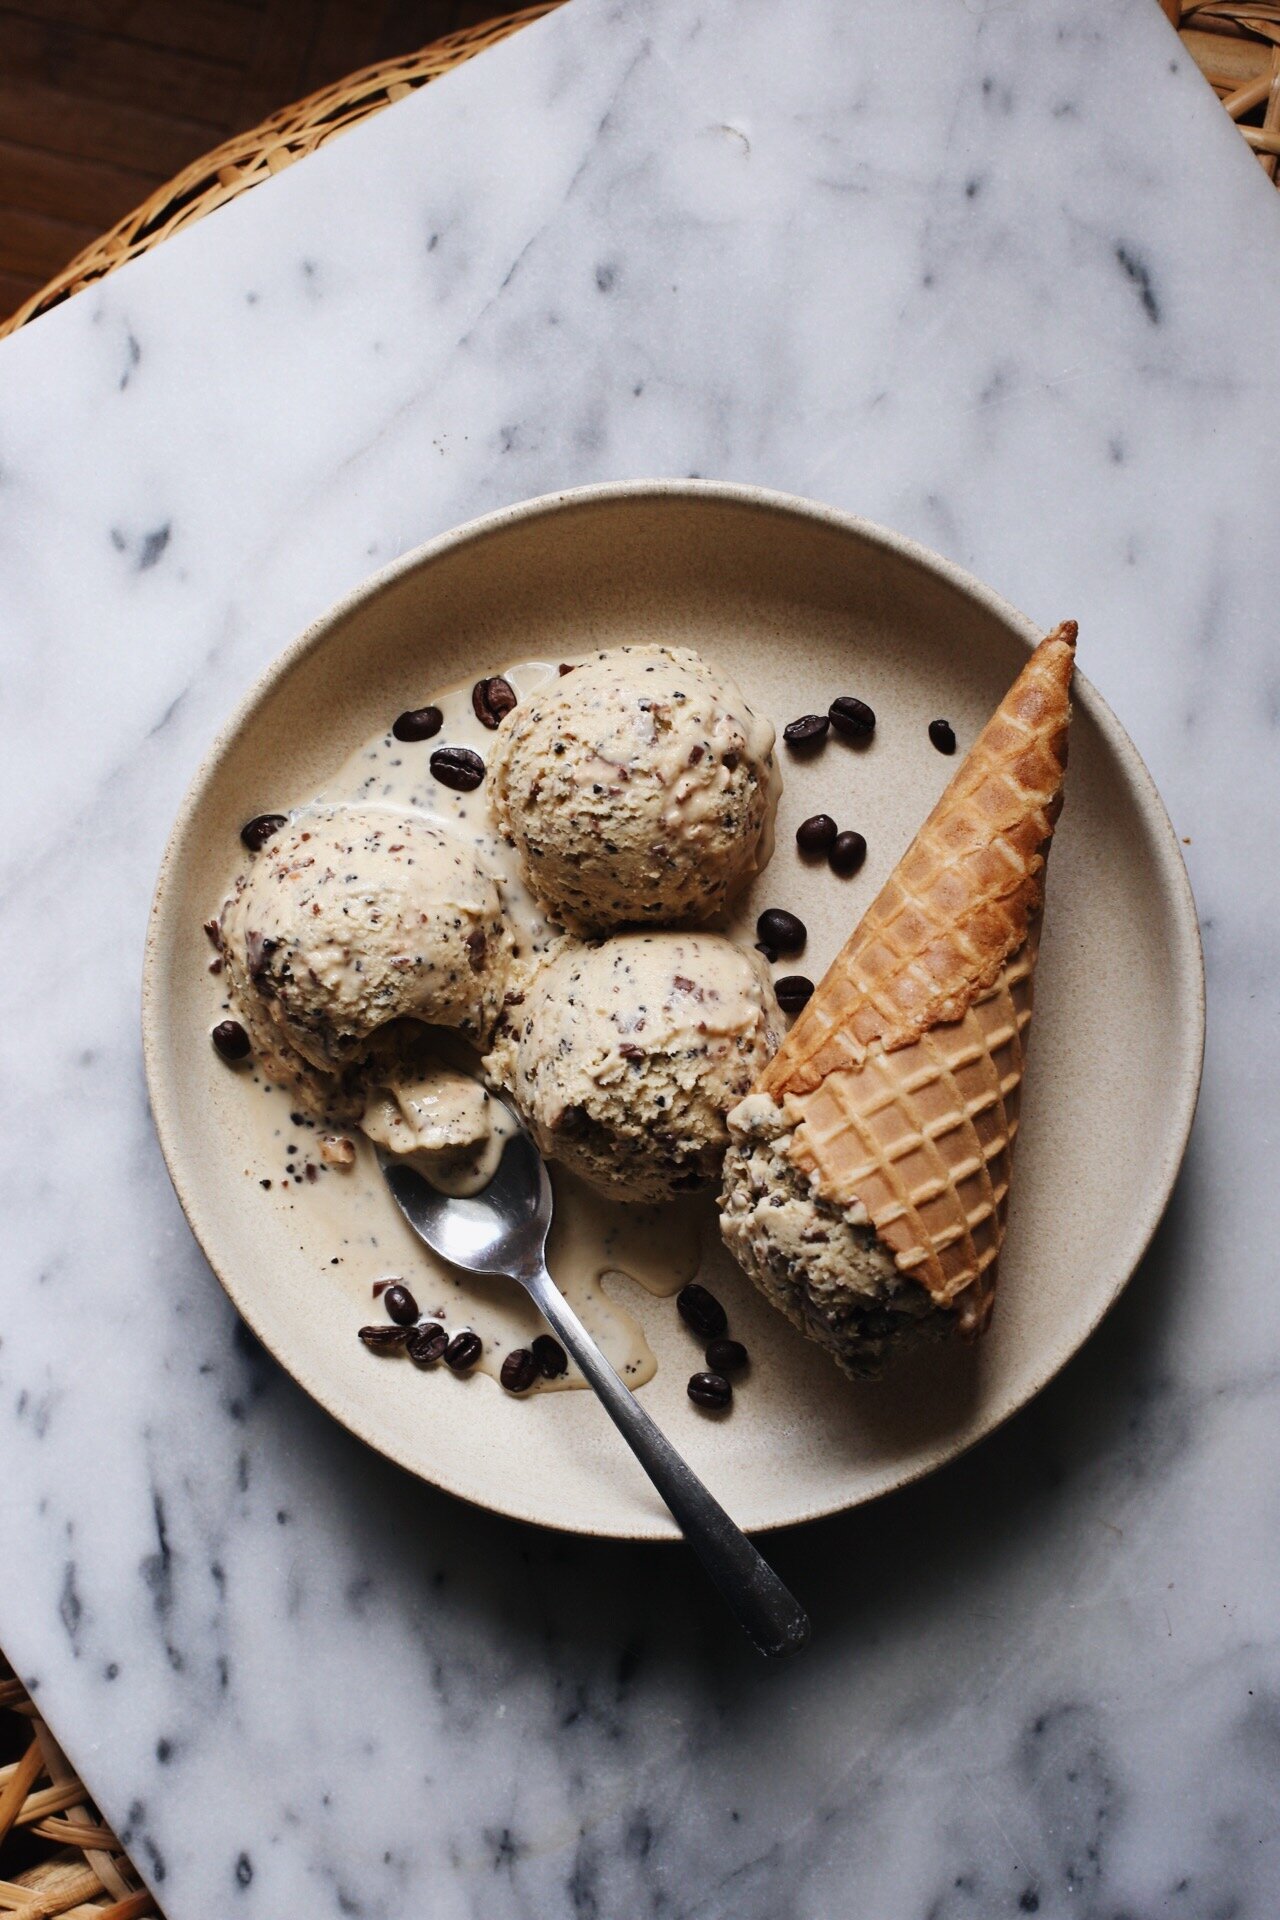
Last week, we celebrated the birthday of my forever best friend, ultimate confidante, and #1 person I go to when I need advice or an opinion on just about anything: my mom, Tania. Since my mom lives about 10 minutes away from me, I see her just about every other day and I honestly wouldn't have it any other way. Although some might think that would be an annoyance having their mom be so close in proximity, I actually love it. Even though my mom and I look nothing alike, we are pretty much identical when it comes to our personality and interests, and she almost always knows exactly what I'm thinking and feeling. To put it simply: no one understands me more than my mom, and I don't know what I'd do without her. 

IMG_4589.jpg

Alex and I decided to gift my mom this year by taking her to our favorite summer activity in Los Angeles: seeing a screening at the Hollywood Forever Cemetery via Cinespia. Alex and I are OBSESSED with going to Cinespia screenings and have been going at least twice every summer for years. Some of our favorite screenings over the years include: Purple Rain (which they played right after Prince passed away), The Fifth Element, Scream, and the original Psycho. The movie that we took my mom to see this past weekend was the classic film, The Graduate, which was amazing to see on the big screen. The night was perfect with great weather, prime seats, and the most delicious food spread for our picnic before the film started.

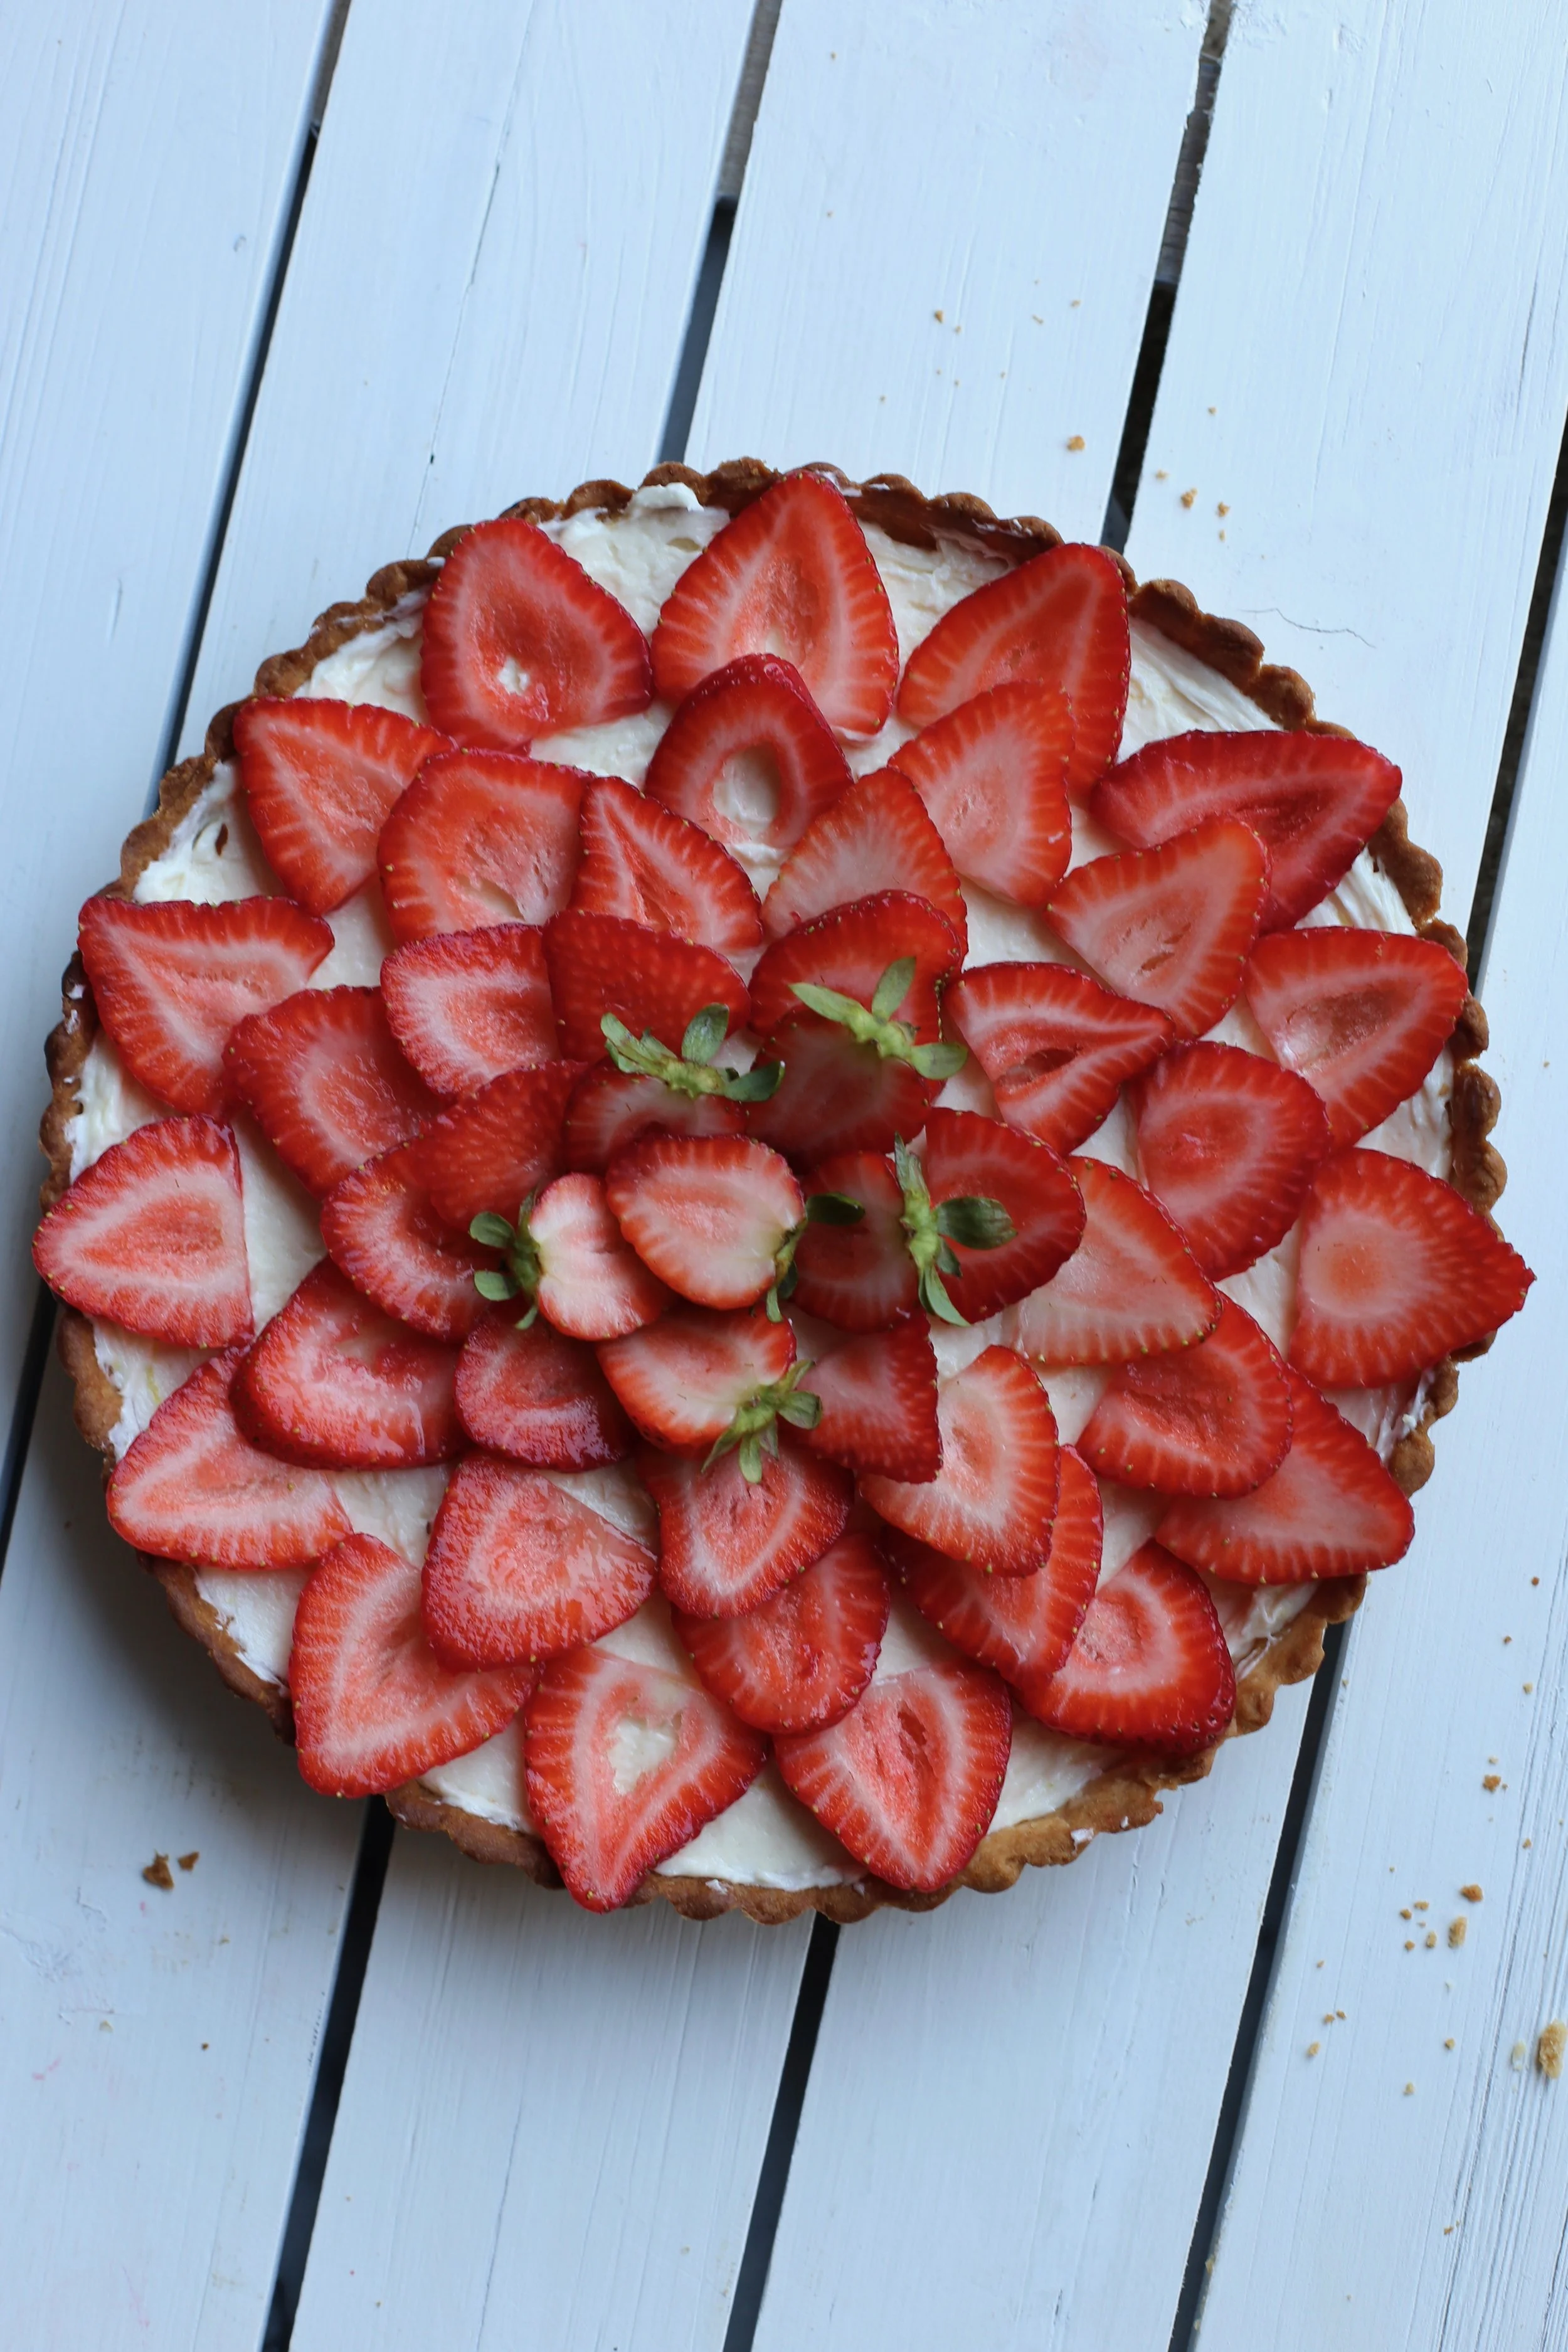
Every year, I always bake up a birthday treat for my mom, and this year she requested a simple yet very delicious fruit tart. Funny enough, I had actually never made a fruit tart before and so I set out to make the ultimate version of one. I made the crust of the tart a pâte sablée, or a French shortcrust. The difference between pâte sablée and a pâte brisee, which I made for my blueberry galette in a different post, is that pâte sablée is sweetened with more sugar and uses room temperature butter; the process of making the dough is pretty akin to making cookie dough. The end result of this particular pastry dough is not flaky like pâte brisée, but actually more crisp and sandy-like. Therefore, pâte sablée is the perfect base for a fruit tart.

IMG_4608.jpg

Now let's talk about the filling: a creamy mascarpone filling that is just slightly sweetened, with a hint of lemon and vanilla. It pairs perfectly with the sweet pastry dough and will not make you feel too full after having a slice or two. A very important note for when making the filling is that the mascarpone and heavy cream NEED to be at room temperature, or else the mascarpone may curdle. I would suggest taking these ingredients out of the fridge at least an hour before working with them. 

IMG_4637.jpg

Because we are filling the dough with a mascarpone filling that does not require any baking in the oven, the dough must be blind-baked. This requires rolling the dough out into a 9-inch tart pan with a removable bottom, covering it in foil, and filling the pan with either pie weights, rice, or dried beans. I recently bought these pie weights and they worked perfectly. 

One last thing: feel free to use any fruit of your choosing for the topping! Strawberries, kiwi, peaches, bananas... anything that looks good and is in season at your local grocery store! I was going to use the sunshine raspberries pictured above, but the strawberry design I made was just too beautiful to change. 

IMG_4680.jpg

Fruit Tart w/ Mascarpone Cream Filling

Yields (1) 9-inch Tart

Pate sablée recipe adapted from The Kitchn / Mascarpone filling recipe adapted from Sally's Baking Addiction

Ingredients

For the pâte sablée:

IMG_4657.jpg
  • 1/2 cup (1 stick/8 tbsp.) unsalted butter, room temperature

  • 1/3 cup powdered sugar

  • 1 large egg yolk

  • 1/2 tsp. salt

  • 1 1/4 cups all-purpose flour

For the mascarpone filling:

  • 8 oz. mascarpone, room temperature

  • 1/2 cup heavy cream, room temperature

  • 1/4 cup confectioners' sugar

  • 1 1/2 tsp. vanilla extract

  • Zest of 1 medium lemon

  • 2 tbsp. lemon juice

To finish:

  • Assorted fruit

  • Confectioners' sugar

Directions

Make the crust:

  1. In the bowl of a standmixer fitted with the paddle attachment, or, in a large bowl if using a hand-mixer, cream the butter and sugar together on medium speed until creamy. Add in the egg yolk and mix until fully combined.

  2. In a separate smaller bowl, whisk the flour and salt together. Add this to the butter/sugar mixture on low speed, and mix until the flour is no longer visible. Do not overmix. The dough should be similar to a cookie dough.

  3. Transfer the dough onto a sheet of plastic wrap and shape it into a round disk. Wrap the dough up tightly and refrigerate for at least 1 hour, or up to 2 days.

  4. When you're ready to roll the dough out, allow the dough to sit out at room temperature until it's more malleable.

  5. Place the dough in between two pieces of wax or parchment paper and roll it out to an 11-inch circle. Be careful to not make the edges too thin.

  6. Take off the top layer of wax paper, and carefully invert the dough onto your 9-inch tart pan. This dough is very forgiving, so if any areas break off in this process, simply just patch and press the dough together - no one will ever know. Trim off any extra dough that is hanging over the sides.

  7. Cover in plastic wrap and place the tart pan in the refrigerator for 30 minutes.

  8. Preheat the oven to 375°F.

  9. Line the tart pan (including the edges) with foil, and fill the pan with pie weights, dried beans, or uncooked rice. Bake in the oven for about 15-20 minutes. Take the tart out of the oven and remove the pie weights and foil. Place the tart pan back into the oven for another 3-5 minutes until golden brown. Times may vary depending on your oven, so I would check the tart both when covered in foil as well as after, because you do not want to burn the crust.

  10. Let the tart cool completely before adding the mascarpone filling.

Make the filling:

  1. In the bowl of a stand mixer fitted with the paddle attachment, or in a large bowl if using a hand-mixer, add the mascarpone and mix for about a minute on medium-high speed. With the mixer on low, slowly add the heavy cream to the bowl. Do not add the cream all at once or it may curdle the mascarpone. Scrape down the sides of the bowl.

  2. Add the sugar, vanilla extract, lemon zest and juice, and beat on medium-high speed until the mixture is fluffy and light, about a minute.

  3. Evenly spread the filling into the cooled crust and top with your fruit toppings of choice. Dust with confectioners' sugar if desired. Store in the refrigerator (this makes it easiest to cut the tart).

WATERMELON MOJITOS

IMG_1819.jpeg

So far on The Vivid Kitchen, I've featured a fruity, refreshing sangria, a spicy margarita with beautiful winter grapefruit, and a bitter-infused Moscow mule by way of Berlin. When my sister generously brought me back a bottle of rum from her honeymoon in Kauai, I knew it was high time that I featured a recipe showcasing the "island" liquor.

Although rum isn't my first choice when it comes to liquor (that award goes to tequila), I can never say no to a great rum cocktail. I'm a sucker for tropical, tiki drinks like traditional piña coladas with all the bells and whistles, and will order just about anything that a tiki bar has to offer. Side note: my favorite tiki bar would definitely have to be Lost Lake in the Logan Square neighborhood of Chicago - if you ever have a chance to visit Chicago, set aside some time to get a drink or two at this bar! 

IMG_1740.jpeg

Today, we are focusing on the mojito and because it is summertime, we are enhancing the cocktail by adding fresh watermelon juice. After doing some research, it appears that bartenders actually hate making "traditional" mojitos for patrons due to the mess it makes and how time-consuming the muddling process is (the traditional method involves a step of muddling together lime juice, mint, and sugar). Yes, the process is a bit messy, albeit probably more so due to the added watermelon element, but I don't find it any more time-consuming than making a spicy margarita or an old fashioned. But for those who just can't simply bear the thought of adding any extra time between them and their mojito, there is actually an alternative method to making mojitos that requires zero muddling. In my favorite bar book, you have the option to use the "shaken method" which is pretty self-explanatory: add ingredients to a shaker, shake vigorously with ice, pour everything out into a glass, and top with club soda. Pretty simple. So to make it easy for everyone, I will include both methods, "traditional" and "shaken", today in my directions.

In order to get fresh watermelon juice, all you have to do is cube up some watermelon, add it to a blender and then pour over a fine-mesh strainer. This takes care of getting rid of any seeds or pulp, and leaves you with a perfect, smooth juice. The problem that I ever have with watermelon, and it is actually such a bummer, is when I buy a huge one and take it home only to find that it's not ripe! I always have thought that I am the master of choosing the "right" watermelon (I test to see if it sounds hollow, I look for the 'field patch', etc.), and yet I sometimes bring home an unsweet melon. If you just so happen to bring home a less-than-perfect watermelon, I would try to remedy the problem by adding another teaspoon of sugar to the recipe. What hurt could more sugar do? NOTHING!

IMG_1781.jpeg


Watermelon Mojitos

Makes 1 cocktail

Recipe adapted from The Ultimate Bar Book by Mittie Hellmich

Ingredients

  • 1 oz. fresh lime juice

  • 2-3 tsp. granulated sugar

  • 6-8 fresh mint leaves

  • 2.5 oz. light rum

  • 3 oz. fresh watermelon juice

  • Splash of soda water

Directions

Make the watermelon juice: Cut half of a small/medium watermelon into cubes. Place in a blender, and blend until puréed. Pour the juice over a fine mesh strainer to rid of any seeds and pulp. This will give you a couple cups of fresh juice, so you will definitely have leftovers for more mojitos. Store leftovers in the fridge.

Traditional Method: In the bottom of a highball glass, or any glass of your choosing, muddle the fresh lime juice, sugar, and mint leaves until the sugar is dissolved. Add the rum and watermelon juice. Top off with ice and soda water. 

Shaken Method: Place the fresh lime juice, sugar, mint leaves, rum, and watermelon juice with a handful of ice in a shaker and shake vigorously for about 10 seconds. Pour out all contents of the shaker (mint, ice, etc.) into a highball glass, or the glass of your choosing, and finish with a splash of soda water.

COFFEE TOFFEE ICE CREAM

FullSizeRender.jpeg

If I haven't made it abundantly clear yet, ice cream (and sorbet, and gelato...) is my favorite thing to make in the kitchen when it comes to sweets. The Vivid Kitchen has been live for about four months now, and out of the 20 or so posts I've written so far, this marks my fourth recipe dedicated to the frozen treat. Personally, I believe making ice cream is the most rewarding dessert: from making the custard (if the recipe calls for it) to the hours you have to wait for it to chill, to watching it churn in your ice cream maker... makes the finished product that much better. 

On my Instagram account the other week, I asked my followers to partake in an Insta Story poll on which ice cream flavor they wanted me to make for the blog next. The options were either Mint Chocolate Chip or Coffee Toffee, with the former being a flavor I have made numerous times, while the latter I had not tried until this post. The poll results were very close, but Coffee Toffee just barely edged out Mint Chip. I was actually pretty satisfied with the results because I wanted to try something new, and I gotta say, I am thrilled with the outcome of today's recipe. 

IMG_5389.jpg

This ice cream recipe is custard-based so there will be the added element of tempering your eggs on the stove top while trying not to make scrambled eggs (yuck), as well as one more step that involves using actual whole coffee beans. At one point in the directions, you will be "steeping" coffee beans in the milk mixture for about an hour, almost as if you were making sun tea with teabags. It's an vital process in ensuring that the coffee flavor will be very pronounced. 


When the custard is made and ready to chill before being transferred to your ice cream maker, the whole coffee beans actually will be taken out and discarded (according to the recipe from David Lebovitz, of course). But, instead of throwing away all of those coffee beans, I let them dry out for a couple of hours before blending them up in my Magic Bullet, or blender, and adding them to the churned ice cream. Not only did this step give the ice cream even more coffee flavor, but I think it made the ice cream look more appealing with its tiny specks of coffee throughout. This is an optional step, but I think it was well worth it.

PenultimateFullSizeRender.jpeg

Now, let's not forget the second part of the ice cream flavor we are featuring today: the toffee! When I thought of this cute rhyming ice cream flavor, I thought I was the only genius who had thought of this flavor combo, but alas, I was not (hello Ben & Jerry's). Regardless, the crunchy chocolate-covered toffee bits mixed in with the coffee base takes this ice cream to a whole different level of deliciousness. You can either use Heath or Skor bars (both available in your local grocery store).

Lastly, I don't know if any of you have been to Trader Joe's lately, but they recently started selling ice cream waffles cones! I've been wanting grocery stores to start selling them for years, but I've only ever been able to find the cheap-y (but still delicious) sugar cones. So now that my beloved Trader Joe's sells them, I couldn't be happier. The cones taste AMAZING and actually make the ice cream taste better, believe it or not. Please, go buy a couple of boxes now!

Side note: If caffeine for dessert aka before bedtime isn't your thing, you can absolutely buy a container of decaffeinated coffee beans instead. If you don't think you'll get use of the leftover decaffeinated beans, I would suggest buying exactly the amount the recipe calls for by getting the beans from the "bulk" section at your grocery store. 

IMG_5505.jpeg

Coffee Toffee Ice Cream

Yields about 1 quart of ice cream

Recipe adapted from David Lebovitz

Ingredients

  • 1 1/2 cups whole milk

  • 3/4 cup sugar

  • 1 1/2 cup whole coffee beans, preferably dark-roasted

  • Pinch of salt

  • 1 1/2 cups heavy cream

  • 5 large egg yolks

  • 1/4 tsp. vanilla extract

  • 1/4 tsp. finely ground coffee OR espresso powder (I used the latter, since I always have this on hand for when I bake brownies)

  • 8 oz. chocolate-covered toffee, chopped (Heath or Skor bars work perfectly)

Directions

  1. In a medium saucepan, warm the milk, sugar, coffee beans, salt, and 1/2 cup of the heavy cream. Once warmed up, turn off the heat, cover the pan, and let it sit at room temperature for an hour.

  2. Meanwhile, pour the remaining 1 cup of heavy cream into a large bowl and set a strainer over the top (use a bowl that will be able to fit over an ice bath for later).

  3. After an hour, rewarm the mixture on the stove on medium heat. In a medium bowl, whisk the egg yolks together. Just as the coffee/milk mixture is beginning to simmer, gradually add some of it to the bowl of egg yolks, whisking constantly as to not scramble the eggs (this is called tempering). Once the egg yolk mixture temperature has raised, pour the mixture back into the saucepan. Stir constantly over medium-low heat until the mixture thickens and coats the back of your spatula or spoon.

  4. Pour the custard mixture over the strainer to separate the whole coffee beans. Press down on the beans to make sure you get all the liquid. Stir the custard in with the heavy cream that is already in the bowl. Add in the vanilla extract and ground coffee/instant espresso. Let the ice cream base sit over an ice bath for about an hour before moving to the refrigerator. Chill for at least 4 hours, or overnight.

  5. Reserve about a 1/4 cup of the whole coffee beans that were left behind in the strainer and allow them to dry out on paper towels while the ice cream is chilling. Add them to a blender, and pulse until fine. Set aside.

  6. Churn the ice cream in your maker according to the manufacturer's instructions. A couple of minutes before stopping the machine, sprinkle in 1-2 tablespoons of the finely ground coffee beans.

  7. Transfer the finished ice cream into a bowl and stir in toffee bits. Freeze in an airtight container and enjoy, preferably in the Trader Joe's waffle cones!