EASY APPLE TART W/ MAPLE WHIPPED CREAM

IMG_1864.jpg

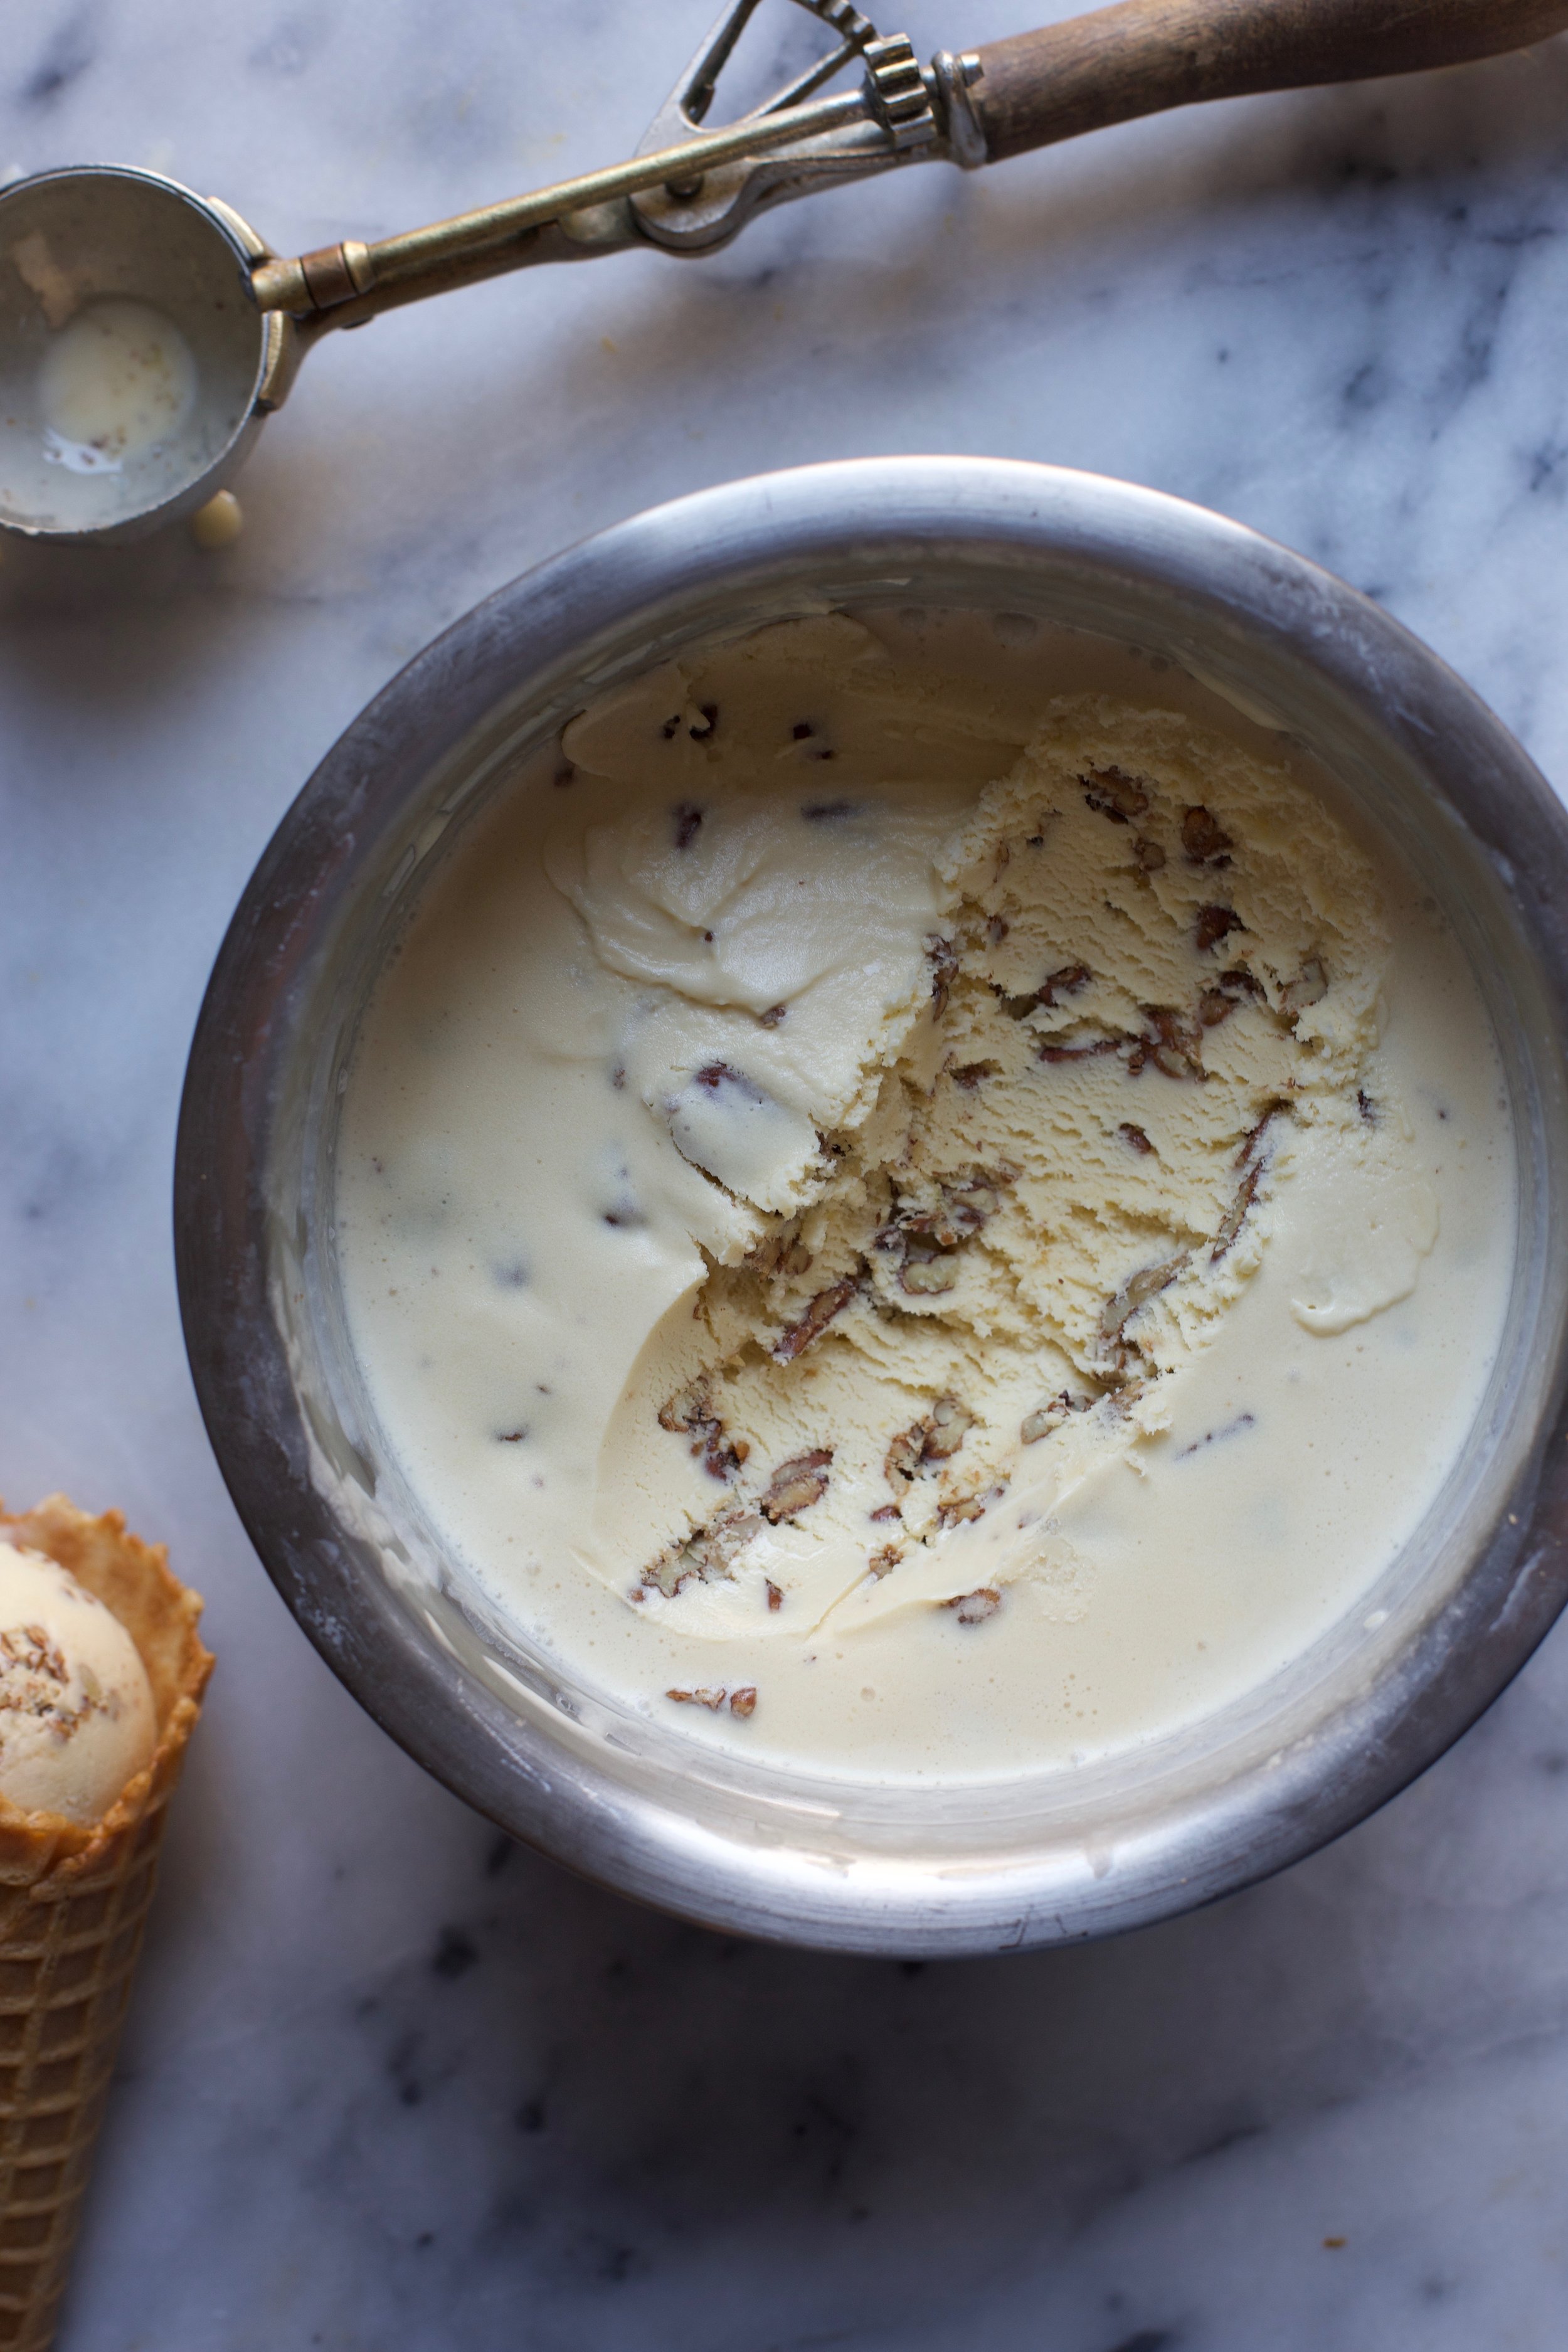
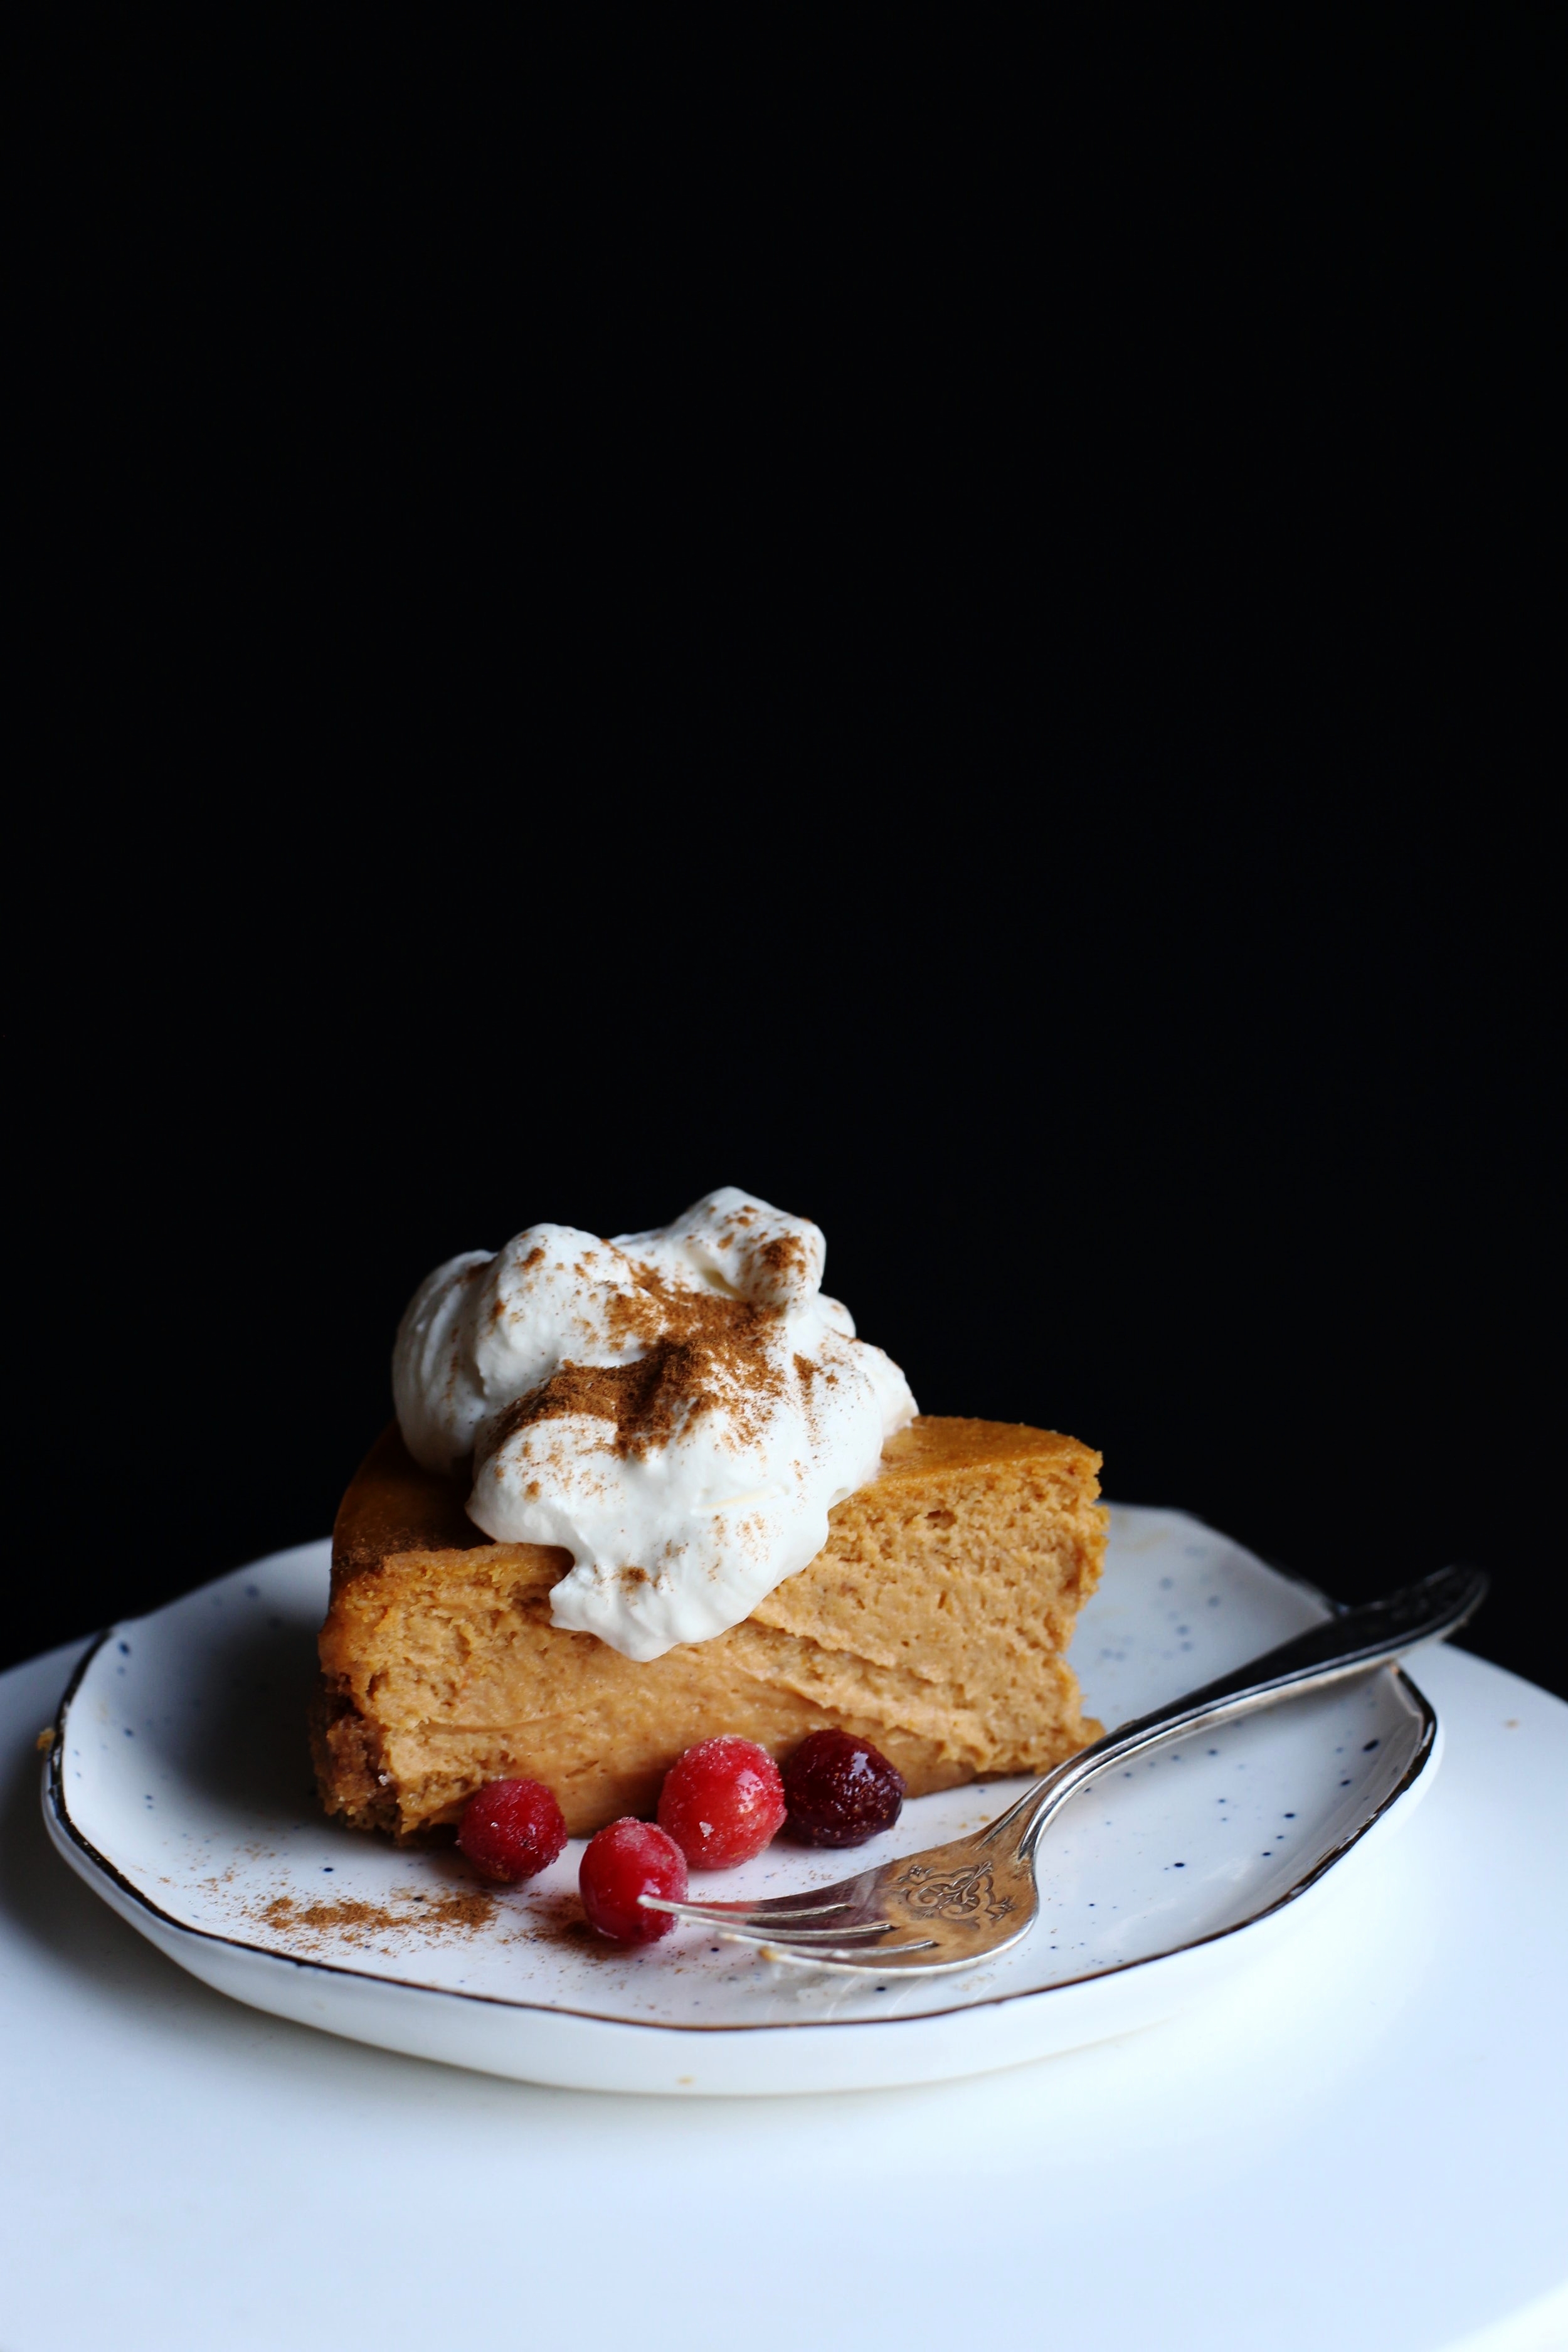
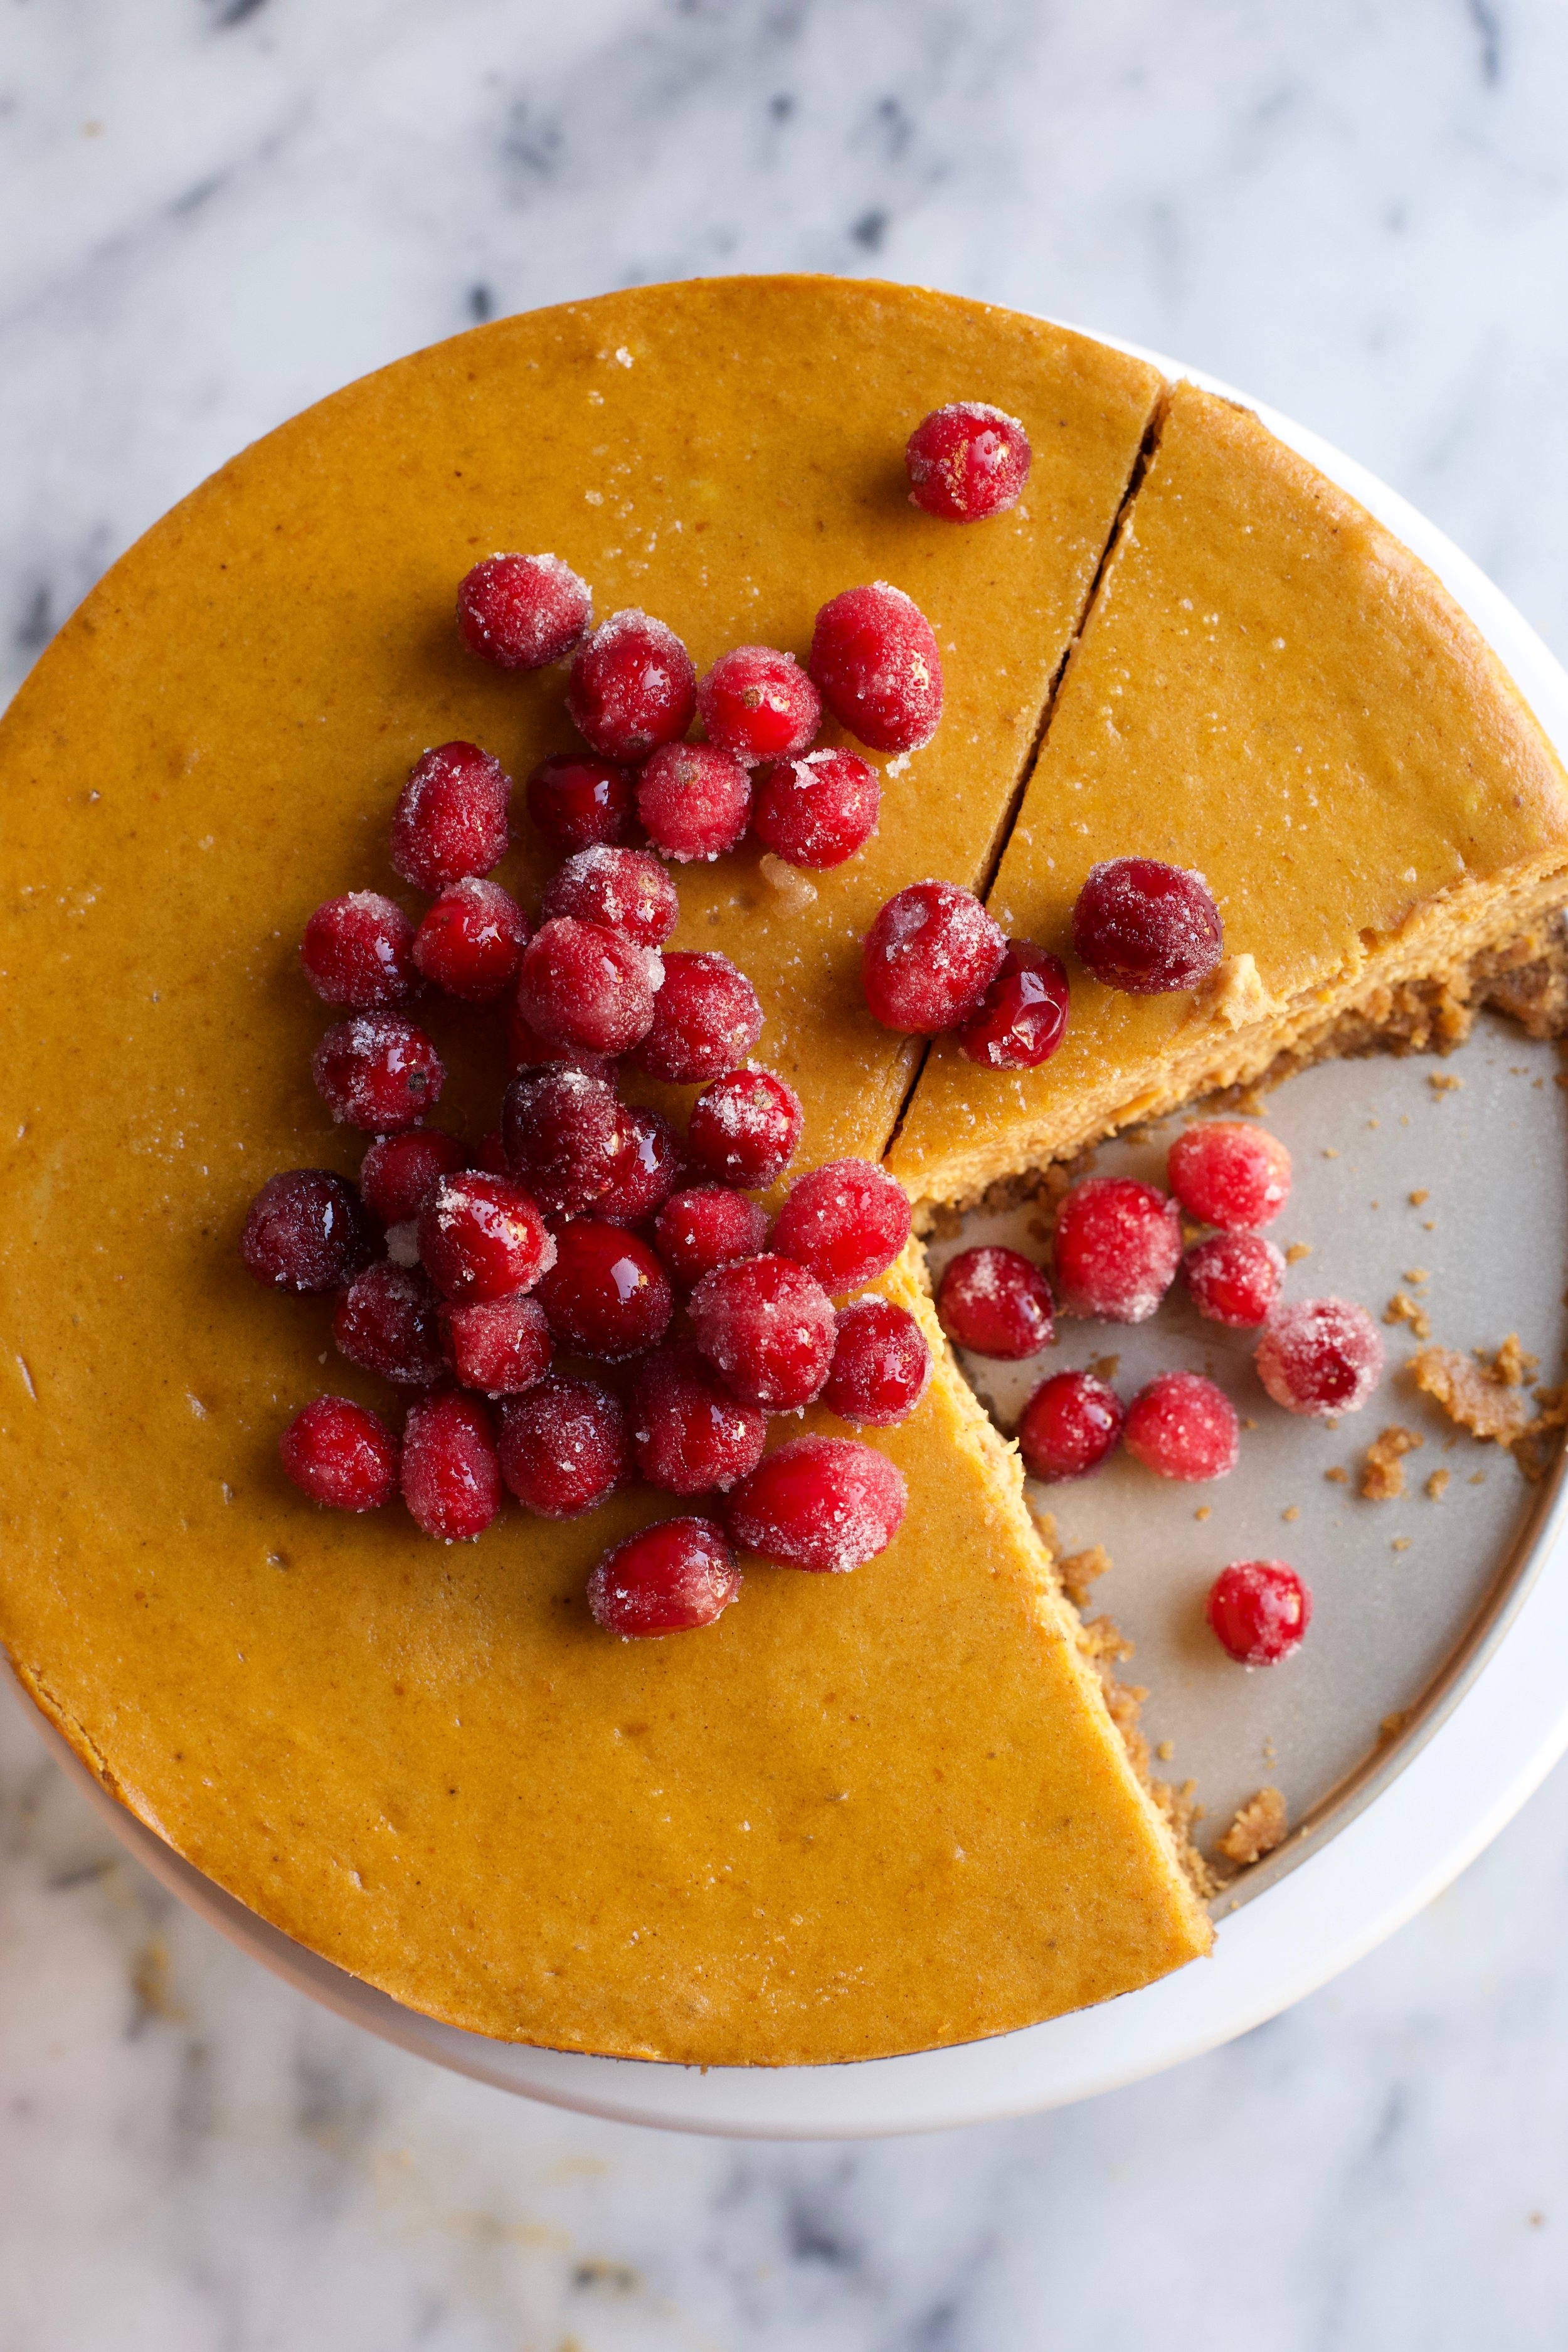
It’s the final countdown! We are just a couple of days away from Thanksgiving and I am so ready for it. Since I went to a Friendsgiving party this past weekend, where I brought two desserts (including my pumpkin cheesecake), Brussels sprouts, and my sangria, I feel like it was a warm-up for the actual day. The Friendsgiving party was a lot of fun and had 16 people in total which is double the amount of people that I’ll be with on Thanksgiving. So even though there will be less mouths to feed on Thursday, I’ll be contributing much more food and helping out in all departments. It will definitely be more work but I'm excited to do it all while being with my family.

I wanted to give you one last Thanksgiving dessert, and even though this recipe is being posted just a couple of days before the big day, it requires less time and effort than most desserts made for the holiday (cough pumpkin cheesecake cough). We’re talking about an apple tart today, and this recipe in particular is one of the simplest apple tart recipes out there. If you want an apple dessert on your dinner table Thursday night, but the idea of baking a deep dish apple pie is daunting to you, then this recipe is perfect for you.

IMG_1746.jpg

This apple tart is baked in a fluted tart pan, which makes it almost fool-proof in the sense that you can’t mess up the shape. Unlike apple pies where you have to worry about making the top crust look all neat and pretty, this apple tart has the apples exposed on the top for a beautiful, rustic look. The only crust on top will be any excess dough that is folded over before baking: a step that doesn't require much skill.

If you want to make this tart galette-style, feel free to ditch the pan and mold the dough freeform on parchment paper on a baking sheet. I recommend using the tart pan if you’re planning on traveling to someone’s house for Thanksgiving. That way, you can keep the tart in its cute little pan and not worry about having your galette flying around in the backseat. But if you’re hosting it at your house and don’t have a tart pan, then by all means, go with the galette. Do what works for you!

IMG_1813.jpg

Since this apple tart is so simple when it comes to the flavor, with only sugar and butter being the added ingredients, you have the option to spice it up if you want to. I would recommend adding your favorite apple pie spices: cinnamon, nutmeg, cloves, cardamom, etc and/or a splash of vanilla extract or lemon juice. But honestly, the way I have the recipe written is fantastic and allows you to really enjoy the perfect crust and in-season apples.

I wanted to add a lil something something to finish the tart with, and decided that maple whipped cream was the best bet. Making it is equally as simple as the tart, but having the cream sweetened by pure maple syrup instead of granulated sugar makes it a bit more interesting and autumn-like. If you plan on serving with the whipped cream, I suggest sprinkling only 2 tablespoons of granulated sugar on the tart before popping it in the oven (that’s why I have 2-4 tbsp. of granulated sugar listed in the filling ingredients). But if you don’t plan on eating the tart with whipped cream or ice cream, add a bit more sugar. Again, it’s up to you, so you can make it as sweet as you want!

I hope all of you have a great Thanksgiving and that you get to spend it with the ones you love!

IMG_1850.jpg

Apple Tart and Maple Whipped Cream

Makes (1) 9-inch tart

Recipe adapted from Smitten Kitchen

Ingredients

For the dough:

  • 1 cup all-purpose flour

  • 1/2 tsp. granulated sugar

  • 1/8 tsp. salt

  • 6 tbsp. unsalted butter, softened to the touch, cut into small pieces

  • 4 tbsp. ice cold water

For the filling:

  • 2 lbs. apples (Granny Smith, Golden Delicious, or any other firm/tart apple variety), peeled, cored, and sliced

  • 2 tbsp. unsalted butter, melted

  • 2-4 tbsp. granulated sugar (make it as sweet as you want! I do 2 tbsp.)

To Finish (optional):

  • Apricot preserves/jam

  • Confectioners’ sugar

  • Maple whipped cream (recipe below)

Directions

  1. In a large bowl, whisk together the flour, sugar, and salt. Add 2 tbsp. of the butter to the mixture by working with your hands or a pastry cutter, and rub the mixture together until it resembles course crumbs. Then add the remaining 4 tbsp. of butter and continue to mix until the butter bits are about the size of a pea.

  2. Add about 2 tbsp. of the water to the mixture and stir it in with a wooden spoon. Add the remaining 2 tbsp. of water and stir again. Using your hands, feel if the dough is too dry and if it is, continue to dribble in more water, 1 tbsp. at a time. Do this until the dough comes together and isn’t predominately full of dry sections. Roll the dough into a ball and flatten it into a 4-inch disc. Wrap the disc in plastic wrap and transfer to the refrigerator for at least 30 minutes.

  3. When ready to roll out, allow the dough to sit at room temperature for about 5-10 minutes so it will be more malleable. Preheat the oven to 400°F. On a lightly floured surface, roll the dough thinly out to about a 14-inch circle. Transfer the dough to a lightly greased 9-inch tart pan, and carefully press the dough into the mold, making sure there is an overhang of dough. Fill the pan with as many apple slices as you can, and arrange them in any pattern you like. Fold over the excess dough over the apples, and tuck/crimp it together. With a pastry brush, brush the melted butter over the folded dough and apples. Sprinkle the granulated sugar on. If you’re making the whipped cream, do 2 tbsp. of sugar, if not, go with 3 or 4 tbsp.

  4. Place in the oven and bake for 45 minutes, making sure to rotate the pan every 15 minutes so it gets evenly baked. It will be done when the dough is golden brown and the apples are soft.

  5. (Optional) Heat up 2 tbsp. of apricot preserves and 1 tbsp. of water in the microwave until it becomes a bit liquefied. Brush the mixture on the crust and apples when the tart is slightly cooled.

  6. Serve with a big dollop of maple whipped cream and a sprinkle of confectioners’ sugar.

Maple Whipped Cream

Ingredients

  • 1 cup heavy cream

  • 2 1/2 tbsp. pure maple syrup

Directions

  1. Place the mixing bowl and whisk in the freezer for about 15 minutes.

  2. Add the heavy cream and pure maple syrup to the bowl and whisk until stiff peaks are formed. Whipped cream can be stored in an airtight container for about a day in the fridge. When ready to use, whisk the mixture again for about 15 seconds.

MAPLE PECAN ICE CREAM

IMG_1265.jpg

I’ll never forget the first time I was in charge of desserts for a Thanksgiving dinner. Yes, it’s not like I’m a grandma and it was over 50 years ago, but like I’ve mentioned before, I didn't fully get into baking until after college. In 2013, my Thanksgiving was very low-key that year and only consisted of me, my mom, my sister and her now-husband for dinner; a small get together but we had a really fun time nevertheless. Even though I knew it was going to be just the four of us, I went completely over the top with planning the desserts since it was my first time and ended up serving 4 (!!!) dishes.

IMG_1092.jpg

The 4 dishes - a deep dish apple pie with a side of spiced caramel, chocolate chip cookies, cranberry hand pies, and today’s recipe of maple pecan ice cream - were a lot of work. But I remember being so happy and excited to feed my family that day that I didn’t care if I was in way over my head. Every night of the week leading up to the big day, I prepped and worked on different components of the 4 dishes (while also helping my mom with the main meal) and despite being told that I didn’t need to put so much effort into it because it was only going to be “us”, I kept my head down and finished what I started. And everything honestly came out great, surprisingly! The high I felt from accomplishing something like that was 100% worth it all.

Every Thanksgiving since then, I’ve calmed down a bit on the quantity of desserts and have shifted my focus on making a couple of really, really good dishes. Besides returning year after year to the pumpkin cheesecake recipe I gave you earlier this week, I sometimes opt to re-make the maple pecan ice cream that I first tried in 2013.

IMG_1107.jpg

Not that many people think to make homemade ice cream for Thanksgiving. Of course, this is because it’s just another thing that would need to be added to an already long to-do list and not everyone has the time. The norm for most people, and trust me, my family does this as well, is to buy a big ole tub of vanilla ice cream for anyone that may want a scoop with their slice of pie. And chances are, only about a 1/3 of the party will want some, whereas another 1/3 would prefer whipped cream, and the remaining would prefer nothing. But l wholeheartedly believe that this maple pecan ice cream will be requested by EVERYONE at the dinner table. Unless you have nut allergies, and if you do, I apologize because you are missing out!

IMG_1201.jpg

First of all, the flavor alone is pretty unique and something that you wouldn’t be able to find in the freezer section of your local grocery store. There is of course the ever so popular “Butter Pecan” flavor that most people are familiar with, but this ice cream is definitely on a whole different level, largely due to the maple syrup aspect. The ice cream base is only sweetened by pure maple syrup (the good stuff, not Aunt Jemima’s) and in fact, the only “sugar sugar” found in this recipe belongs to the candied pecans that are folded in with the maple ice cream after it’s churned. And speaking of those candied pecans - that are simply cooked with butter and brown sugar - they add such an incredible flavor and crunch to the ice cream that it makes it unbelievably addicting. There’s a full cup of pecans in this recipe and that’s because I want you to get pecans with every bite.

This ice cream is custard based - the best ice creams are - and so this means that you’ll have to temper the eggs when making the base. But besides that little step, everything else is fairly simple! And what’s most important is that you can make this days (but no more than a week) before Thanksgiving and thus have more time to give to your turkey, stuffing, and other desserts.

I say give this maple pecan ice cream for Thanksgiving a try and you’ll see how your guests (or hosts) go completely insane over it. And for those who still take the whipped cream over the ice cream: they will never know what they’re missing.

IMG_1214.jpg

Maple Pecan Ice Cream

Yields a little less than a quart

Recipe adapted from Closet Cooking

Ingredients

  • 1 cup raw pecans, roughly chopped

  • 2 tbsp. unsalted butter

  • 2 tbsp. brown sugar, light or dark

  • 1 cup whole milk

  • 1 cup heavy cream

  • 3/4 cup pure maple syrup (Grade A or B works)

  • Pinch of salt

  • 4 large egg yolks

Directions

  1. Melt the butter in a large skillet. Add the chopped pecans and toss to coat with butter. Sprinkle in the brown sugar, and cook for 3-4 minutes, or until the pecans are candied. Transfer to a bowl and allow to cool completely.

  2. Warm the milk, heavy cream, maple syrup, and salt in a saucepan over medium-low heat. In a medium bowl, whisk the egg yolks together. Just as the milk mixture is beginning to simmer, gradually add some of it to the bowl of egg yolks, whisking constantly as to not scramble the eggs (this is called tempering). Once the egg yolk mixture temperature has raised, pour the mixture back into the saucepan. Stir constantly over medium-low heat until the mixture thickens and coats the back of your spatula or spoon.

  3. Transfer the mixture to a bowl set over an ice bath for about an hour before moving to the refrigerator. Chill for at least 4 hours, or overnight.

  4. Churn the ice cream in your maker according to the manufacturer's instructions. Transfer to an airtight container and mix in the candied pecans. Freeze until solid.

PUMPKIN CHEESECAKE

IMG_0978.jpg

It feels kind of insane to sit here and give you a cheesecake recipe with everything that is going on in my home state of California. With a mass shooting and 3 deadly fires that are far from being contained, California has been through a lot this week. I grew up in Oak Park and Agoura Hills (where the Woolsey fire is wreaking havoc) and my grandma and dad both still live in the area. Although my family members are okay, I’ve been sick to my stomach thinking about those who were less fortunate and what they had to endure this past week. It’s devastating to think how many people will not have a home to celebrate Thanksgiving and other holidays this year. When natural disasters happen like this, I feel absolutely powerless to make the situation better; I wish I could put an end to the pain that they’ve all suffered. If you’re wanting to help out in any way, there is always the option to donate to organizations that will support those who lost their homes, businesses, etc. and of course aid those who are risking their lives to end these fires. The New York Times has a great article that outlines how you can help out; it should lead you in the right direction. And please just be thankful for what you have every.single.day and not just on Thanksgiving.

IMG_0643.jpg

Ok, back to the blog.

With Thanksgiving right around the corner, the upcoming recipes I’ll be giving you will not only be perfect for the big day, but also for the rest of the holiday season. These desserts are actually what I plan on making for either the Friendsgiving party I’ll be attending this weekend, or for Thanksgiving itself next week. So since I’m making these myself, I can promise you that they are all tried-and-true recipes that I firmly stand behind and have made countless times.

Growing up, cheesecake was never really my thing. I liked it just fine, but always felt like it was too rich and I could never eat more than one or two bites. My sister on the other hand could probably polish off an entire cake to herself if she was in the right mood. Her cheesecake obsession is what led me to making pumpkin cheesecake for Thanksgiving about 3 or 4 years ago when she texted me asking (aka demanding) that I make it. I obliged and in the end, I was left with an incredible dessert that not only made my sister happy, but led me to finally become a huge cheesecake fan.

IMG_0713.jpg

The thing with cheesecakes is that they can be a bit intimidating to make due to the time and patience that goes into baking each one, especially if you don’t want to end up with the dreaded cheesecake cracks. Below are my tips for cheesecake success.

  • The ingredients - cream cheese, sour cream, eggs - all need to be at room temperature, which I suggest pulling out of the fridge 4-5 hours before you plan on baking.

  • When making the batter, more attention is needed in order not to over mix it. This is a given for most recipes like cakes and cookies, but especially important with cheesecakes because if you over mix and add too much air, the cheesecake will rise too quickly in the oven and then fall… and crack. Not good!

  • A water bath needs to be prepared - this is optional, but I strongly recommend it. The first time I made cheesecake with a water bath was also the first time I didn’t have a crack in my cheesecake. That alone was enough for me to convert to this method, but it offers much more than making your cheesecake more attractive. A water bath ensures even baking and gives the cheesecake the creamiest, most amazing texture. Essentially, the cheesecake is enjoying a day at the spa and comes out of the oven smooth and moist.

  • And lastly, the baked cheesecake needs to cool properly, which in this case means gradually. This entails having the cheesecake sit in the oven with the door cracked and the heat turned off for one hour, then sitting at room temperature until completely cooled, and then finally, refrigerated for at least 4 hours before even cutting into it.

Pretty much, if someone shows up to Thanksgiving or any party for that matter, with a homemade cheesecake, please give them a big hug and say “thank you”. The good news is that cheesecakes can be made days in advance (4-5 days) and can be left, covered, in the refrigerator. This is why it’s perfect for Thanksgiving, because you can check off dessert days before worrying about the turkey or sides.

Let’s go back to the water bath method for a minute. If you’re having trouble visualizing exactly what it’s supposed to look like, here’s a video that should give you some clarity. And if you’re like me and worried about water getting into your springform pan despite having the foil wrapped around it, there’s the option of using slow cooker liners. You simply wrap the liner around the springform pan, tie the excess bag in a knot, and then wrap foil around it. I got this idea from the blog, Life, Love and Sugar, and if you click here, you’ll see step-by-step photos on how to do it.

IMG_0876.jpg

I know this all sounds stressful, and believe me, I get it, but if you follow the tips and steps I provided, baking a cheesecake isn’t all that bad. And if you do get a massive crack in your cheesecake, just cover the dang thing with a ton of whipped cream and no one will care, I promise.

P.S. If you also want to decorate your cheesecake with sugared cranberries like I did, simply dip the cranberries in egg whites (pasteurized if you’re nervous about raw egg) and then gently roll them in granulated sugar. Try to get one even coating of sugar so that you can still see the color of the cranberries. It’s easiest to do one at a time.

Pumpkin Cheesecake

Recipe adapted from Paula Deen

Yields (1) 9 or 10 inch cheesecake

Ingredients

For the crust:

IMG_1015.jpg
  • 1 3/4 cups graham cracker crumbs

  • 3 tbsp. light brown sugar

  • 1/2 tsp. ground cinnamon

  • 6 tbsp. (3/4 stick) unsalted butter, melted

For the filling:

  • 3 (8 oz.) packages of full-fat cream cheese, room temperature

  • 1 1/2 cups granulated sugar

  • 1 (15 oz.) can of pumpkin puree, I prefer Libby’s brand

  • 1/4 cup full-fat sour cream, room temperature

  • 1 tsp. vanilla extract

  • 1 tsp. ground cinnamon

  • 2 tsp. pumpkin pie spice (sold at grocery stores, or you can make your own)

  • 2 tbsp. all-purpose flour

  • 3 large eggs + 1 large egg yolk, room temperature

Directions

Make the crust:

  1. Move the oven rack to the lower-middle position and preheat the oven to 350°F. Grease the bottom of a 9” or 10” springform pan and line with parchment paper.

  2. In a bowl, mix the graham cracker crumbs, brown sugar, cinnamon, and melted butter and transfer to the pan. Using the back of a measuring cup, firmly press the crust mixture into the bottom of the pan as well as the sides. Try to get the crust as evenly spread as possible. If the sides aren’t perfect, no worries.

  3. Bake in the oven for 9-10 minutes. Remove from oven and let cool while preparing the filling.

Make the filling:

  1. In the bowl of a stand mixer fitted with the paddle attachment (or in a large bowl if using a hand mixer) beat the cream cheese on medium speed for 2 minutes, and then add in the sugar and cream together until no lumps remain. Scrape down the sides of the bowl.

  2. Add the pumpkin puree, sour cream, vanilla extract, cinnamon, pumpkin pie spice, and flour. Slowly mix together on low, and begin to gradually add the eggs, one at a time. Once the eggs are incorporated, turn the stand mixer/hand mixer off. Finish mixing the filling using a spatula, making sure to get anything that may be down at the bottom of the bowl (this area usually gets left untouched when using a mixer). Pour the cheesecake filling into the pan and spread it evenly.

Prepare the springform/water bath

  1. Boil a full kettle of water for the water bath. While the water is heating up, carefully place the springform pan in the slow cooker liner (this is an optional step, but if partaking, I provided a link above that has a visual for this), and then finally, tightly wrap the pan in 1-2 pieces of foil. Place the wrapped springform pan inside of a roasting pan. Once the water is boiled, you can either 1) pour in the water while the roasting pan is in the oven or 2) pour in the water with the roasting pan out of the oven. Either works, just try not to have the oven door open for too long if you choose option 1.

  2. Bake the cheesecake for 55-70 minutes. The center of the cheesecake will still have a wiggle to it, but the outer edges will be set. Turn off the oven, crack the door slightly, and leave the cheesecake in there for one hour.

  3. Remove the cheesecake from the oven and allow it to cool completely on a cooling rack before transferring it to the refrigerator. Chill the cheesecake for at least 4 hours before eating it. When ready to serve, run a knife around the edge of the pan and remove the springform pan piece. Serve with whipped cream, ice cream, or a drizzle of caramel. Cheesecake will last up to 5 days in the refrigerator - just cover it with plastic wrap.