LEMON CARDAMOM CRINKLE COOKIES

Welcome to my first blog post of 2022! Like most people’s lives these days, it’s been a bit hectic for us over here with nonstop events and celebrations being thrown at us, all while trying to stay healthy and safe. From our wedding party in early December to celebrating Christmas/my birthday/New Year’s Eve to getting ready to travel to Germany next week for a wedding… we’ve clearly had a lot on our plates. On top of all of this, we’re moving again this month which is adding another layer of stress, but luckily we aren’t moving across the country this time.

Since I had taken such a long break from the blog in 2021, it’s been a minute since I shared a new cookie recipe and what better time to share one than now which happens to be citrus season. The recipe that I’m giving you today is Lemon Cardamom Crinkle Cookies and like every other cookie recipe I give you, it’s absolutely incredible. I actually made them for the first time this past Christmas when I was looking to switch up my usual Christmas cookie packages that I hand out to family members each year, and they ended up being a huge hit with everyone. I paired them along with my Ginger Molasses Cookies and Brown Butter, Pecan and Milk Chocolate Chip Cookies for what I thought was the best variety of cookies you could ask for.

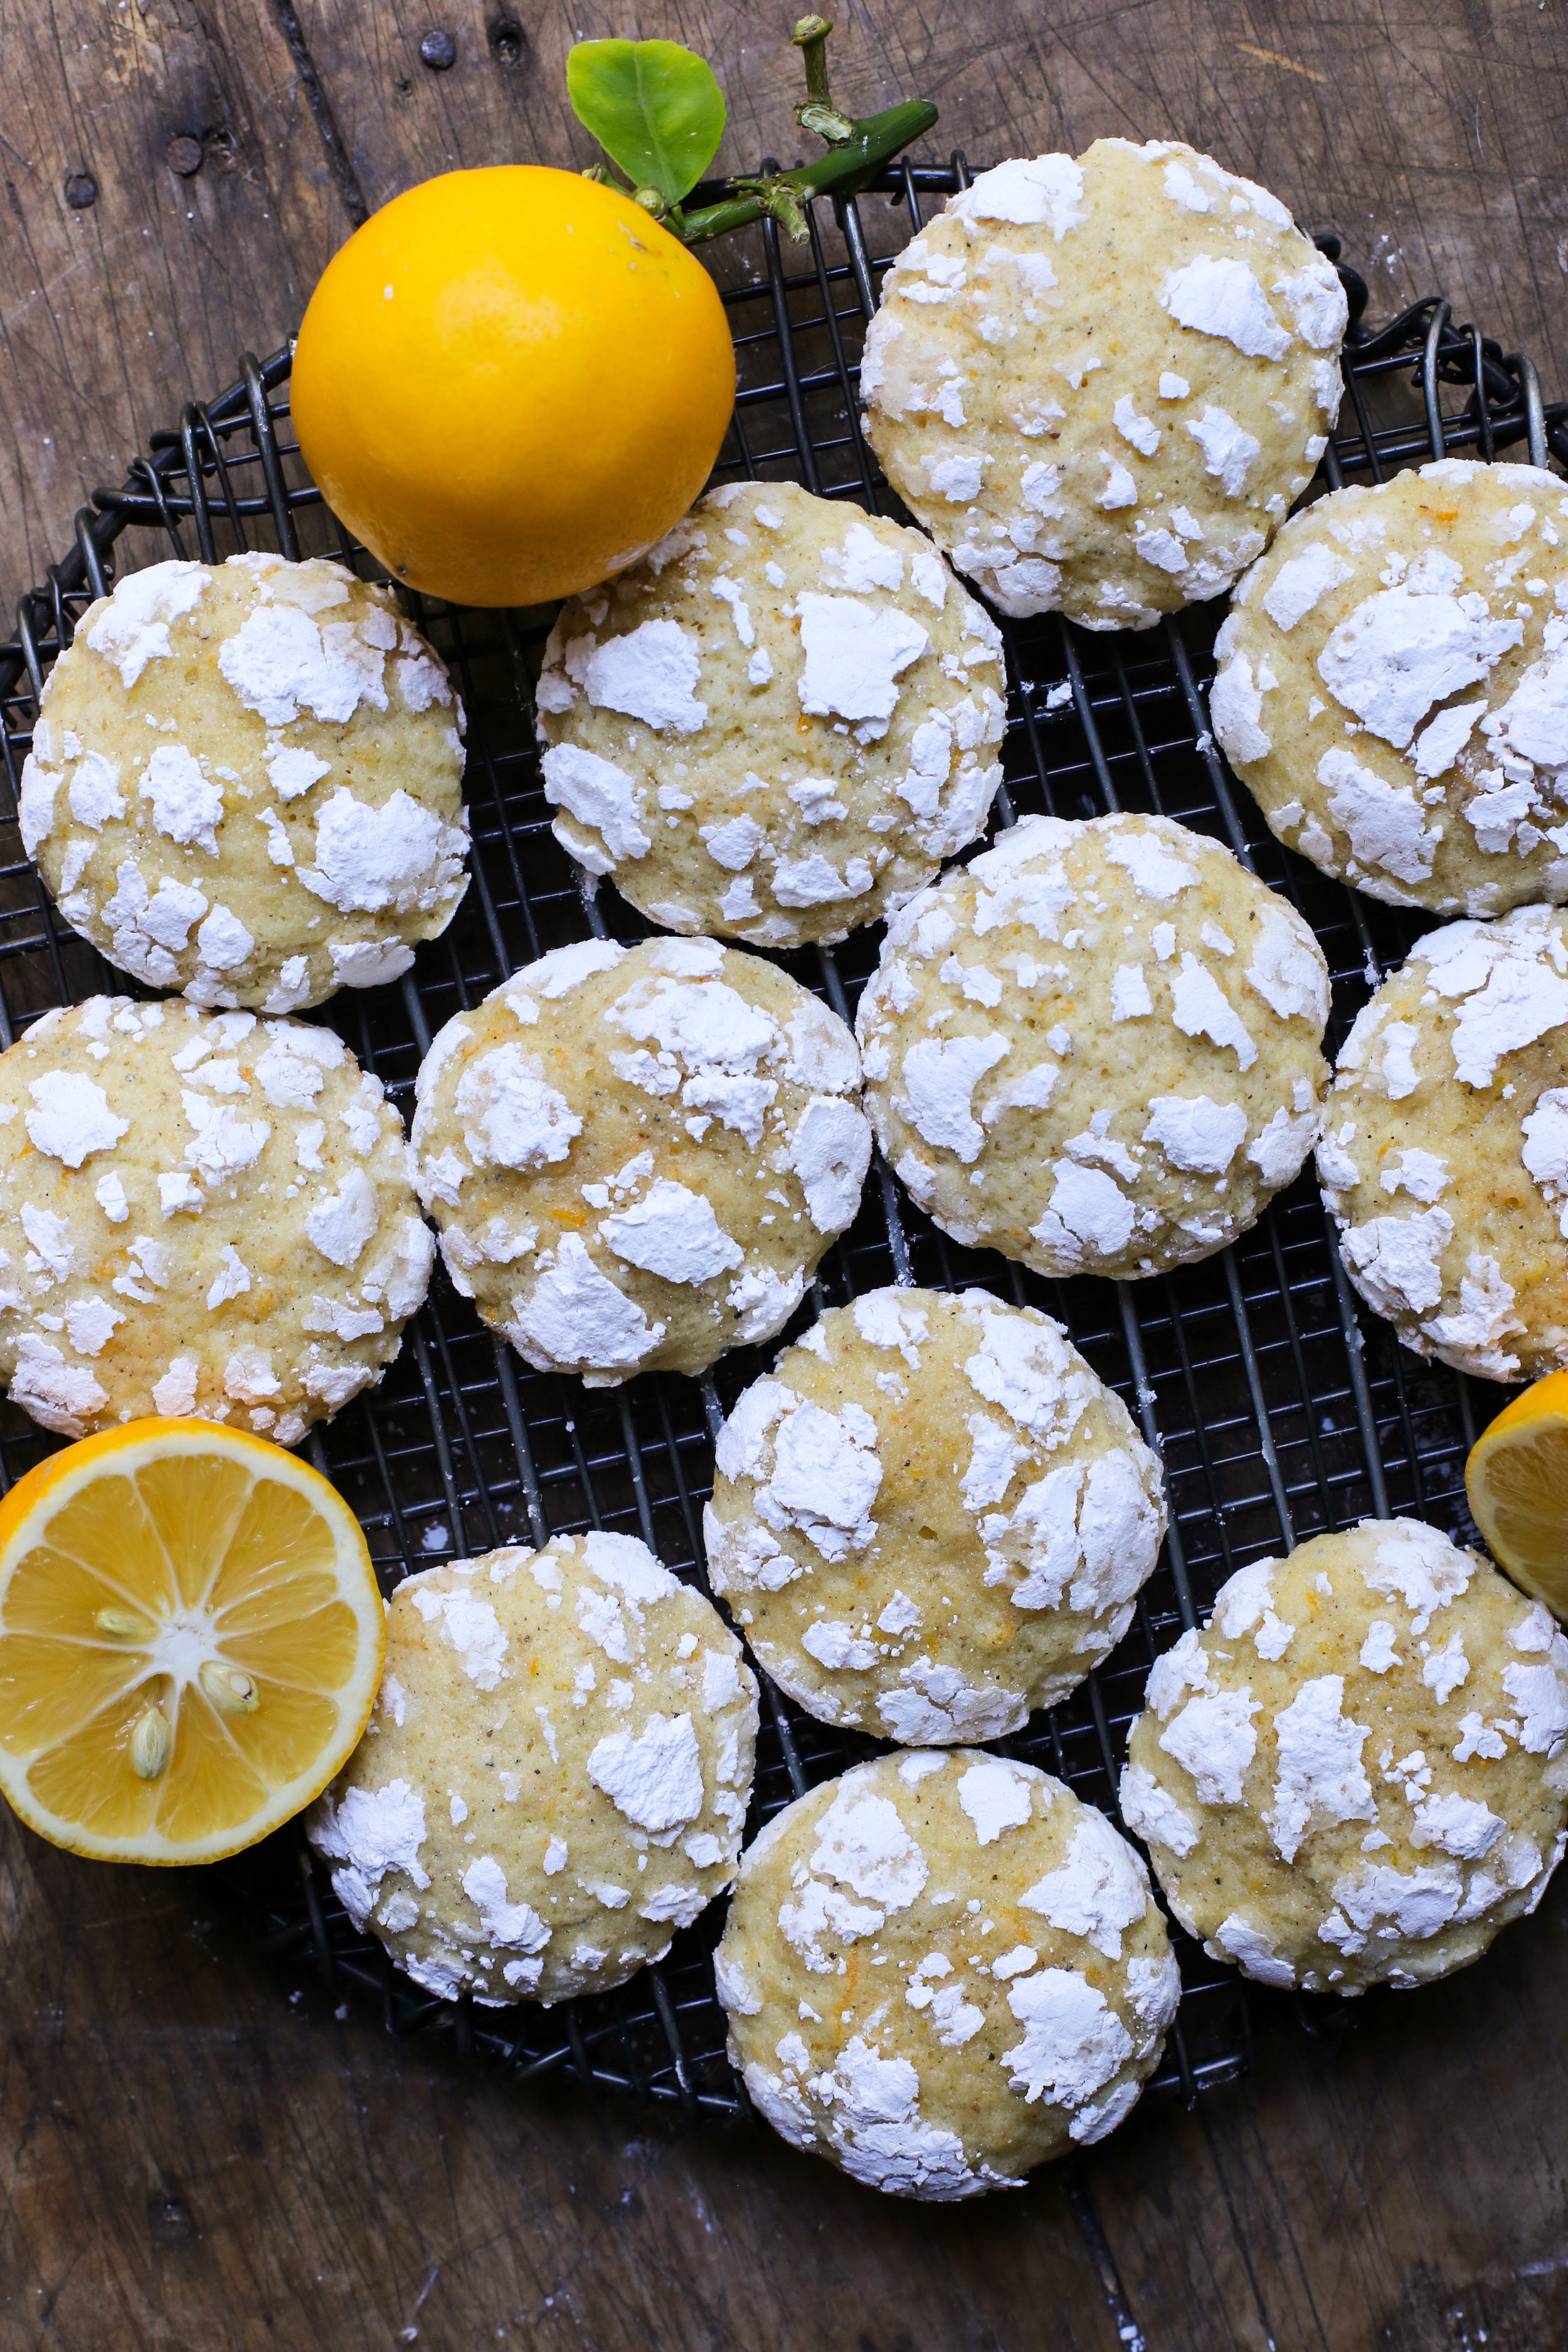
If you’re unfamiliar with this kind of cookie, they’re called “crinkle” cookies because of the crinkly pattern that forms while baking. This is achieved by rolling the cookie dough through confectioners’/powdered sugar before popping them in the oven, which leads to the powdered sugar cracking as the dough puffs up and eventually spreads. The end result is a beautiful, rustic design with no two cookies looking alike. In that regard, the cookies are kind of like snowflakes, which is why this is such a great cookie to make during the holiday/winter season. Unlike other typical cookies, these are softer and more cake-like in texture, which makes me love them even more.

When I had first made these cookies, I used basic store bought lemons and was thrilled with the results, but when I made them again using lemons picked fresh off of my mother-in-law’s tree in her backyard, the difference was staggering. The aroma and flavor of home grown lemons are so different from what you find in a typical grocery store - even the lemon skin is softer and easier to zest - and it honestly elevates the cookies even more so. I’m aware that many of my readers don’t have access to citrus trees like we do here in California, so if you can get your hands on an organic variety or even Meyer lemons, it’ll make all the difference. Just remember though that you’ll still have a delicious cookie regardless, so don’t feel bad if you can’t get anything but the standard variety.

Unlike other lemon crinkle cookies, my recipe only uses the zest of the lemon whereas others tend to add not only lemon juice, but lemon extract as well. I feel like that’s may be overdoing it a bit, and I can promise you that the zest is enough to achieve the perfect lemony flavor. Additionally, I added one of my favorite spices to bake with, cardamom, which pairs amazingly with lemon since the spice has fruity notes. The cool thing about using the ground cardamom is that you can actually see specs of it in the finished cookies which makes for a more interesting finish. A small amount of ground ginger is also added to round out the flavors and add brightness to the recipe. Another ingredient that you won’t find in my recipe is yellow food dye, which also tends to be the norm for lemon crinkle cookies. It’s added to the dough so that the final product isn’t as monotone and adds to the contrast in color between the cookie and crinkly top. I just don’t think it’s a necessary ingredient since it doesn’t contribute to the flavor in the end, but if you want to try it out, simply add 1-2 drops in the same step where you add the eggs and vanilla extract.

Lemon Cardamom Crinkle Cookies

Yields 2 dozen cookies

Ingredients

  • 1 3/4 cups all-purpose flour

  • 1 1/2 tsp. baking powder

  • 1/2 tsp. kosher salt

  • 1 3/4 tsp. ground cardamom

  • 3/4 tsp. ground ginger

  • 3 tbsp. lemon zest (from about 4 large lemons)

  • 1/2 cup (1 stick) unsalted butter, room temperature

  • 1 cup granulated sugar

  • 2 large eggs, room temperature

  • 1 tsp. vanilla extract

  • 3/4 cup confectioners’ sugar, sifted into a small bowl

Directions

  1. Into a medium bowl, sift the flour, baking soda, salt, cardamom and ginger together. Add the lemon zest and whisk until incorporated.

  2. In the bowl of a stand mixer fitted with the paddle attachment (or in a large bowl if using a hand mixer), cream the butter and sugar together until light and fluffy, about 2 minutes. Add the eggs one at a time until properly mixed in, then add the vanilla extract. Scape down the sides of the bowl.

  3. Add the dry ingredients all at once to the stand mixer or bowl and turn the mixer on low for 10 seconds before increasing the speed to medium. Mix until just incorporated. Cover the bowl with plastic wrap and refrigerate for at least one hour - the dough will be sticky, so the longer it’s chilled. the easier it will be to roll the dough.

  4. Preheat the oven to 350° F and line a baking sheet with parchment paper. Using a medium-sized cookie scoop or a spoon, scoop out roughly 1.5 tbsp. portions of cookie dough, shape it into a ball using your hands, then roll each one through the confectioners’ sugar. Make sure each ball is heavily covered in sugar; this will insure that you get the “crinkle” aspect of the cookie.

  5. Bake the cookies, 9 at a time, for about 12-14 minutes, rotating the pan halfway through. The cookies will be done when they have properly cracked and the centers are puffed. We do not want the cookies to brown too much, so they will look like they’re underbaked, but they won’t be. Allow the cookies to cool on the baking sheet for a few minutes before transferring to a cooling rack. Enjoy!

RED CABBAGE SALAD W/ POMEGRANATE, APPLES, GORGONZOLA + AND CANDIED PECANS

I’m baaaaaaaaack! When I posted my last recipe back in May for the very delicious whiskey drink, The Thirsty Crow, I had no intention of taking a major break from the blog. But here we are over 5 months later and I’m thrilled to be writing and creating again. To be fair, a lot has happened since May and taking a break from the blog just felt like the right thing to do. I, for one, started working at one of my favorite bakeries in Portland, Standard Baking Co., and even though I was hired as a Front of House employee and not a baker (I’m still too amateur!), it was still my dream job working for a company that is such an institution in Portland. The amount of bread and baked goods that I consumed while working at Standard was staggering, and although I didn’t regret eating the best sourdough breads and croissants that Maine has to offer, the last thing I wanted to do was go home and bake some cookies. Additionally, Alex and I moved back to California and got married! So yeah, we’ve been busy.

I’m not going to get into that many details for our wedding since this isn’t exactly a lifetsyle blog, but I will say that it was absolutely perfect and we’re both beyond happy. The micro-wedding took place at our friend’s vacation home in Scottsdale, Arizona, a home that we ourselves have vacationed at about a dozen times. The property is gorgeous and we had always said that it would be our dream to get married there, so luckily we were able to! I’ll share a picture from our wedding at the bottom of this post if you’re interested.

17B1D562-C7E5-49BF-9D90-D162B7586958.jpeg

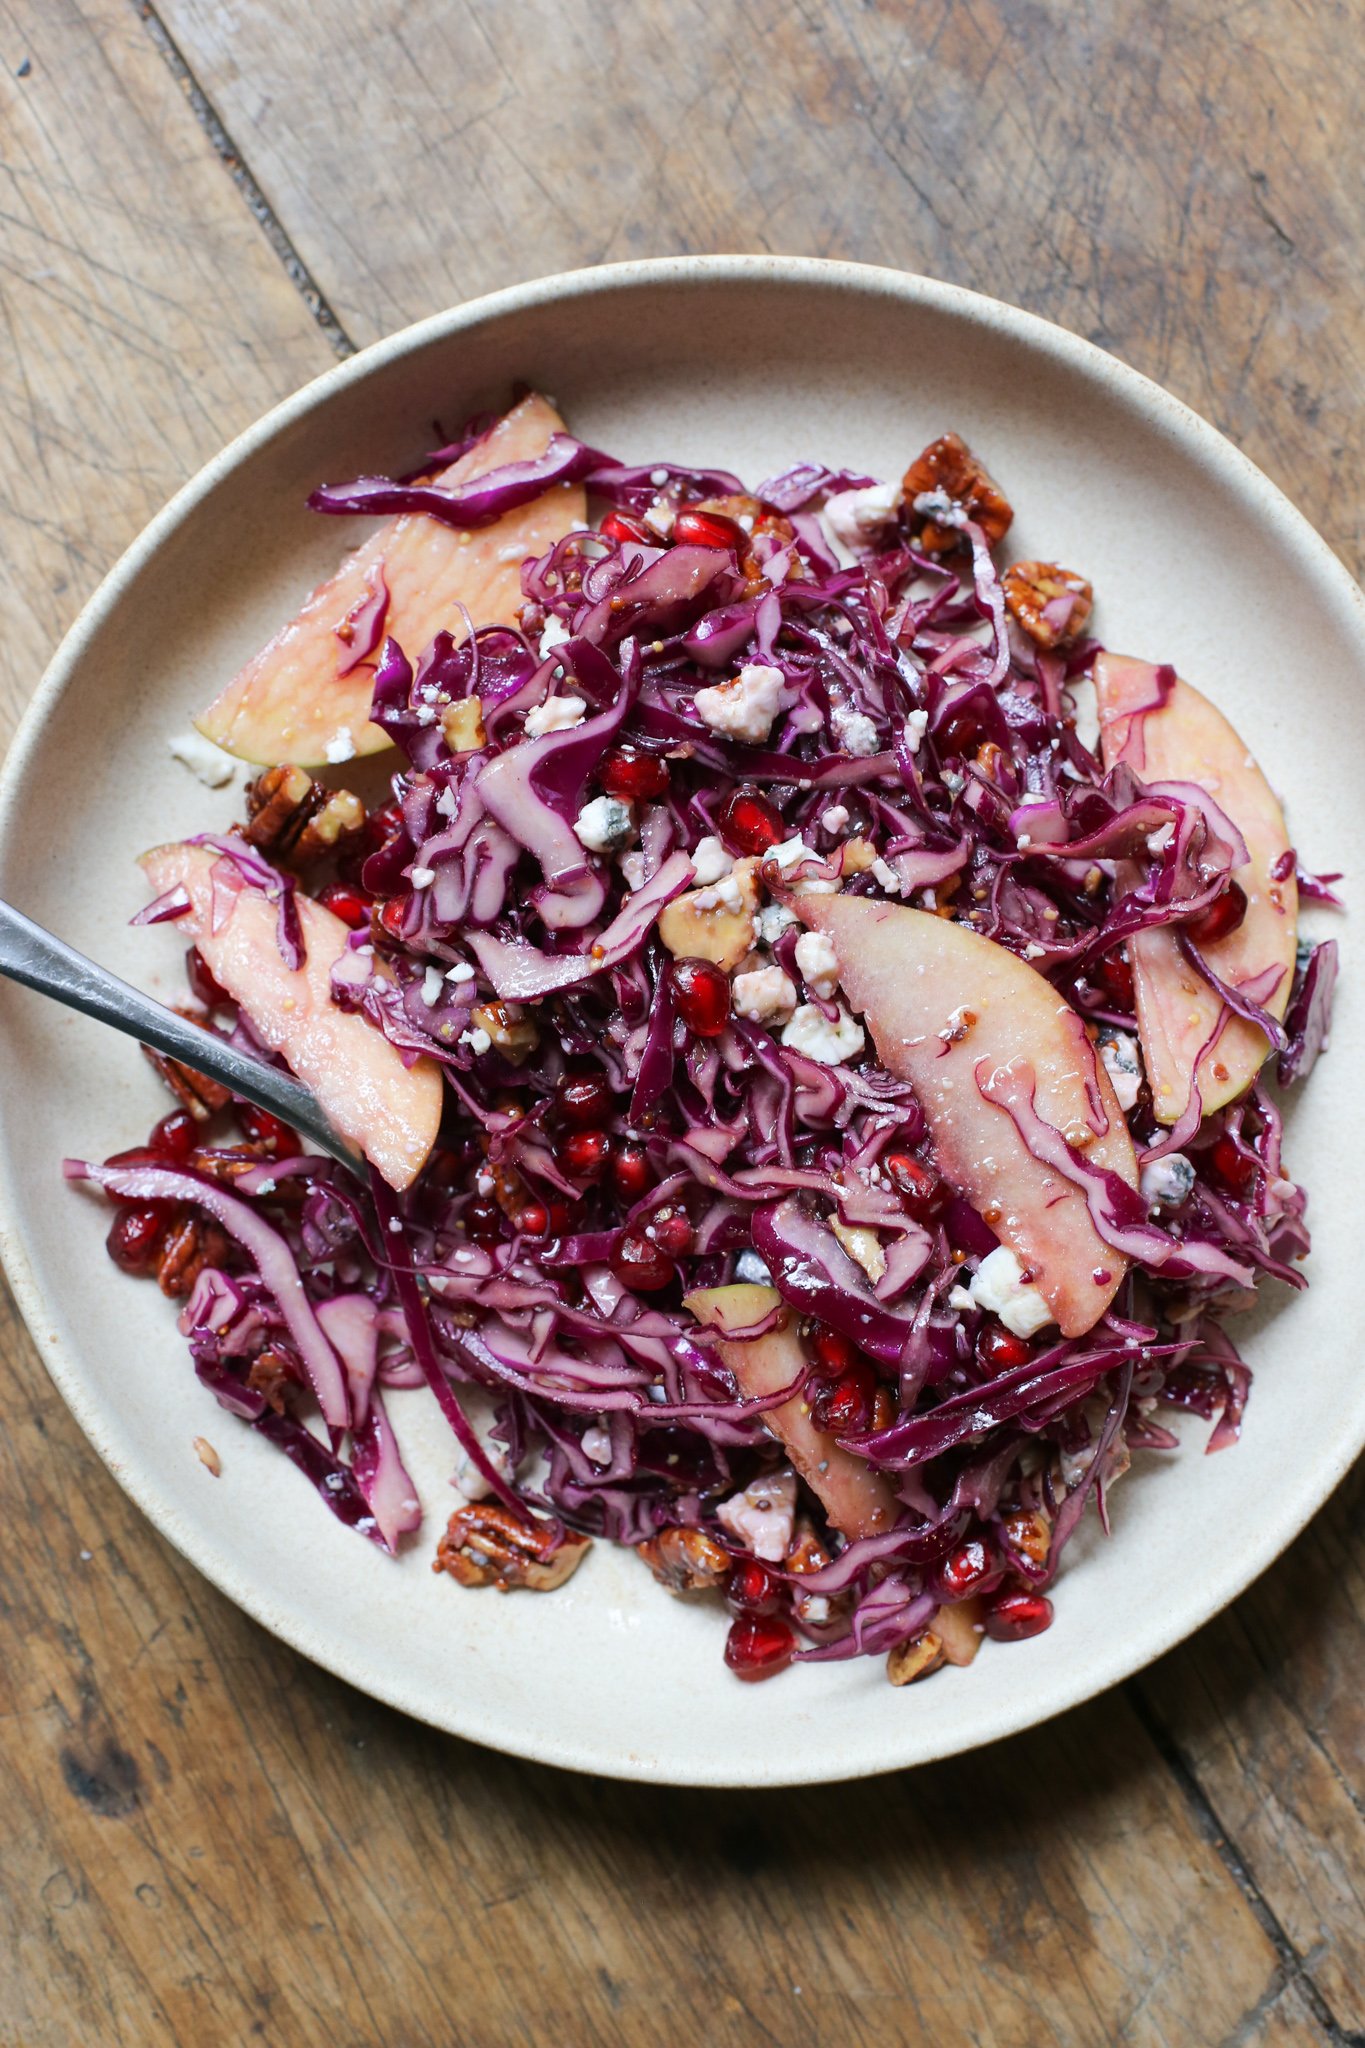
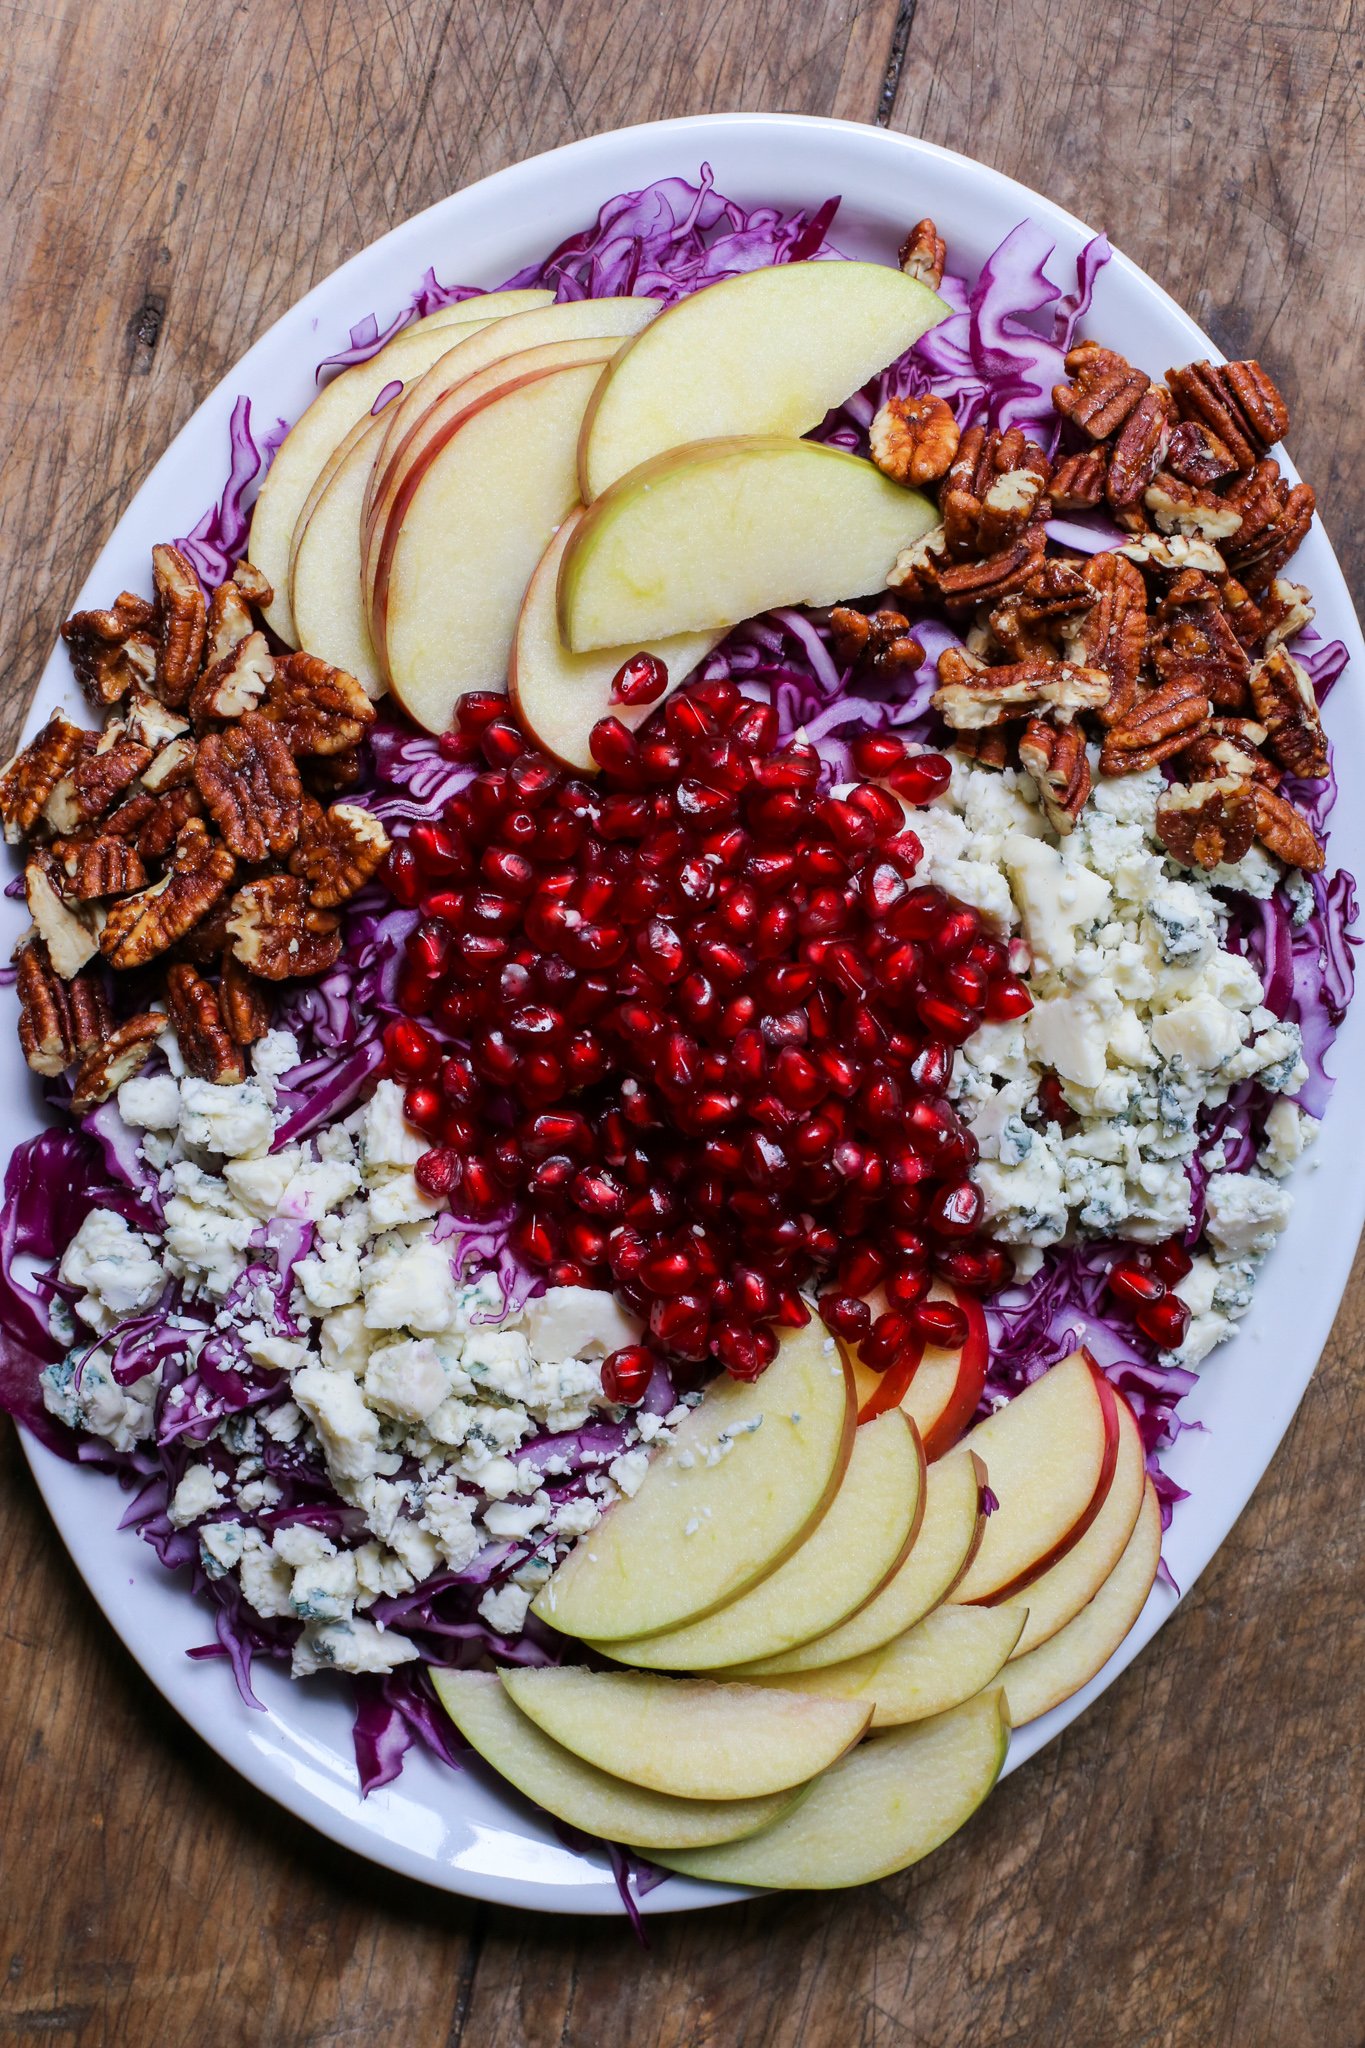
It was actually the night after our wedding where I found inspiration for today’s recipe. With some of our family still in town for the wedding, Alex and I decided to thank them for all the help they gave us during our wedding process by treating them to dinner at our favorite restaurant in the Scottsdale/Phoenix area, Pizzeria Bianco. This spot is known countrywide for its perfect wood-fired pizzas and its use of the highest quality of ingredients (the owner, Chris Bianco, even produces his own supply of canned tomatoes) and can be typically found on “Best Pizza in America” lists. We always order a few different pizzas along with an order of the “Market Salad” which changes quite frequently to reflect what’s in season. The night we took our family to Pizzeria Bianco, the Market Salad was pretty much exactly the salad recipe that I’m giving you today. It had thinly sliced red cabbage. sweet candied pecans, salty crumbled gorgonzola, fresh pomegranate seeds, and slices of crisp Honeycrisp apples, finished off with a balsamic red wine vinaigrette. It was the perfect autumn salad and all seven of us at the dinner table agreed that not only was it the best salad that we had had in a long time, but also that it would make for the best Thanksgiving side. Not too long after we got back from Scottsdale, I recreated it at home and I’m happy to report that it’s just as good, if not better, than what I had at Pizzeria Bianco.

The salad comes together very quickly with minimal prep work and zero cooking. For slicing the red cabbage, I strongly suggest using a mandoline because not only is it quicker than using a knife but also ensures that you’ll have uniform pieces. This is the one that I use and love, just be careful to not slice your fingers off. For the pomegranate portion, you can save time by buying a package of just the seeds/arils, but it’s actually cheaper to buy a whole pomegranate and remove the arils yourself. My favorite technique for deseeding a pomegranate is by doing it in a bowl full of water so that juice doesn’t get everywhere. For the candied pecans, you can buy those at Trader Joe’s like I did, or you can even make them yourself; I have a recipe for them embedded in my Maple Pecan Ice Cream post. Candied walnuts are also a great option. As for the apples, if for some reason you’re not a fan of Honeycrisp apples, Pink Lady, Jazz or Fuji apples are good alternatives.

Lastly, the balsamic red wine vinaigrette that goes with this salad is amazing and very easy to throw together. The only tips that I have for the dressing are: 1) use a microplane for grating the garlic since it gives you a very fine mince; 2) when it comes to what kind of Dijon to use, I prefer whole grain (the seeded kind) because I like the texture that it adds and I believe it’s more flavorful; and 3) make the dressing by adding all the ingredients to a mason jar with a lid and shaking it until combined. This method is much easier than whisking the ingredients together in a bowl and there’s the added bonus of using the mason jar as tupperware if you have any dressing leftover. Just make sure to give the dressing another few shakes before using it up.

I hope some of you make this salad for Thanksgiving this year since I certainly will be. I promise that it’ll get a lot more attention than the mashed potatoes or brussels sprouts that we see time and time again. Also, the salad is inately a showstopper with its bright, beautiful colors so it’ll stick out amongst all the beige foods that are typically on display. Let me know if you give it a try!

Red Cabbage Salad

Recipe inspired by Pizzeria Bianco

Serves 6-8 people

Ingredients

  • 6 cups thinly sliced red cabbage

  • 1 cup pomegranate seeds/arils

  • 1 large-sized Honeycrisp apple, thinly sliced

  • 3/4 cup crumbled gorgonzola cheese, plus more for garnish

  • 1 heaping cup (5oz.) candied pecans, roughly chopped, (I get mine from Trader Joe’s)

  • Balsamic Red Wine Vinaigrette, recipe below

  • Freshly cracked black pepper, to finish

Directions

  1. Combine the red cabbage, cheese, apples, pomegranate seeds and pecans in a large bowl. Add as little or as much dressing as you like and mix with tongs or two wooden spoons. Transfer to the serving bowl/platter of your choosing. Finish it with freshly cracked black pepper and some more gorgonzola cheese if desired. Taste for salt. Enjoy!

Balsamic Red Wine Vinaigrette

Yields 1 cup of dressing

Ingredients

  • 3/4 cup extra virgin olive oil

  • 3 tbsp. balsamic vinegar

  • 1 tbsp. red wine vinegar

  • 1 tbsp. Dijon, preferably whole grain

  • 2 garlic cloves

  • 1 tsp. kosher salt

Directions

  1. Add the olive oil, vinegars and Dijon to a mason jar. Using a microplane, grate the garlic cloves straight into the mason jar and add the salt. Put the lid on the mason jar and shake very well until combined. Taste to see if more salt is needed. The dressing will keep for a few days in the refrigerator.

THE THIRSTY CROW COCKTAIL

IMG_7070.jpeg

Sometime late last year when COVID cases were surging in Maine and there appeared to be no end in sight to all of this madness, I became very nostalgic of my favorite bars. Without knowing when I would again step foot into a loud, busy bar on a Saturday night, I wanted to recreate one of my favorite cocktails from a beloved bar of mine. The place that I had in mind at the time was The Thirsty Crow, an awesome spot located in the Silver Lake neighborhood of Los Angeles. I had spent many a night at The Thirsty Crow, whether sitting at the horseshoe-shaped bar, or outside on the patio looking out onto Sunset Blvd, and sadly couldn’t remember the last time I had gone.

It was at this bar where I discovered my love for a whiskey cocktail that shares the same namesake as the bar itself. Like I’ve mentioned before, I am genuinely not a fan of whiskey and will always be a tequila/vodka person through and through. On the other hand, Alex loves drinking an Old Fashioned or a Manhattan, and actually prefers to drink it straight on the rocks, which looks very unappealing to me. So, years ago when Alex and I went to The Thirsty Crow for the first time, we were told by my sister that we had to order their signature cocktail because it was an absolute favorite of hers. Without being aware that there was whiskey in the cocktail until after I had ordered the drink (I’m too trusting sometimes), I was highly skeptical on whether I’d enjoy it or not, but *spoiler alert*, I really liked it.

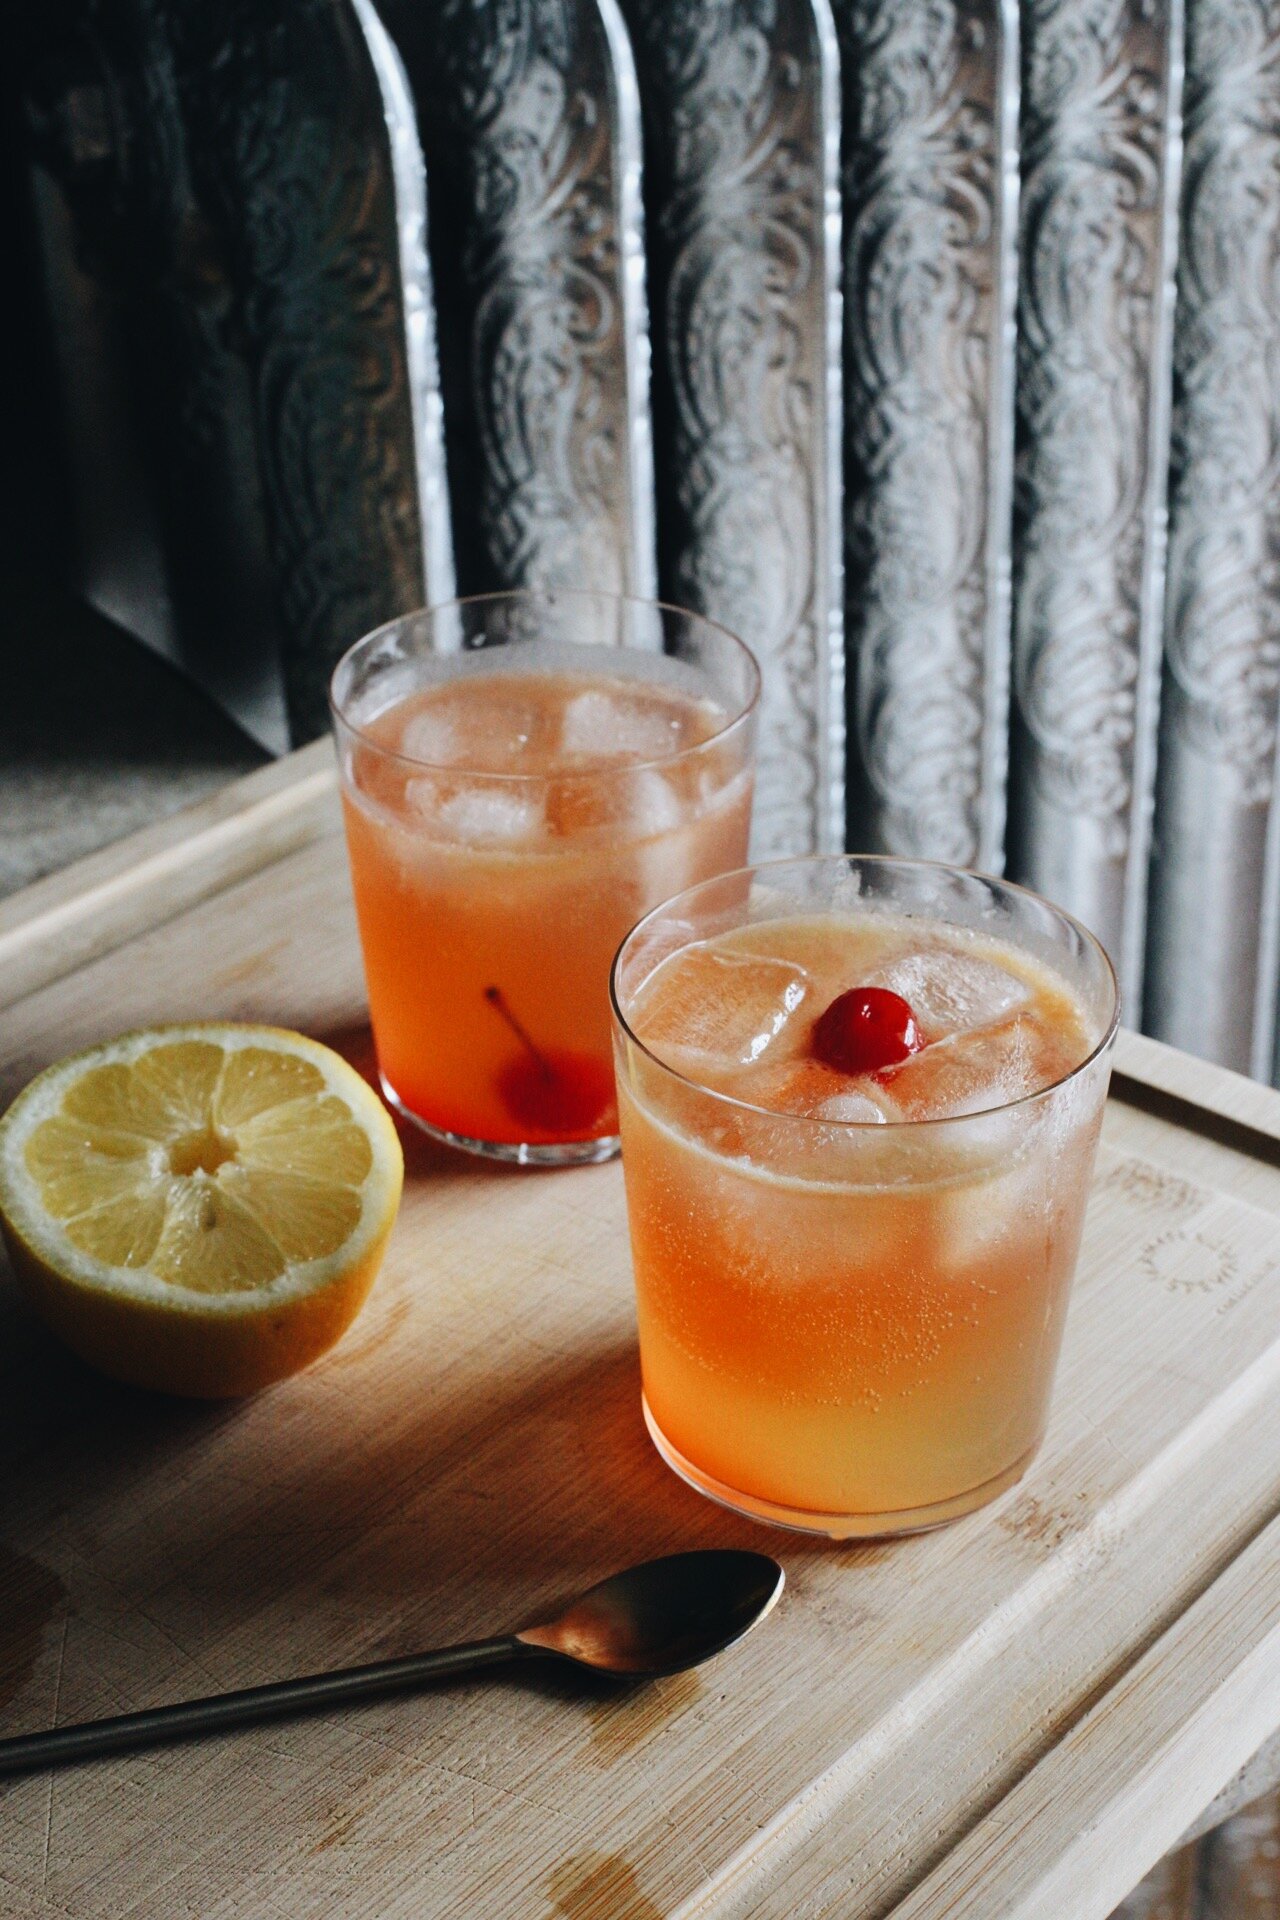
The cocktail is pretty basic and consists only of rye whiskey, lemon juice, ginger beer, maraschino liqueur and “magic” - according to their website. On the particular night in Maine when I had a hankering for The Thirsty Crow, I happened to have most of the ingredients to make the cocktail and pretty much improvised the rest: instead of rye whiskey, I used the Bulleit bourbon that was sitting on our bar cart (bourbon has a sweeter taste than rye whiskey); I didn’t have maraschino liqueur but instead had a jar of maraschino cherries for when Alex makes Manhattans; and just for fun, I added Angostura bitters because I honestly just felt like it would round out the drink and maybe make up for the bitterness that was lost when replacing rye whiskey with bourbon. Oh, and no magic was added because I’m not exactly sure where I would purchase that. Maybe Costco sells it in bulk?

Needless to say, the drink was a success and I had never been more proud of myself for 1) actually enjoying a whiskey drink (other than a hot toddy!), let alone one that I had made at home and 2) successfully creating a cocktail that tasted pretty damn close to the original. I know this cocktail requires zero skill level and no crazy ingredients, but the whole point was to recreate the feeling that I had while at The Thirsty Crow, and I think I did just that. So until I can walk into that bar and experience a night that feels like pre-COVID times, I will gladly make these cocktails at home.

IMG_7094.jpeg

The Thirsty Crow Cocktail (Whiskey Ginger)

Makes 1 cocktail

Recipe inspired by The Thirsty Crow bar in Los Angeles, CA

Ingredients

  • 2 oz. bourbon whiskey

  • 1 oz. fresh lemon juice

  • 1-2 dashes of Angostura bitters

  • 4-6 oz. ginger beer (Reed’s or Fever Tree are my favorite brands)

  • Maraschino cherry/juice

Directions

  1. Add ice to a rocks glass (or whichever glass of your choosing - a mason jar works too) and pour in the bourbon and lemon juice. Top the drink off with ginger beer: start with 4 ounces, but you can add 1-2 more ounces if you want a weaker cocktail. Stir with a spoon.

  2. Finish with a couple dashes of the bitters and a maraschino cherry. I like to add a bit of the liquid from the maraschino cherry jar to give the drink a bit more sweetness as well, but that’s optional.

  3. Drink immediately and enjoy!