ROCKY ROAD ICE CREAM (WITH THE BEST CHOCOLATE ICE CREAM EVER)

Photo Jun 20, 11 11 16 AM.jpg

Hello boys, I'm backkkkkkk!!! After three weeks away from the blog, I am happy to report that my little "break" is over, and I can't wait to get back into the swing of things in my (vivid) kitchen.

In case you don't follow me on instagram (@shawnasellmeyer), I explained in a post that I wanted to focus all my time and energy into my sister's wedding, which happened this past Saturday! With family flying in from around the country for the big day and the fact that I was in charge of the desserts, I knew that in order to keep my sanity, I had to put The Vivid Kitchen on the back burner. Even though I was honestly pretty sad about not being able to blog, I think it was the best decision I could have made. The week leading up to the wedding was complete chaos with me, my mom and aunt prepping and baking for about 6 hours each day. 

In the end, we baked: 75 carrot cake cupcakes with a cream cheese frosting, 130 salted dark chocolate chip cookies, 50 tartlets with a sweetened cream cheese filling topped with a mixed berry sauce, and a four-layer homemade funfetti vanilla cake with a vanilla buttercream frosting. My sister and her husband (it's going to take a while to get used to calling him that) aren't the biggest fans of cake, so they luckily only wanted a small, one-tier cake for them to cut into. Additionally, my grandma baked Mexican wedding cookies as well as shortbread cookies. It was definitely all hands on deck when it came to the desserts.

Although there were a number of mishaps and accidents along the way, I think all of the hard work was well worth it. To say that I made the desserts for a 110-person wedding is an incredible feat, and something I will always be proud of. And to make matters BETTER, I was getting compliments all night long at the wedding at how delicious the desserts turned out. Now, would I ever do this again? Be in charge of the desserts for a wedding? Short answer: no. Long answer: no, definitely not. Just being honest! 

Photo Jun 20, 11 13 54 AM.jpg

After the wedding was all said and done, my intention was to come back to the blog offering you one of the recipes I used for the wedding. But in all honesty, I am so bored with making those desserts that I needed to switch it up and I figured ice cream was the perfect route to take. But don't fret; I will share the recipes for everything served at the wedding eventually, if you all want them that is! Comment below and let me know which recipe you would want first.

Another big reason I wanted to make ice cream is because my (fourth) cousin, Tereza, from the Czech Republic is visiting! Little side fact about me: my mom's parents were both born and raised in the Czech Republic and emigrated to the United States back in 1956. They eventually made their way to Los Angeles, California where my mom was born, and the rest is history!

Growing up with Czech grandparents, it was always a dream of mine to someday visit their home country and meet all the family members that were still living there. This dream eventually became a priority when sadly both of my grandparents passed away by the time I was 12 years old. I finally made it out there in 2016 with Alex (it was part of the same trip when we went to Berlin, Germany) with the only goal of traveling to Nespeky, a small village just outside of Prague, where most of my family resides to this day. It was there that I met Tereza, who is just a few years younger than me and speaks perfect English. So when I heard she was visiting my family here in California, I was very excited to show her around my neck of the woods.

Photo Jun 20, 11 14 04 AM.jpg

One thing that I quickly learned about Tereza is that she LOVES sweets, especially chocolate.  When my mom took Tereza to the grocery store to stock up on her favorite foods to have while visiting, Tereza made a beeline for the ice cream section and picked up a carton of rocky road ice cream. It was then that I knew I had to recreate this flavor of ice cream for Tereza at home, and show her how homemade ice cream is better than store-bought.  

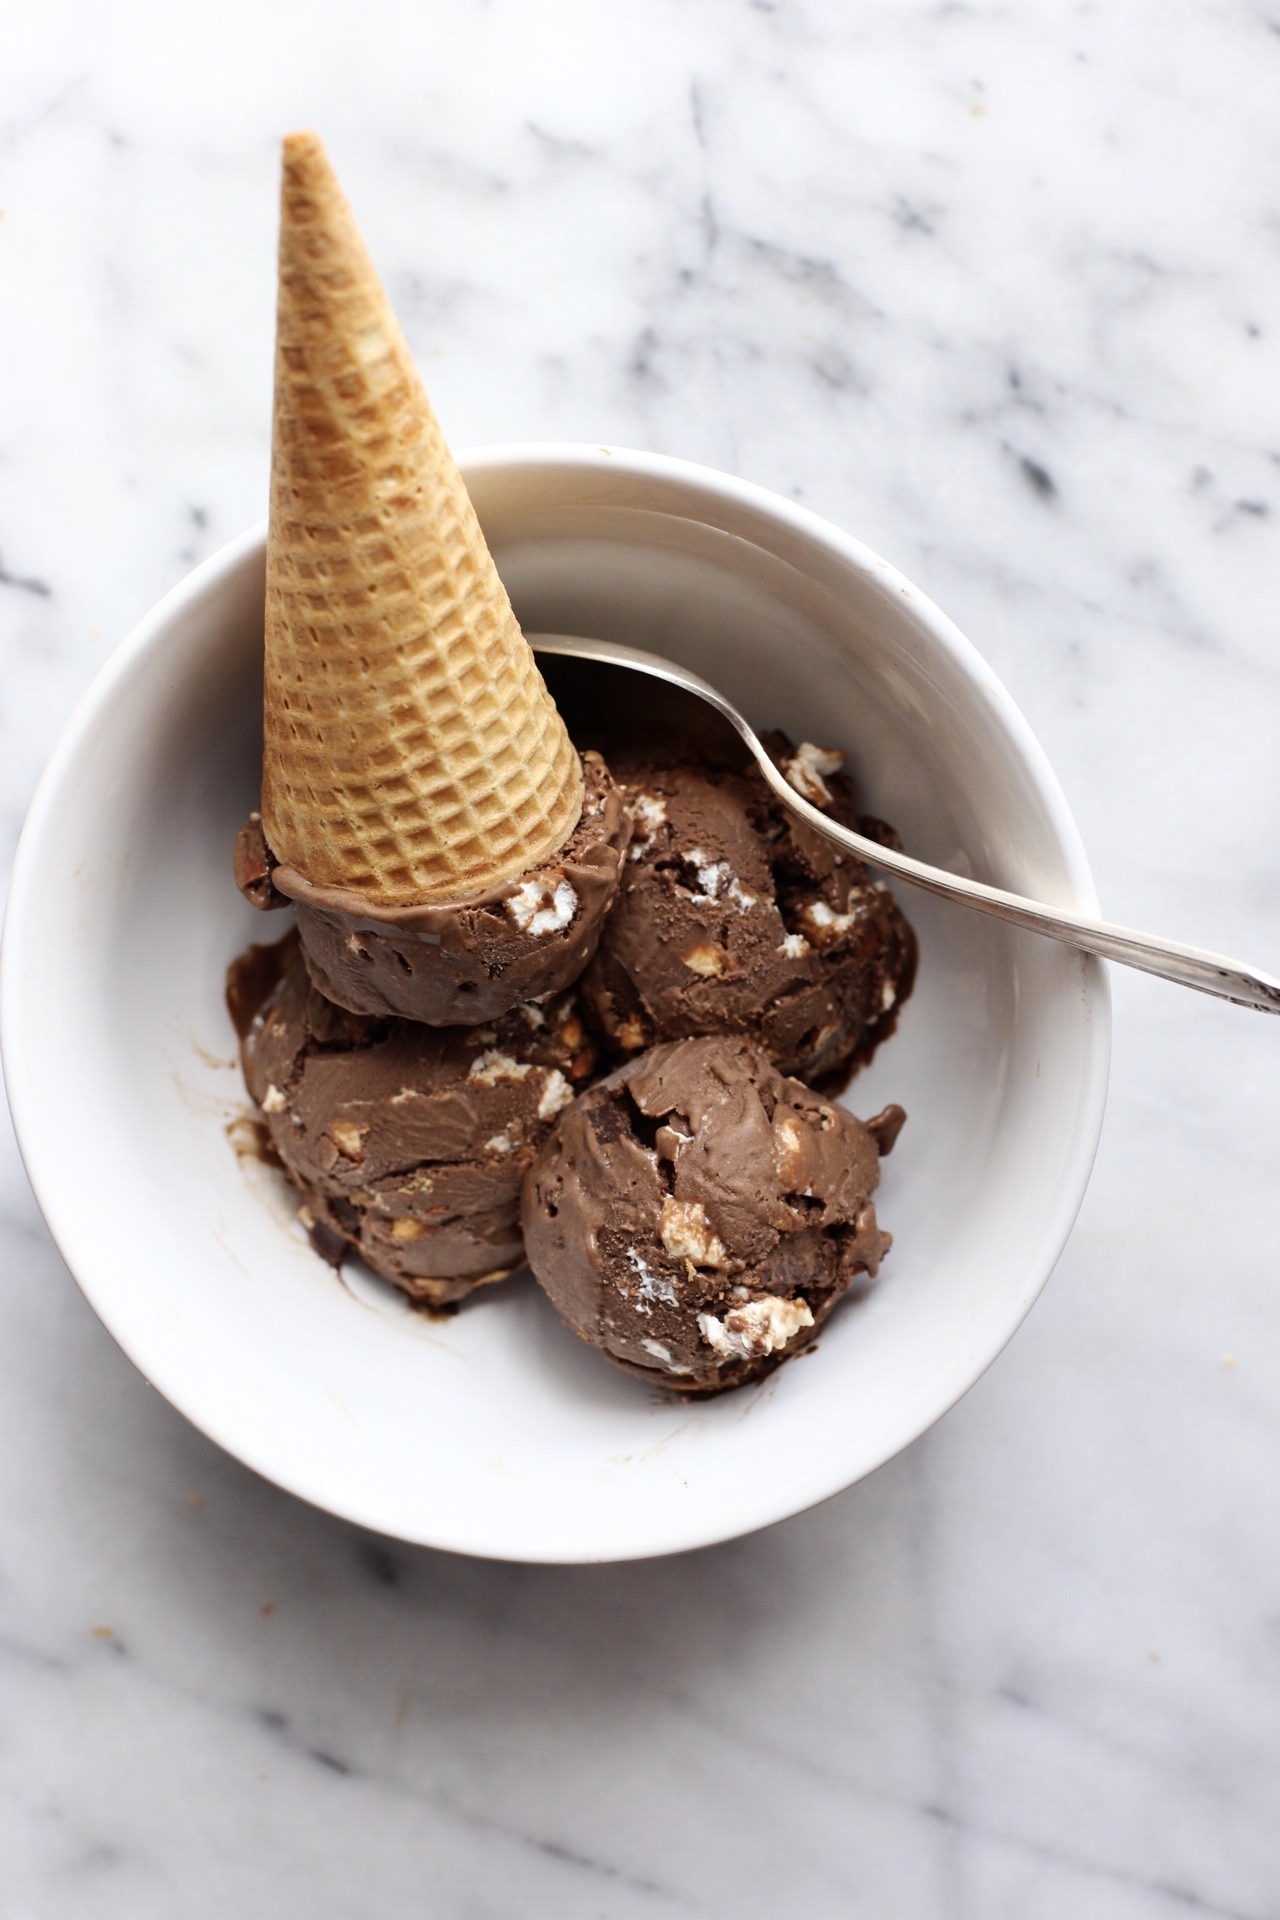
Rocky road ice cream is simply chocolate ice cream mixed with fluffy, soft marshmallows and crunchy, toasted almonds - it is perfect. The ice cream I am giving you today begins with, quite frankly, the ONLY chocolate ice cream recipe you will ever need in your life. And to that, we will add the mini marshmallows and almonds, as well as chunks of dark chocolate thrown in for good measure. If you just want plain ole chocolate ice cream, which you might, due to nut allergies or because you like it plain, just leave out the additions. But I will say, those additions compliment the ice cream very well and will only make you happier. I promise. 

P.S. I want it to be known that Tereza LOVED the ice cream, and I know she wouldn't lie to me because when we took her to In-n-Out for her first time, she straight up said she didn't like it. The girl does not hold back!


Rocky Road Ice Cream / Chocolate Ice Cream

Yields about 1 quart of ice cream

Recipe adapted from David Lebovitz (forever my go-to ice cream guy)

Ingredients

Photo Jun 20, 11 11 36 AM (1).jpg
  • 2 cups heavy cream

  • 3 tbsp. unsweetened cocoa powder

  • 5 oz. semisweet or bittersweet chocolate, chopped (I used a blend of both)

  • 1 cup whole milk

  • 3/4 cup sugar

  • Pinch of salt

  • 5 large egg yolks

  • 1/2 tsp. vanilla extract

If making rocky road ice cream, add:

  • 1 cup toasted almonds, roughly chopped

  • 1 1/4 cup mini marshmallows

  • 1/2 cup bittersweet chocolate chunks or chips

Directions

  1. In a medium saucepan, warm one cup of the heavy cream with the cocoa powder, making sure to whisk thoroughly. Bring the mixture to a boil, then lower the heat and allow it to simmer for 30 seconds. Remove the pan from the heat and add the 5 oz. of chopped chocolate. Stir until smooth, and then add the remaining 1 cup of heavy cream. Transfer the mixture, trying to not leave any remnants behind in the pan, into a large bowl set with a mesh strainer. Set this whole bowl in a prepared ice bath.

  2. Warm the milk, sugar, and salt in a clean saucepan over medium-low heat. In a medium bowl, whisk the egg yolks together. Just as the milk mixture is beginning to simmer, gradually add some of it to the bowl of egg yolks, whisking constantly as to not scramble the eggs (this is called tempering). Once the egg yolk mixture temperature has raised, pour the mixture back into the saucepan. Stir constantly over medium-low heat until the mixture thickens and coats the back of your spatula or spoon.

  3. Pour the custard over the strainer into the prepared bowl that has the chocolate mixture from earlier and stir the two together. Add the vanilla extract and allow the ice cream base to cool before covering with plastic wrap and refrigerating until thoroughly chilled.

  4. Churn the ice cream in your maker according to the manufacturer's instructions (mine took about 20 minutes to finish). The mixture will be a bit thick after chilling, so I suggest whisking it before pouring into the maker.

  5. Transfer the finished ice cream into a bowl and stir in the marshmallows, almonds, and chocolate (if you are making rocky road ice cream). Freeze in an airtight container and enjoy!

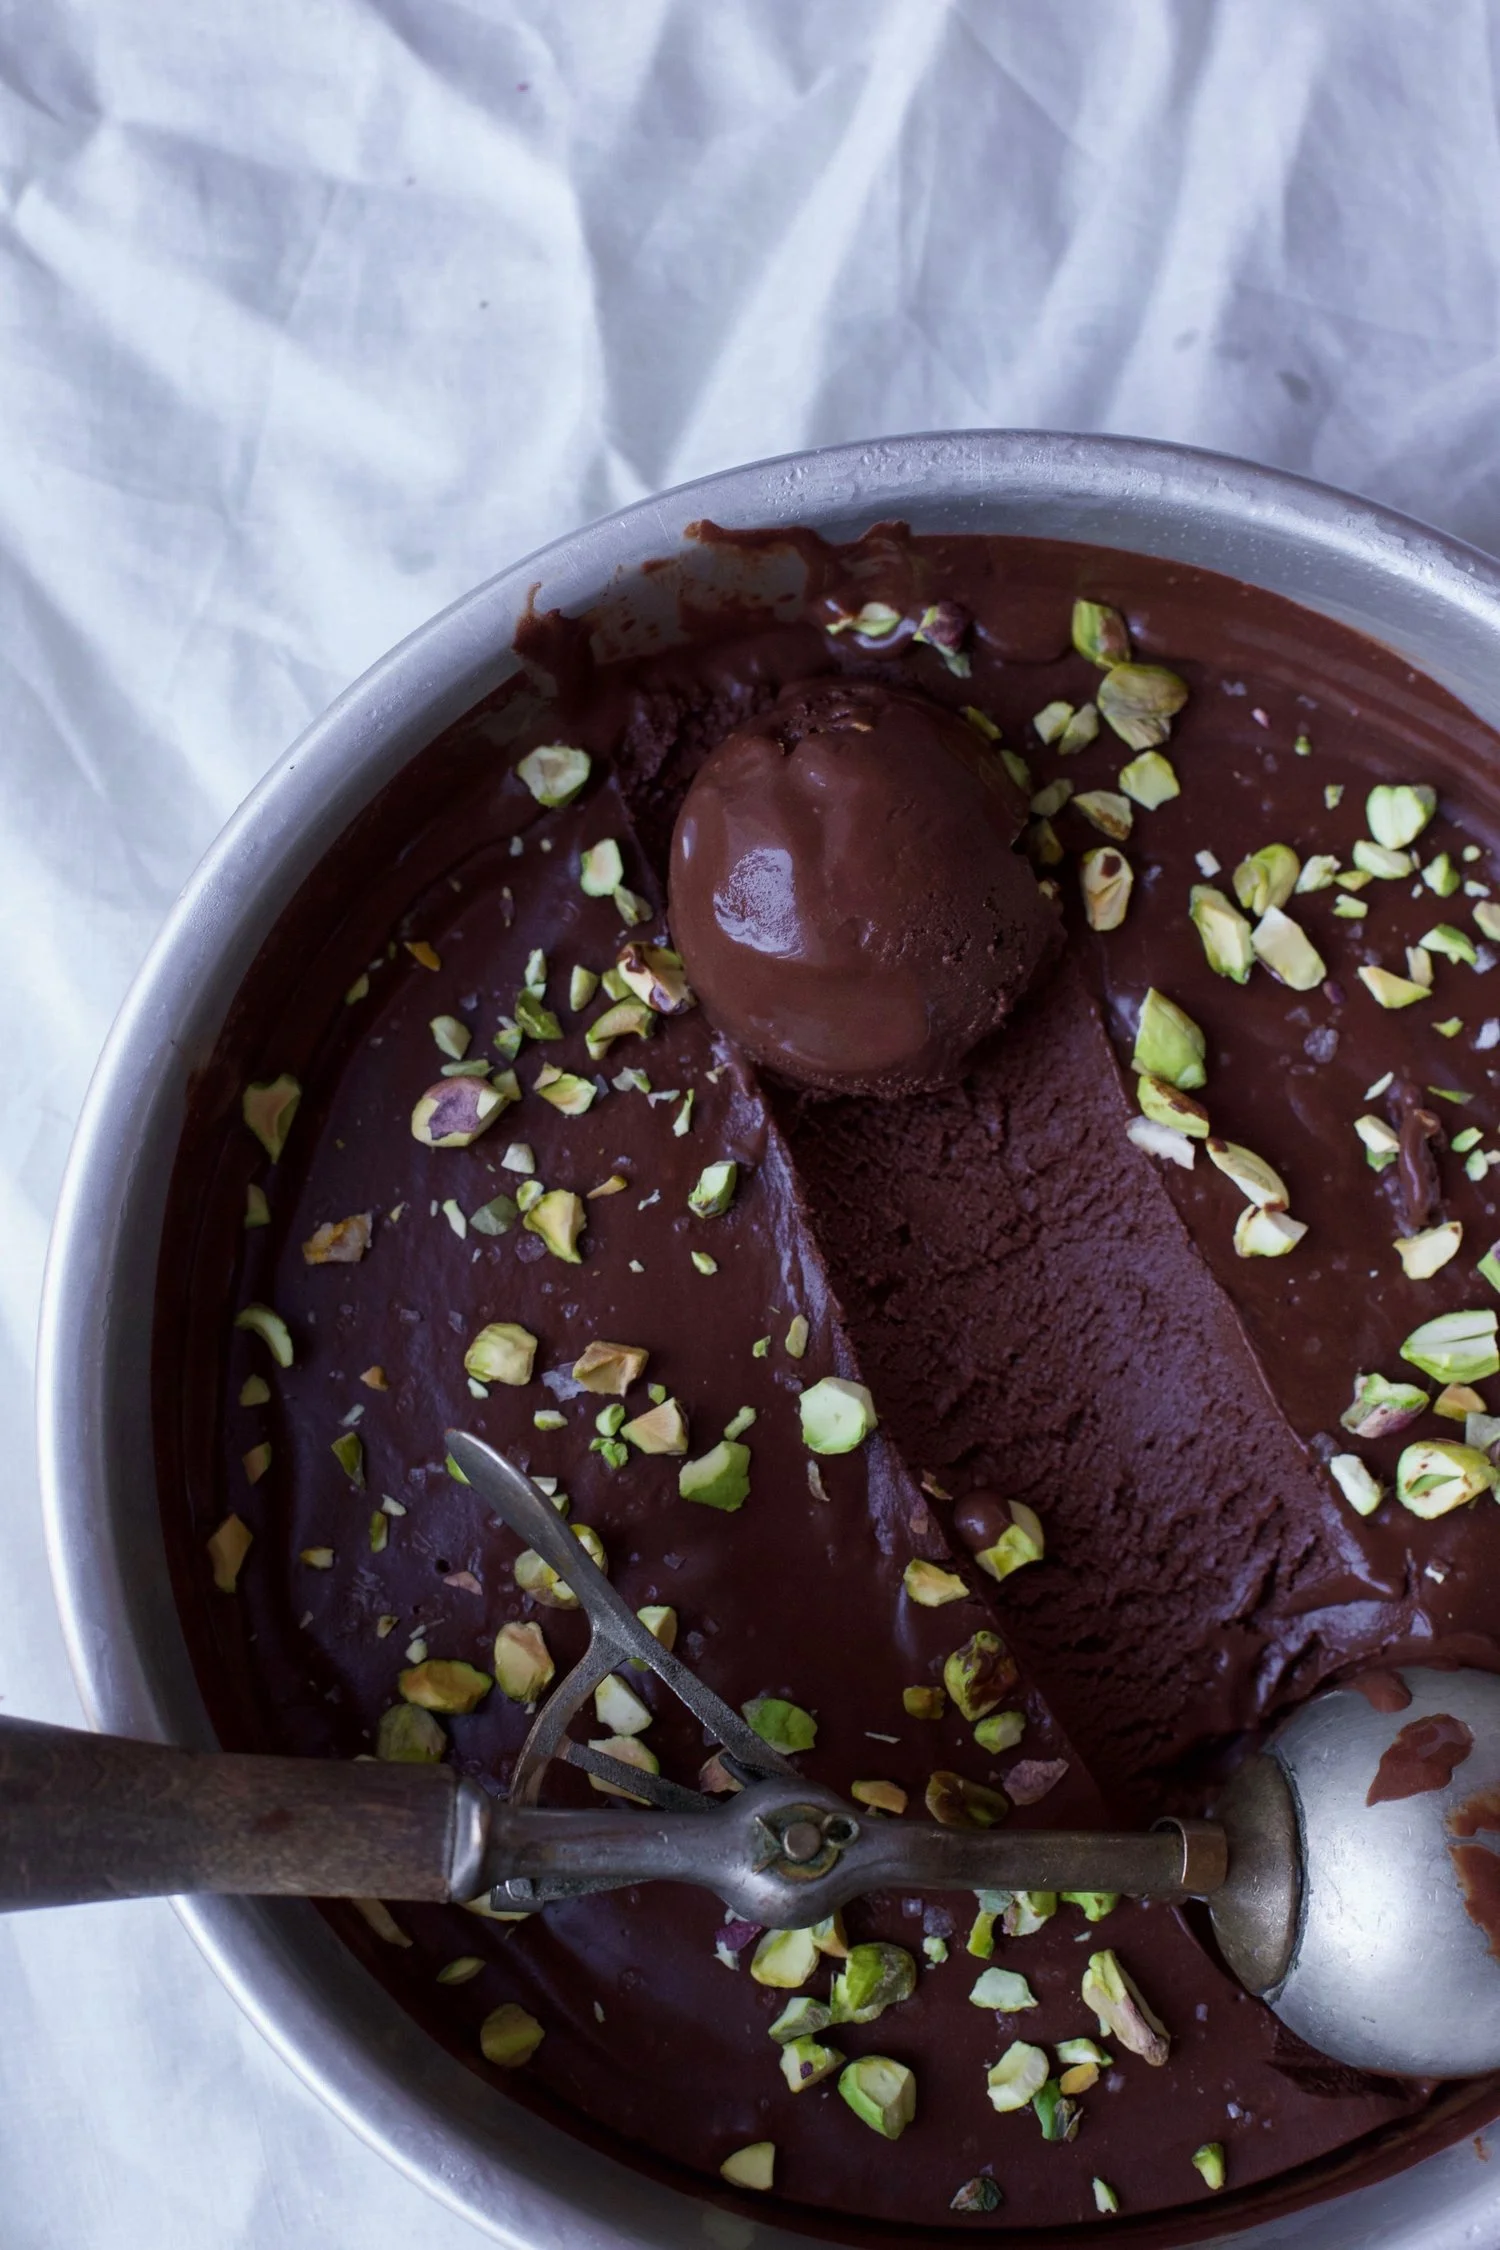
CHOCOLATE SORBET

IMG_1600.jpg

Today I'm sharing a tried-and-true recipe that I find myself making more often than not: chocolate sorbet. And it's not just any chocolate sorbet; it's David Leibovitz's recipe. David, an amazing and well-known pastry chef, is my go-to guy for the best ice cream-related recipes for many reasons, but mainly because he wrote the book on it - literally. When I was gifted my Cusinart ice cream machine years ago, the first recipe I tried was David's mint chocolate chip ice cream. Even though the recipe was pretty daunting because I had never even attempted making custard before (it was a custard-based ice cream), I was hooked when the final product was better than any other mint ice cream I had ever tried. Don't worry, I'll do a post for this ice cream in the future! 

But today, we're not discussing ice cream... we are discussing its much easier to make cousin, the sorbet. Sorbet by definition has no dairy in it, but makes up for that loss with plenty of sugar. Fruit flavors are usually the standard when it comes to sorbet, but being the chocolate lover that I am, I tend to stray from those kinds. With that said, I knew that I had to try David's chocolate sorbet when I came across it on the internet.

With only six ingredients, one of those being water, this sorbet goes against all odds. Sorbet may tend to have an icy texture due to the lack of dairy in it, but this recipe yields a very creamy and rich sorbet, almost to the point that you are 100% sure that there has to be dairy in it. David actually credits the amazing texture to the high proportion of bittersweet chocolate that is added.  

This recipe is just so easy and delicious that it's almost a given to find a batch of it hidden in my freezer somewhere. When Alex and I are trying to cut back on dairy but are craving ice cream (we both would eat ice cream every day if we could), this is the perfect dessert to reach for. And if you want to impress your vegan or lactose-intolerant friends, I highly suggest whipping this recipe out. It's much, much better than the fruit salad you were planning on putting out instead. I promise.

IMG_1570.jpg
IMG_1583.jpg

Once again, I am giving you the option to weigh out your ingredients in grams using a kitchen scale. David includes both options (weight and volume), as do I, so feel free to use either. This was my first time making the chocolate sorbet using the scale, and I gotta say that I think it yielded my best batch yet. Just saying! 

ALSO, if you're wondering about my ice cream cones, I simply dipped store-bought sugar cones into melted dark chocolate and sprinkled chopped pistachios on top. I thought it not only would look cute, but compliment the sorbet perfectly, especially since my favorite way to enjoy the sorbet is with pistachios.

Chocolate Sorbet

Yields about 1 quart

Recipe from David Leibovitz

IMG_1596.jpg

Ingredients

  • 2 1/4 cups filtered water

  • 1 cup (200 g) sugar

  • 3/4 cup (75 g) unsweetened Dutch-process cocoa powder

  • Pinch of salt

  • 6 oz. (170 g) bittersweet or semisweet chocolate, finely chopped (use a higher quality bar, not chips)

  • 1/2 tsp. vanilla extract

  • Flaky sea salt, chopped pistachios, for topping (optional)

Directions

  1. In a large saucepan, bring 1 1/2 cups of the water, the sugar, cocoa powder and salt to a boil over medium heat, whisking frequently. Let it boil for 45 seconds, as you continue to whisk it. If the mixture is about to boil over, quickly lower the heat!

  2. Take the saucepan off the heat and stir in the chopped chocolate. Once smooth, stir in the remaining 3/4 cup of water and vanilla extract.

  3. Pour the liquid into a blender and blend for 15 seconds (make sure to remove the small lid cap since it’s hot - hold a dishtowel or napkin over the top to prevent a mess). Transfer to a bowl, cover with plastic wrap, and refrigerate for at least 4 hours, or overnight.

  4. Before churning, give the mixture a mix with a whisk, since it’ll have firmed up in the fridge. Churn the mixture in your ice cream machine according to the manufacturer's instructions. Serve with flaky sea salt and chopped pistachios sprinkled on top, if desired. Enjoy!

HOMEMADE RICOTTA + RICOTTA ICE CREAM

4D67F384-2B50-4ABB-86F3-EA014D3AA2E9.jpeg

Do any of you watch Chef's Table on Netflix? I sincerely hope that most of you reading this answered "Yes, of course I do, it's amazing!", but to those of you who haven't had the chance to yet, let me fill you in. Chef's Table is a documentary series with each episode dedicated to a single world-renowned chef. In each hour-long episode, the viewer learns the trials and tribulations that each chef went through in order to reach success. In addition to learning each chef's fascinating journey, we are treated to some of the most beautiful cinematography: almost every frame is a work of art. 

Earlier this month, Netflix released the fourth season of Chef's Table but this time having a focus on pastry chefs. Naturally, I was ecstatic and watched all four episodes as quickly as I could. Of the four chefs featured, I found great inspiration from Corrado Assenza, a fourth-generation owner of a cafe in Sicily, Italy (Caffè Sicilia) that is known to have the best Sicilian desserts in all of Sicily and perhaps all of Italy. 

652E9F1A-5C1F-44A0-9EFF-DC9BC887712C.jpeg

Throughout the episode, we see Corrado make a variety of desserts and pastries including granita, cannoli, and gelato. Not only does Corrado execute these sweets perfectly, but he also stresses the importance of quality ingredients. For example: to make excellent ricotta gelato, Corrado closely works with a local dairy farmer who he has a strong relationship with and, in his opinion, has the best ricotta in the land. It if weren't for this relationship with this particular dairy farmer, Corrado's gelato wouldn't be perfect. The importance of not only using quality ingredients, but working with quality people/vendors is Corrado's modus operandi. 

This level of dedication that Corrado has for his ingredients, and therefore everything he makes, was undoubtedly inspiring to me. It excited me to the point where I wanted to take my skills to the next level and make my own ricotta cheese from scratch and in turn, make my own gelato (or ice cream). I had made ricotta ice cream before but I had used store-bought ricotta and even though the gelato turned out to be good, I had a feeling I could make it great. 

15769B8E-2D6F-4ACF-B2EC-4CF6A2A7CB78.jpeg

So, I googled how to make ricotta and to my surprise it is about the easiest thing one can do. With a large pot, some cheesecloth, and only 4 ingredients (whole milk, heavy cream, salt, and lemon juice) you can make a beautiful batch of fresh and creamy ricotta in no time. The recipe I'm giving you yields about two cups which is exactly enough to make for the ice cream recipe that I also give below. If you do not wish to make ice cream with your ricotta, go ahead and use it in any way your little heart desires (use it in lasagna, on toast with fresh jam, in a raspberry cake, etc.). 

If you are planning on using the ricotta for the ice cream recipe, allow the ricotta to drain in the cheesecloth for the full hour; we want a rather dry ricotta (it'll spread almost like a cream cheese would) for the ice cream. But if are using the ricotta for any other purposes, drain to the consistency that you personally prefer (anywhere from 10 to 60 minutes).

5B4C2BB4-5B1E-4CCE-8022-A8C2DBF549FD.jpeg

Notes for the ricotta ice cream recipe below:

I can sincerely say that this ricotta ice cream is one of the most delicious and creamiest desserts I have ever made in my kitchen, and I genuinely believe it is all due to the homemade ricotta. If you are up for the challenge, please try to make the ricotta and use it for this ice cream recipe; you won't regret it.

Like I stated above, Corrado is a proponent of using good, quality ingredients. So if you have the means to, try opting for organic or raw ingredients. Using organic eggs in a recipe where they are such an integral part of the recipe (the ice cream is custard-based) will really make a difference in taste. I also bought organic raw honey from Trader Joe's and now I don't think I can ever go back to the normal stuff. BUT, we aren't all Rockefellers here; if you don't want to spend the extra cash for these ingredients, you don't have to! It'll still taste amazing. 

Lastly, I am calling this recipe "ice cream" and not gelato for a couple of reasons: 1) traditional Sicilian gelato does not use eggs in their recipes and 2) gelato is made with more milk than cream - in the recipe I provide, we only use cream and get the "milk" aspect from the whole milk ricotta used. 

EBC44B3B-5EDA-4578-BFFC-6B418C823785.jpeg

Homemade Ricotta

Yields about 2 cups

Recipe adapted from Epicurious

Ingredients

  • 2 quarts (half gallon) whole milk

  • 1 cup heavy cream

  • 1 1/2 tsp. salt

  • 1/4 cup lemon juice

Directions

BA4BC467-537C-4E5E-B8A4-0994AE41D770.jpeg
  1. Line a colander with at least three layers of cheesecloth and place the colander over a very large bowl to catch liquid.

  2. Over medium-low heat, bring the milk, heavy cream, and salt to a rolling boil. Depending on how cold your ingredients are, this could take up to 10 minutes. Stir occasionally to prevent scorching.

  3. Once boiling, add the lemon juice and reduce the heat to low. Stir constantly until the milk mixture begins to curdle. This may take a couple of minutes.

  4. Pour the mixture over the cheesecloth and allow to drain for an hour (read above about draining times for ricotta).

  5. Discard the liquid (whey), and transfer the ricotta to a covered container. Store in the fridge for up to one week.

Ricotta Ice Cream

Yields about 1 quart

Recipe adapted from David Lebovitz

Ingredients  

  • 1 cup heavy cream

  • 1/2 cup sugar

  • pinch of salt

  • 5 large egg yolks

  • 1/4 cup honey

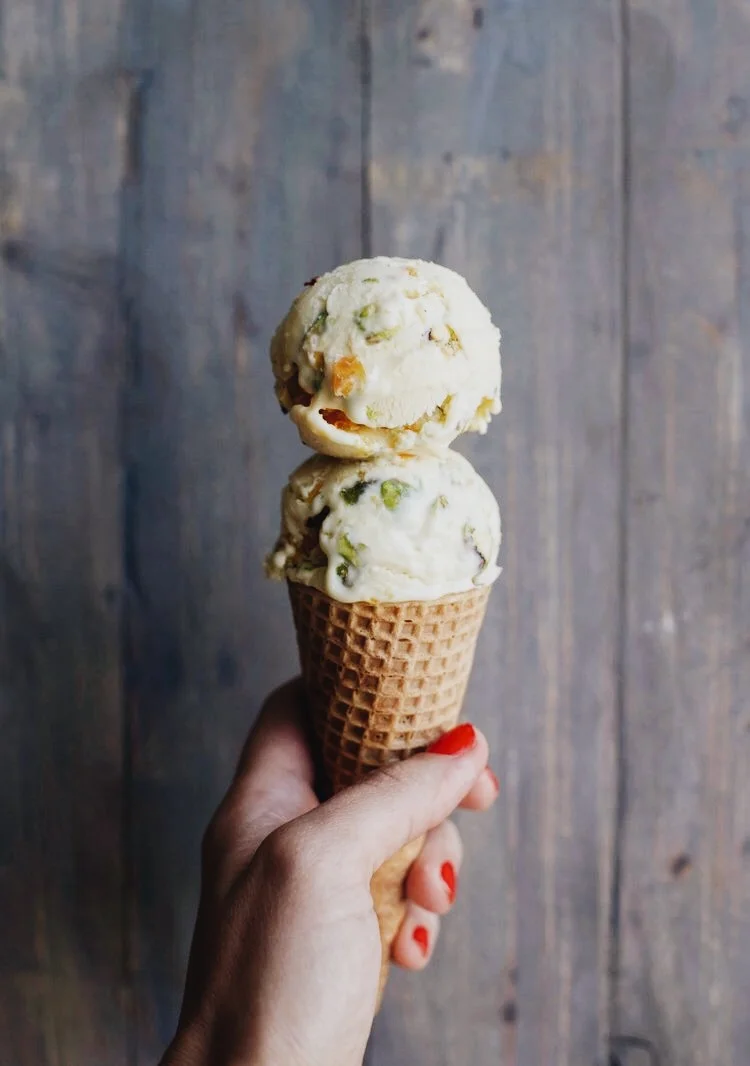
  • 2 cups whole-milk ricotta

  • 2 tsp. dark rum (optional)

  • 1 tsp. fresh lemon juice

  • 1/4-1/2 cup roughly chopped pistachios

  • 1/4-1/2 cup finely diced candied citrus (orange, lemon, lime - I used mandarin)

Directions

  1. In a small saucepan, bring heavy cream, sugar, and salt to an almost simmer - you just want to warm up the mixture. Meanwhile, prepare an ice bath by placing a metal or glass bowl in a larger bowl that is filled with ice and water. Place a strainer over the smaller bowl.

  2. In a separate bowl, whisk the egg yolks together and set aside.

  3. When the cream mixture has heated up, begin to gradually add some of it to the bowl of egg yolks, whisking constantly as to not scramble the eggs (this is called tempering). Once the egg yolk mixture temperature has raised, pour the mixture into the sauce pan. Stir constantly over medium heat until the mixture thickens and coats the back of your spatula or spoon.

  4. Pour the custard over the strainer in the prepared ice bath and stir until it has cooled down.

  5. After cooled, pour the custard into a blender along with the ricotta, honey, and dark rum (if using) and puree until smooth, about 45 seconds. Transfer mixture to a covered container and refrigerate until chilled.

  6. Stir in the lemon juice, and churn the ice cream in your maker (time will vary depending on what kind of ice cream maker you have - I have this one, and it took less than 20 minutes). The consistency will be on the "soft-serve" side, rather than a regular ice cream. It will firm up in the freezer. Be careful not to over-churn.

  7. When done churning, transfer to a container and mix in the pistachios and candied citrus. Freeze until ready to serve.