CHOCOLATE CHUNK AND ORANGE POUND CAKE

public.jpeg

Since starting this blog about six weeks ago, I've been using it as an excuse to buy new kitchen/bakeware products that I've always wanted. This includes some new cake plates, a bundt cake pan, a set of offset spatulas to help with frosting cakes, etc. etc. Furthermore, with me being in charge of the desserts at my sister's upcoming wedding, I've been taking it as an opportunity to trade in my hand-me-down mismatched cake pans and upgrading to a set that hopefully will allow me to bake level and identical cake layers. 

One product that I recently purchased was a digital kitchen scale. Any good baker knows that weighing ingredients in either grams or ounces is the most efficient and accurate way when baking. But being in America where we don't use the metric system and measure our ingredients not by weight but rather by volume, we've just become accustomed to not using a scale. 

public.jpeg

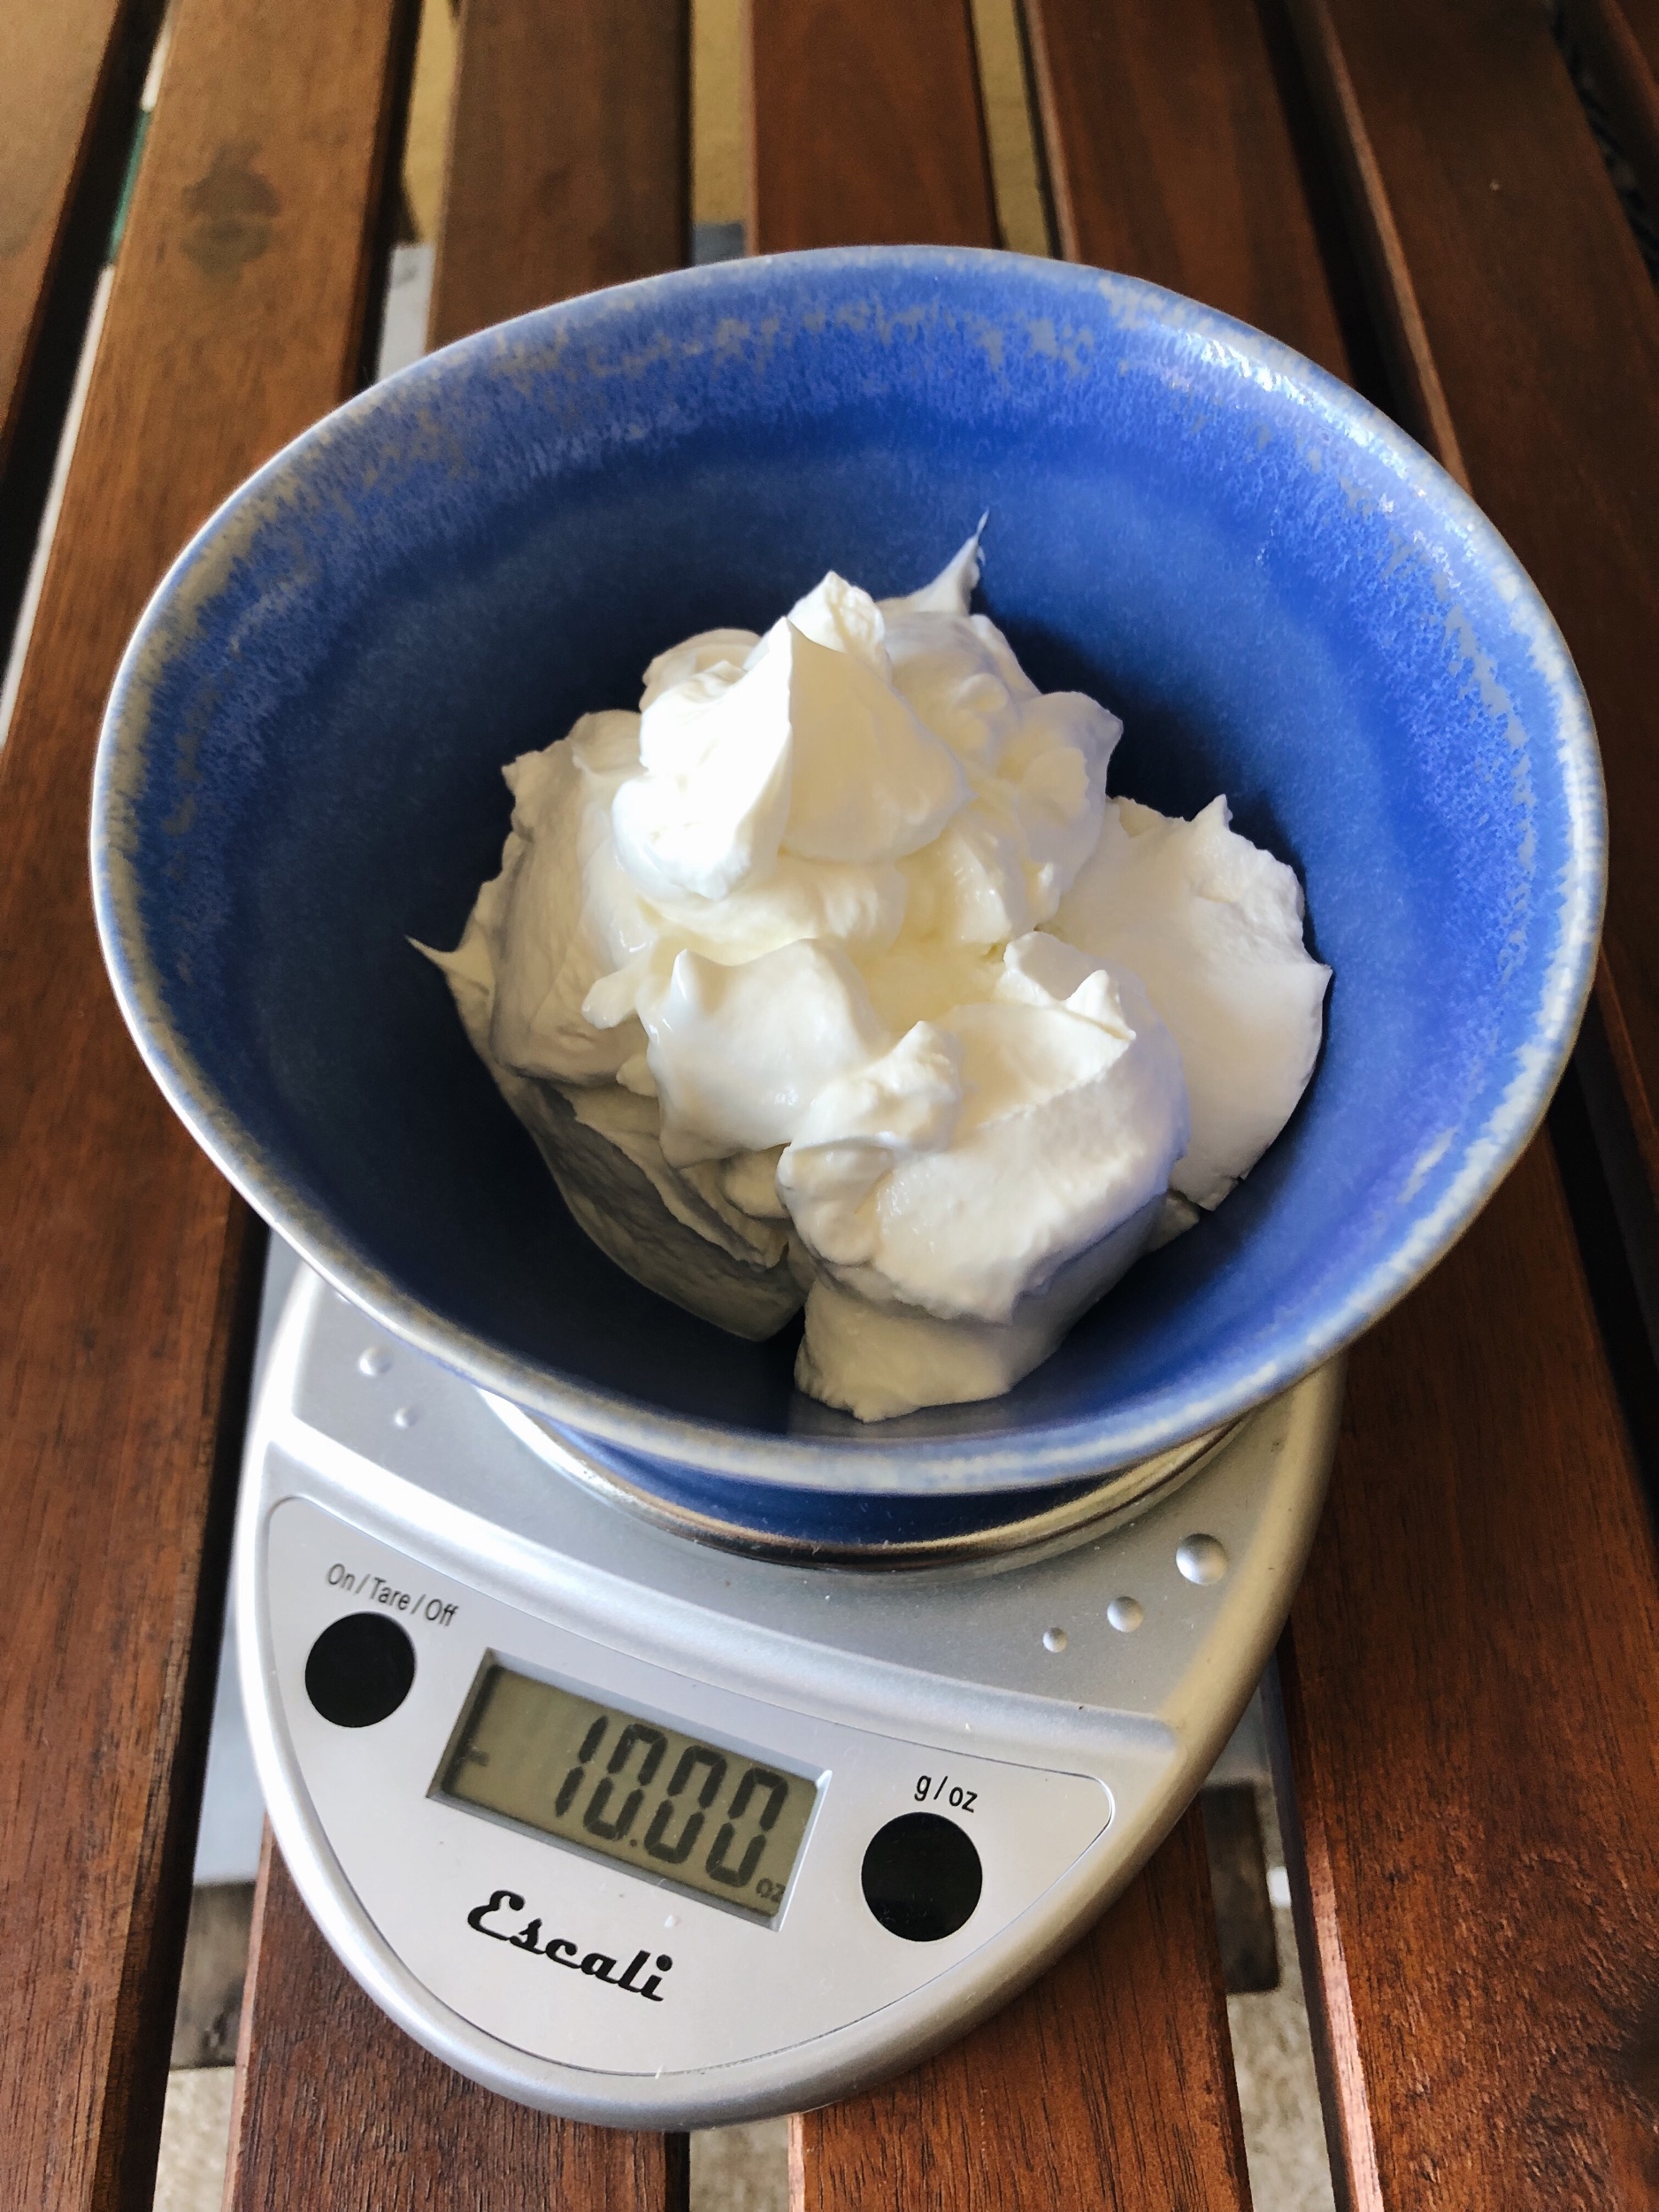
The kitchen scale not only helps with the obvious aspect of properly measuring out ingredients - with flour at the forefront of ingredients that most bakers do not successfully measure out when using cups - but it also helps with dividing up batter for layered cakes. When I found out I would be baking my sister's wedding cake I decided to buy a kitchen scale. In the past, I would always eyeball the batter when dividing it between cake pans, mostly because I was just making a simple birthday cake and it wasn't that important to be identical, but the layers absolutely need to be perfect for a wedding cake.  

public.jpeg

This brings me to this very, very good pound cake. This past weekend I was scrolling through saved recipes on my computer when I came across this one. I love a simple pound cake and I especially love one that can be customized to whichever flavors you decide to choose that day. When I noticed that two of the ingredients (flour and sour cream) were given in ounces and not cups, I knew I had to test out my kitchen scale. The results were perfect, and I am going to safely say that I believe it is due to the scale... I read through the 60 or so comments on the recipe and it seems that those who didn't use the scale ended up having trouble with the recipe (or just had trouble in general).

public.jpeg

With that said, if you do not own a scale, I would suggest being very careful when measuring out your flour and sour cream - do not forget to properly spoon and level when measuring. But if you have no desire to go out and buy a scale, I provide measurements for both ingredients in cups. 

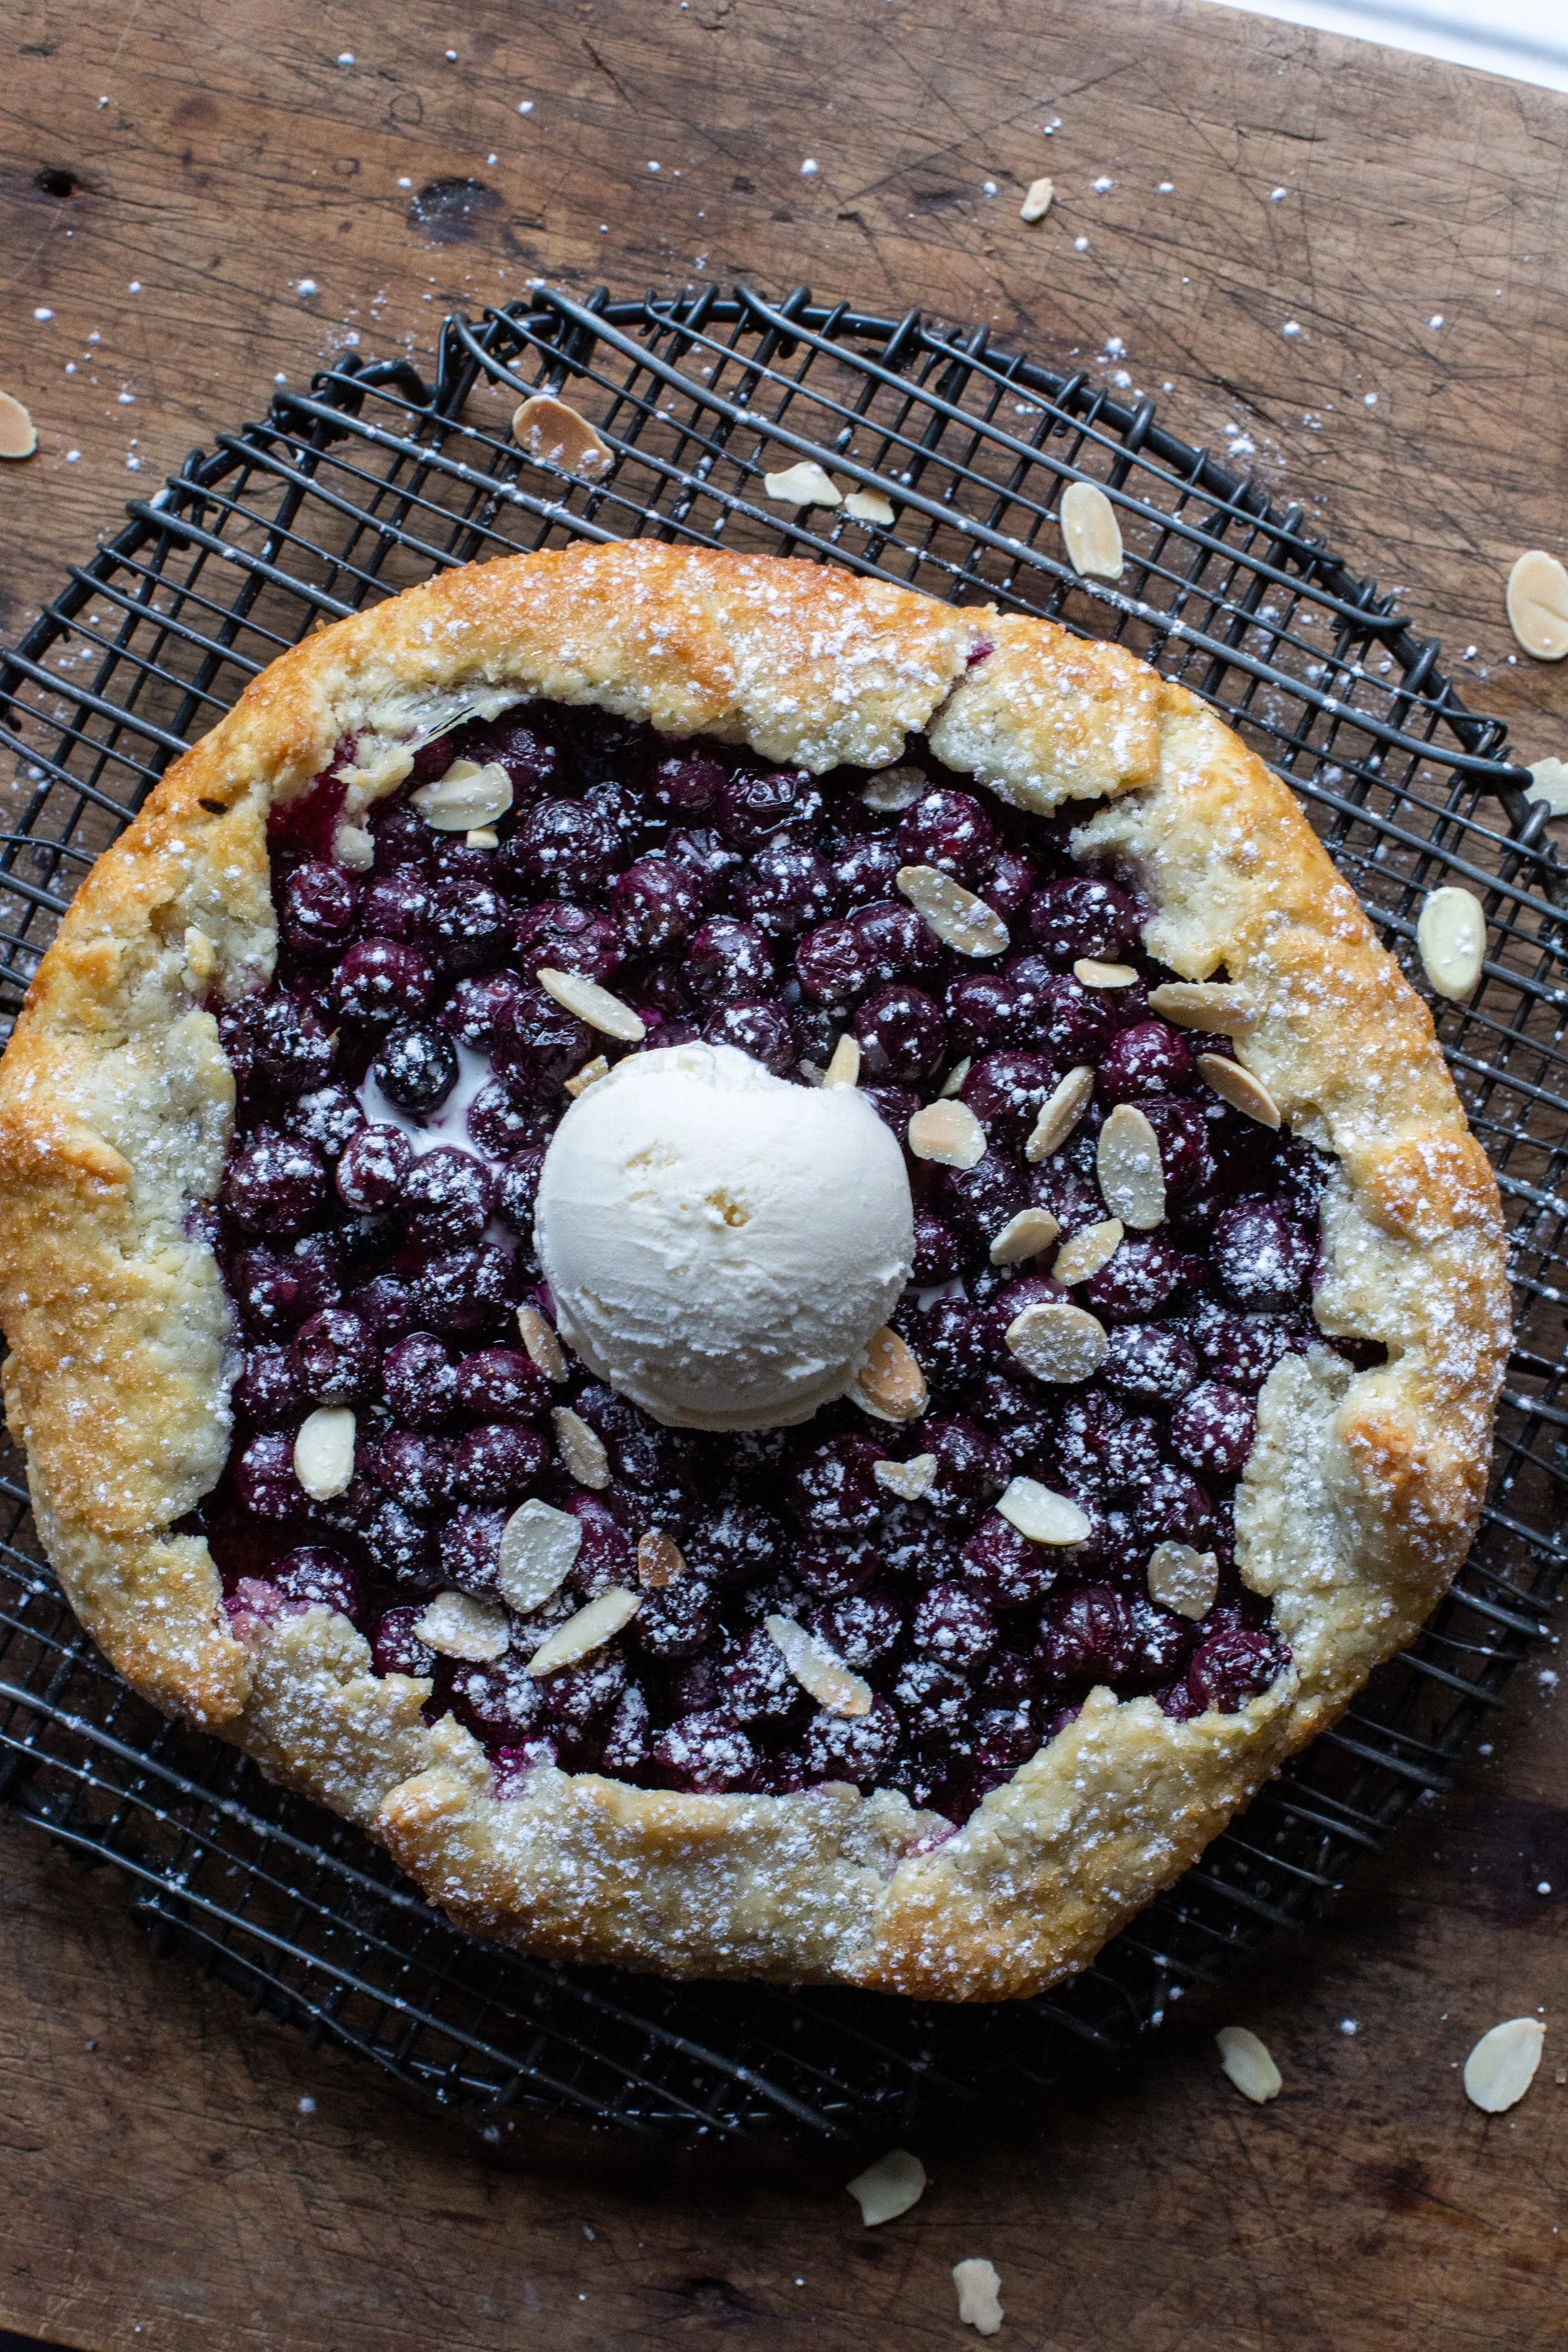
Also, if you aren't a huge fan of the combination of orange and chocolate, have no fear, you can take each of these ingredients out and either just have a plain pound cake (with whipped cream and strawberries) or you can substitute with nuts, dried cranberries, fresh berries, etc. You're the one baking here so you have the power to add whatever you want to it!

public.jpeg

Chocolate Chunk and Orange Pound Cake

Makes 1 bundt cake or 2 (9x5) loaves

Recipe adapted from Jodi Rhoden via Food52

Ingredients 

public.jpeg
  • Cooking spray or butter (for the pan)

  • 3 cups sugar (plus more for the pan)

  • Zest of 3 large oranges

  • 14.4 oz. (2 3/4 cups plus 2 tbsp.) all-purpose flour, sifted

  • 1 tsp. baking soda

  • 1 tsp. salt

  • 8 oz. (2 sticks) unsalted butter, room temperature

  • 6 large eggs, room temperature

  • 10 oz. (1 1/4 cups) sour cream, room temperature

  • 1 1/2 tsp. vanilla extract

  • 1 1/2 cups semi-sweet chocolate chips or chunks (mixed with 1 tbsp. of flour)

  • Confectioners' sugar, to finish (optional)

Directions 

  1. Preheat your oven to 350°F. Generously grease your bundt pan or loaf pans with cooking spray or butter, and coat the pan with a layer of sugar (much like you do with greasing and flouring a pan). Tap out the excess sugar.

  2. In a bowl, whisk together the flour, baking soda, and salt and set aside.

  3. In an another bowl, using your hands or a whisk, massage/mix the sugar and orange zest together until fragrant (this helps release the oils in the zest) and add to the bowl of a stand mixer fixed with the paddle attachment (or you can use a hand mixer). Add the butter, and cream together until it is light and fluffy. Scrape down the sides.

  4. Add the eggs, one at a time, making sure each one is fully incorporated before adding the next. Add the sour cream and vanilla and mix. Scrape down the sides again.

  5. Slowly add the flour mixture to the stand mixer and mix until the batter is smooth, but do not overmix. Fold in the chocolate chips or chunks with a spatula. *Reminder that the chocolate is tossed with 1 tbsp. of flour to prevent it from sinking to the bottom while baking.

  6. Pour the batter into your desired cake pan. If using a bundt pan, do not fill the cavity more than 2/3 full, to avoid the cake spilling out. If you have enough leftover batter, you can make cupcakes or even a single 6in. cake.

  7. Bake in the oven for just about 1 hour, or until a small serrated knife inserted in the center comes out clean. Allow the pan to cool for 10 minutes before turning the cake out. Dust with confectioners' sugar (if using) and enjoy!


DUTCH BABY PANCAKE

IMG_0312.jpg

On a Friday afternoon a couple of years ago, I was partaking in one of my favorite weekly traditions: watching a marathon of Diners, Drive-Ins and Dives ("Triple D" for the super fans) on the Food Network. Any fan of the Food Network knows that every Friday starting at 2pm Guy Fieri, the host of Triple D, graces your TV set for about 12 hours straight. Depending on my relationship status, I would watch somewhere between 2 episodes and... 10 (maybe even more, ugh). I've been a huge fan of the show for as long as its been airing and I literally never get sick of watching it, even if I've already seen the episode numerous times. A lot of people don't really take Guy seriously or think that I'm being ironic by saying that I like him, but I genuinely think he's a great guy (pun intended) with an awesome personality. 

IMG_0239.jpg

My point of bringing up Triple D is that it is where I was introduced to the Dutch baby. In one episode, Guy is visiting a diner in Berkeley, California where they specialize in all kinds of pancakes but their signature is a souffle pancake. Guy had never heard of such a thing and asked the diner patrons if they had either.,, they hadn't but one diner said it had reminded her of a Dutch baby. Even though the souffle pancake looked pretty interesting, I immediately looked up what a Dutch baby was and found myself baking it that very same weekend. Thanks, Guy!

IMG_0301.jpg

A Dutch baby, also known as a German pancake, is essentially a big puffed pancake that is cooked in the oven in a skillet. In my opinion, I actually think it is easier to make than a whole batch of pancakes on the stovetop - with a Dutch baby you don't have to keep an eye on it as much. What's also great about it is that you can customize it to your own liking with not only how you finish it (powdered sugar, mixed berries, jam, maple syrup. lemon juice, etc.), but you can also add fruit, nuts, chocolate chips, etc. to the batter just like you would with regular pancakes. I made a peach Dutch baby last summer and it was nothing short of amazing.

IMG_0298.jpg

I wanted to give the recipe for a Dutch baby now because like I said in my previous post, I'm focusing on Mother's Day-friendly dishes this week. A Dutch baby is absolutely perfect if you are planning on throwing a brunch together for the mother figure in you life. Each Dutch baby is enough to serve about 4 people, so it would be a perfect sweet addition to a quiche, eggs Benedict, etc. Much like a pancake, this dish is best eaten immediately so I would only suggest making it if you plan on serving it straight from oven to table. But if you plan on trekking to your mom's house for the holiday, just make your mom go watch an episode of the Real Housewives or Triple D (we've come full circle here) and you'll be surprising her with a beautiful, puffy pancake by the time the show is over.  

Note for the Dutch baby: in order to ensure that your pancake puffs up significantly, have your milk and eggs at room temperature. The best part of a Dutch baby (besides eating it) is pulling it out of the oven to see how much its risen. Each one is unique looks-wise, but always has the same delicious flavor. 

IMG_0345.jpg

Dutch Baby Pancake

Serves about 4

Recipe adapted from NYT Cooking

Ingredients

IMG_0294.jpg
  • 1/2 cup milk (whole or 2%), room temperature

  • 1/2 cup all-purpose flour

  • 3 large eggs, room temperature

  • 1 tablespoon sugar

  • 1/2 tsp. vanilla extract

  • Pinch of nutmeg

  • 2-3 tbsp. unsalted butter

  • Maple syrup, mixed berries, confectioners' sugar, jam, lemon juice, to finish (all good options, choose whatever you want!)

Directions

  1. Preheat oven to 425°F.

  2. In a bowl, whisk together the milk, flour, eggs, sugar, vanilla extract, and nutmeg. Set aside.

  3. Place the butter in a skillet (10-12 inches in size) and put it in the oven until the butter is melted (careful not to let it burn).

  4. Pull the skillet out and immediately pour the pancake batter over the melted butter and put back into the oven. Bake for 15 to 20 minutes, or until the pancake is golden brown.

  5. Finish with your toppings of choice - maple syrup, berries, confectioners' sugar, jam/preserves, lemon juice, etc. Enjoy!


PÂTE BRISÉE + BLUEBERRY GALETTE

IMG_6917.jpg

With Mother's Day coming up this weekend, I figured I would share a few recipes this week that would be excellent for all the mamas out there. Typically, Mother's Day for my family entails some sort of mimosa-filled brunch followed by either shopping and/or going to the beach. Brunch seems to be a tradition that many other families partake in for the holiday, so today I'm providing a brunch "dessert", but let's face it, you can eat it at any time of the day you wish (hello breakfast). 

The dessert that I'm referring to is a galette. Galettes are my secret weapon in the baking world that I pull out when I want to impress people but most importantly, they are insanely easy to make. If you aren't aware of what a galette is, it is basically a freeform version of a pie: you do not bake it in a dish of any kind and form the shape of it yourself. With that said, a galette is rustic in nature and that's what makes it so cool; every one is unique in and of itself and there's no right way to do it necessarily. 

IMG_6478.jpg

But in order to have an amazing galette, we must back track a bit and learn how to make the foundation of it - the pie crust, or what we will refer to as the pâte brisée ("pie crust pastry" in French). To me, the pie crust is the single most important aspect of any pie or galette. The filling could be mediocre at best, but as long as the crust is flaky and buttery, I am happy as can be. 

For today's galette, I decided to keep it simple and provide you with a blueberry and lemon filling. But honestly, you can do whatever filling you want to! In the past I've taken the pâte brisée recipe and made a strawberry galette, a nectarine and blackberry galette, and even a lemon cheesecake (for this I used a pie dish). The recipe provided gives you two 8-10 inch pie crusts depending on how thin you roll it out, but you can make about a dozen hand pies with it or one gigantic galette. The sky is truly the limit with this recipe.

IMG_6653.jpg

With that said, the pie crust recipe that I am giving you today has been adapted to be on the sweeter side (1 tablespoon of sugar as opposed to 1 teaspoon) so feel free to scale back. I personally think the crust is perfect, but just know that there is room for adjustment. Also, if you want to use the pie crust for a savory pie, I would omit the sugar fully and leave everything else the same. 

IMG_6723.jpg

Lastly, I want to stress how easy it is to make both (pâte brisée and galette) of these recipes. I've made the pâte brisée countless times and just about every one of those times, I could have sworn that I did something wrong like adding too much ice water or over-mixing the dough, only to find that it still came out PERFECTLY. It really is a fool-proof recipe that I promise beginners can achieve. And once you get to forming the galette, that's honestly the fun part and shouldn't cause you any stress.

So for Mother's Day, make the pâte brisée and choose something to bake that your mother will love. Whether that be a berry galette, a rhubarb strawberry pie, or a dozen hand pies, make it for her and I promise you that you'll get more bonus points than your sister who only gave her a card. 

IMG_6892.jpg

Pâte Brisée

Makes 2 8-10 in. pie crusts

Recipe from Smitten Kitchen

Ingredients

  • 2 1/2 cups all-purpose flour

  • 1 tbsp. sugar

  • 1 tsp. course salt

  • 1 cup (2 sticks) unsalted butter, cold and cut into small pieces

  • 1/4 to 1/2 cup ice cold water

Directions

  1. In the bowl of a food processor fixed with the s-blade, mix together the flour, sugar and salt.

  2. Add in the butter, and pulse for about 10 seconds, or until the mixture resembles coarse crumbs with some larger chunks of butter.

  3. With the food processor on low, pour the water through the feed tube until the dough holds together, but is not sticky or too wet. You can test this by pinching the dough between your fingers - if it holds together, the dough is ready. If it's still too crumbly, add 1 tbsp. of water at a time until you've reached the right consistency. Do not over mix! This ensures a flaky crust.

  4. Turn out the dough onto a clean surface and divide in half. Shape each half into a disc and wrap individually in plastic wrap. Refrigerate the dough for at least one hour, if using soon. If not, the dough can be frozen for up to 1 month (allow the dough to defrost in the fridge overnight if frozen).

Blueberry Galette

Makes 1 galette

Ingredients

  • 1/2 recipe pâte brisée (one of the pie dough halves from the recipe above)

  • 2 1/2 cups fresh blueberries

  • 1 tbsp. cornstarch

  • 1 tbsp. lemon zest

  • 1 tbsp. fresh lemon juice

  • 1/4 cup granulated sugar

  • 1/4 tsp. salt

  • 1 large egg, beaten plus 1 tsp. water (for crust)

  • Raw/turbinado sugar, to sprinkle on crust

  • Confectioners' sugar, toasted sliced almonds, vanilla ice cream, to finish (optional)

Directions

  1. Line a baking sheet with parchment paper and set aside. Lightly flour a clean work surface and roll out the dough into about 12 inches round, flipping the dough over every once in a while as to prevent it from sticking. Transfer the dough onto parchment-lined baking sheet and refrigerate for about 15-20 minutes.

  2. While the dough is refrigerating, work on making the filling. In a bowl, gently mix the blueberries, cornstarch, lemon zest and juice, sugar, and salt.

  3. Preheat the oven to 400°F. Remove the dough from the fridge and let it sit for about 5 minutes or until it is workable. Spoon the filling into the center of the dough, being careful to leave about 2 inches of a border. If you're worried that not all of the filling will fit, take some out.

  4. Brush the 2 inch edges with the egg wash, and begin to push and tuck the dough inward over the filling, so that it provides a border. Once again, brush the border with the beaten egg and sprinkle with raw sugar.

  5. Bake in the oven for about 35-45 minutes, or until the blueberries are bubbling and the crust is golden brown.

  6. Transfer to a cooling rack, and if desired, sprinkle with confectioners' sugar, sliced almonds, and/or vanilla ice cream.