FROZEN STRAWBERRY MARGARITAS

IMG_0201.jpeg

This past weekend, Southern California saw its first signs of summer with temperatures reaching 90°F and higher. Although I was looking forward to working on a new bundt cake recipe (I’m thinking lemon-raspberry), I could not make myself or my family suffer by turning the oven on, and decided to forgo baking altogether. Since it’s been quite some time that I’ve shared a new cocktail recipe - it’s been a YEAR since I posted my Tangerine Margaritas recipe - I figured there was no better time than the present to share another margarita recipe that is very near and dear to my heart: frozen strawberry margaritas.

IMG_0138.jpeg

I have a long history with frozen strawberry margaritas in that my love for them comes from my mom’s side of the family. Growing up, when my mom, her three sisters and my grandma would all be together, which was usually once a year during Christmas/New Year’s Eve time, they would celebrate by making tons of food, dancing like crazy, and most importantly, making batches of blended strawberry margaritas. Those memories, of when my whole family was together and having such a great time, are some of my most cherished from my childhood. So when I was of legal age and finally able to try my very first frozen strawberry margarita, I was brought back to those happy memories where I was playing with my cousins, dancing with my aunts and watching my grandma (who sadly passed away when I was 11) cook and bake up a storm. I guess it’s funny to associate a cocktail with my childhood because obviously I didn’t drink them then, but to me it symbolizes a time when life was easy and fun, and I had no worries in the world. And I don’t know about you, but I think we could all use a reminder of that right now.

IMG_0149.jpeg

And so that’s why I’ve taken it upon myself to continue the tradition of making frozen strawberry margaritas whenever I have a big group of friends around. Over the years, I have lugged my blender with me (yes, I always bring my own blender with me on mini-trips… never trust that an Airbnb has a good one!) to birthday celebrations in Big Bear, bachelorette parities in Palm Springs and our countless Fourth of July vacations in Scottsdale, Arizona. I am that person who will immediately get into the kitchen upon arrival and get straight away to blending up a big batch to pass out to everyone. And when I notice people are running low, I’ll make another batch (and another). It isn’t about getting drunk (well, maybe that’s what it’s about for some people); it’s about creating memories with the ones you care about and the margaritas just so happen to be there when it all goes down.

IMG_0175.jpeg

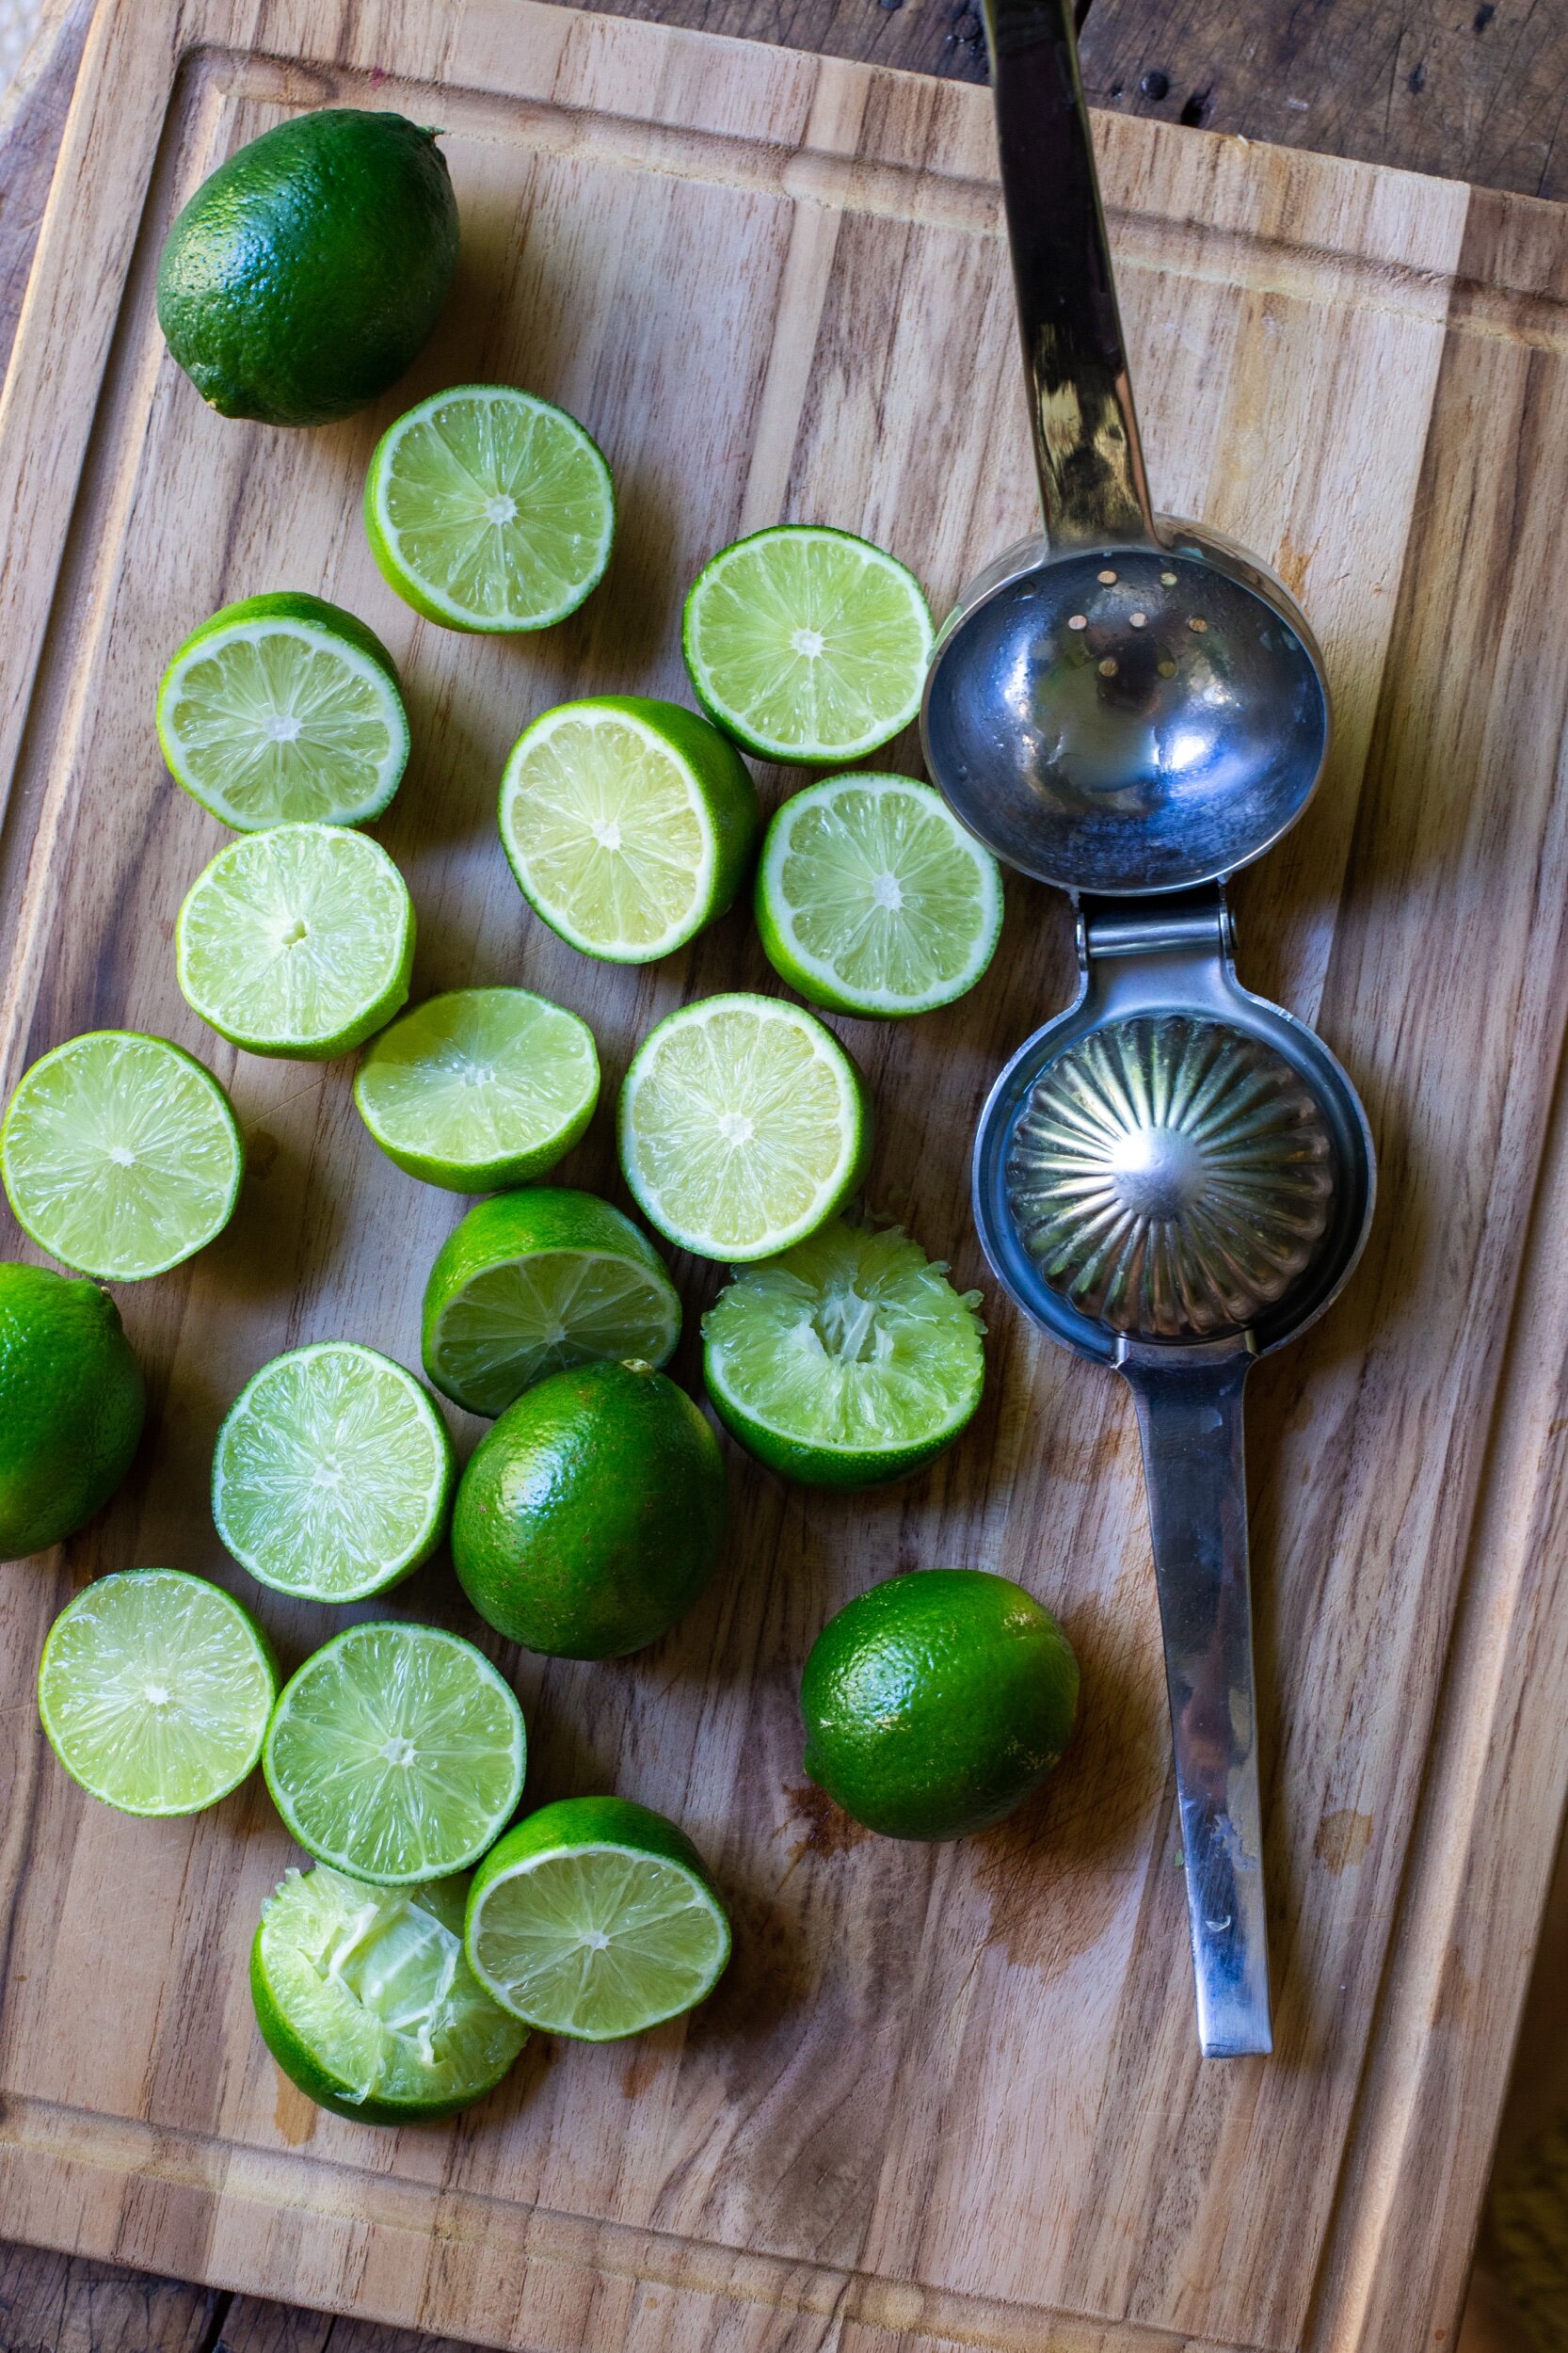
But if I’m being perfectly honest, I had always made my frozen strawberry margaritas using Costco margarita mix, which is equal parts cheap, convenient and delicious. I have no shame in using margarita mix, but if I were to share a recipe with you that said “go to Costco and buy a mix”, I would consider myself a huge phony. So, I figured out the right ingredients and measurements to make your own mix and I gotta admit, it’s much more delicious and fresher than the store bought version (like that should come as a surprise to no one). The only thing that is kind of a hassle is the squeezing of limes, since fresh lime juice is vital to a good margarita. To fix that problem, I suggest investing in a citrus squeezer, which I actually included in my Gift Guide for Christmas last year.

IMG_0209.jpeg

Frozen Strawberry Margaritas

Serves 4

Ingredients

  • 8 oz. tequila (your choice on what kind, but I prefer blanco)

  • 6 oz. fresh lime juice

  • 4 oz. Cointreau or triple sec

  • 2 oz. agave nectar

  • 8 oz. frozen whole strawberries

  • 3-4 cups of ice

Directions

  1. Salt the rims of your desired glasses and set aside (this is optional but recommended to counter the sweetness of the margarita).

  2. Add all ingredients to a large blender and blend until smooth. Pour into prepared glasses and enjoy immediately.

  3. If you have extra margarita, store it in the freezer. If it becomes too frozen over time, simply re-blend to break it up.

ORANGE RICOTTA PANCAKES

3CD5282B-E340-4B2A-A6D1-6439C5357089.jpeg

I don’t even know where to begin. It’s been a month since I last posted a new recipe and I think it’s safe to say that we’ve (every single person on this planet) all been living an ongoing nightmare since then. I am, unfortunately, not writing this post sitting in my new apartment in Portland, Maine… our move, which was supposed to be on April 1st, got pushed back indefinitely and we’ve been staying at my mom’s house in Orange County for the time being. I don’t want to get into anything heavy or speak of my personal struggles because that’s not what I want to remember when I look back at this post years from now (nor do I want you guys to read yet another thing related to COVID-19), but I just want to say that I hope you all are well and that you’re in my thoughts every single day. If you want to privately message me, I’m here for you.

IMG_9602.jpeg

I’ve noticed online that a good amount of people have been taking this time of isolation as an excuse to pick up a new language, learn how to play an instrument, take an online course to get certified for something, or read as many books as humanly possible. And I’d like to let it be known that I am not one of these people. Besides exercising, baking, and watching as many random movies as I can, the only thing that I’ve “learned” is that my love for eating pasta has grown tenfold. And I feel no shame about it! I just want people to know that everyone deals with things differently and if you want to sit on your butt every day and do nothing meaningful or productive, then that’s perfectly fine. For example, I could have been hard on myself for not taking advantage of the extra time the past few weeks to post new recipes every other day, but I didn’t have the mental capacity or desire to! I honestly just wanted to bake for myself (and my family) and return to older recipes of mine that I didn’t have the time to remake. I baked my funfetti sugar cookies, chocolate sorbet, coffee toffee ice cream, etc, etc. - and it’s been making me SO happy. So why would I change that? I also didn’t feel comfortable with posting a recipe with ingredients that you may not have and I don’t want anyone going to the grocery store because of me!

DADA6DCB-D341-48FC-9B7C-BD861AB6085B.jpeg

But after about three weeks of being on an emotional rollercoaster, I finally found myself wanting to write and share something new with you and I landed on the breakfast/brunch staple that are pancakes. And not just plain old pancakes, but ones riddled with fresh orange zest/juice and creamy ricotta cheese. If you’ve been around, you know that my love for ricotta runs deep - I have a recipe on how to make homemade ricotta along with ricotta ice cream; I have the most beautiful citrus ricotta bundt cake with pistachios; and finally, I have the adorable individual apple ricotta tarts with homemade caramel drizzled on top.

The addition of ricotta to pancakes isn’t so much about changing the flavor but more so about getting a fluffier and creamier texture. On top of this, the number of eggs added - three- makes the pancakes even more decadent and custard-like since normal pancake recipes usually call for only one egg. You’re probably thinking that these additions to the recipe would mean that they’ll be too heavy or rich, but after eating a stack of four for lunch the past two days, I can attest that they’re just perfect. A big part of what helps cut through the creaminess from the ricotta and eggs is the addition of citrus (orange in this case) via the juice and zest. The citrus really brightens up the pancakes and prevents you from feeling like you’re being filled with too much dairy.

E378C760-C3D0-4D94-B910-F923B4FC09B4.jpeg

A couple of tips for when it comes to making these perfect pancakes: 1) if you have the time, have all the ingredients - namely the eggs, milk and ricotta - be room temperature. This ensures a smoother incorporation of the batter and therefore a better textured pancake. 2) Speaking of ingredients, make sure that your baking powder isn’t expired. I know a lot of people who don’t bake too often and when they finally do, the recipe fails and it’s usually since they’re baking powder (or soda) is months over the expiration date. 3) Do not over mix the batter! This is a given in almost every recipe for baked goods but is probably the most important when it comes to making pancakes. 4) After the pancake batter is finished, allow it to “rest” for about 15 minutes so that the flour can be properly hydrated and the leavening agents (baking powder and soda) can be evenly distributed.

So, if you have all of these ingredients in your fridge right now - don’t forget that you can make your own ricotta cheese with only 4 ingredients (milk, heavy cream, salt and lemon juice) - by all means, go ahead and make these this weekend for Easter brunch and try to have a fun and joyful holiday. And if you don’t have the ingredients, just remember to pick up some ricotta and oranges the next time you’re able to safely make it to the grocery store, and make a batch of the pancakes on a random weekday. Trust me, having these babies on a Tuesday morning will definitely brighten your day and I know we could all use that right now,

79B29689-D49E-400B-AB19-150208E31AC2.jpeg

Orange Ricotta Pancakes

Yields 12-13 pancakes

B5B41383-EBB6-4400-A777-38D2FFCA7DF3.jpeg

Recipe adapted from Cooking Classy

Ingredients

  • 3 tbsp. granulated sugar

  • 2 tbsp. orange zest

  • 1 1/2 cups all-purpose flour

  • 2 tsp. baking powder

  • 1/4 tsp. baking soda

  • 1/2 tsp. kosher salt

  • 3/4 cup ricotta (full-fat or part skim), homemade or store bought, room temperature

  • 1 cup milk (whole or 2%), room temperature

  • 3 large eggs, room temperature

  • 1 tsp. vanilla extract

  • 1/4 cup fresh orange juice

  • 1 tbsp. butter, melted and slightly cooled

Directions

  1. In a large bowl, using your hands or a whisk, massage/mix the sugar and orange zest together until fragrant (this helps release the oils in the zest). Add the flour, baking powder, baking soda and salt and whisk until combined.

  2. To a medium-sized bowl, whisk together the ricotta, milk, eggs, vanilla extract and orange juice. Slowly pour in the melted butter while whisking at the same time (just in case the butter is still too warm from being melted).

  3. Add the wet ingredients to the dry ingredients and mix until just barely incorporated. DO NOT OVER MIX. Allow the batter to rest at room temperature for 15 minutes,

  4. Preheat a lightly oiled griddle or frying pan over medium high heat. Scoop about 1/3 cup of batter for each pancake and cook on the first side until the edges appear set and bubbles appear on the top surface, about 3 minutes. Carefully flip and continue to cook for another 2-3 minutes, or until the pancakes are golden brown. Repeat until all batter is used up.

  5. Serve immediately with maple syrup, powdered sugar and/or lemon curd, Enjoy!

CHOCOLATE HAZELNUT + ORANGE SCONES

IMG_9214.jpg

It’s been about six months since my last scone recipe (these beautiful strawberry cream babies) so I’m thrilled to offer you a brand new flavor combination with my chocolate hazelnut and orange scones,

Ever since I posted the recipe for my chocolate orange bundt cake, my love for this classic flavor pairing has grown exponentially. Coming from a kid who detested the idea of any dessert involving chocolate and fruit (I’m looking at you as well, raspberry), it’s a big deal that I’ve overcome this, and I find myself constantly buying anything that marries the two. Since scones are my favorite pastries to get when I go to coffee shops, I had to see for myself if chocolate orange scones would work out. Spoiler: they did.

9631A044-5D3B-4C55-B475-D554FE19394A.jpeg

I decided to use the base of my cranberry-orange scones from an earlier post, which yields slightly sweetened and tender scones with a crunchy exterior. Unlike my strawberry cream scones, this recipe calls for cutting butter into the flour mixture. Although is a fairly simple procedure, the only thing you have to worry about is not over mixing the dough. My two other tips that will guarantee a perfect batch of scones are: 1) keeping the ingredients/dough as cold as possible and 2) brushing the pre-baked scones with milk/cream/egg wash and sprinkling with sugar. I go into more detail on these tips in my cranberry-orange scone post, so feel free to review them there.

Although these scones get a great amount of crunchiness from the added sugar on top, especially if using turbinado sugar, I also wanted to add some sort of nut for extra texture as well as flavor. I at first was going to try pecans, but when I opened up my freezer to check out my supply, I found two unopened bags of raw hazelnuts that were intended for gelato; it seemed to be fate. And since we all know how well chocolate and hazelnuts work together (hello, Nutella!), the combination of the two mixed with hints of orange zest sprinkled through out the dough brought it to a whole different level of deliciousness, This scone is quite simply the best one I’ve had in a long time.

IMG_9142.jpg

Chocolate Hazelnut Scones

Yields 8 large scones

Recipe adapted from Epicurious

Ingredients

IMG_9373.jpg
  • 3 cups all-purpose flour

  • 1/3 cup granulated sugar

  • 2 1/2 tsp. baking powder

  • 1/2 tsp. baking soda

  • 1 tsp. salt

  • Zest of 1 large orange

  • 3/4 cup (1.5 sticks) unsalted butter, chilled and cut into 1/2” pieces

  • 1 cup buttermilk, chilled, plus more for brushing

  • 1/2 cup roughly chopped dark chocolate

  • 1/2 cup roughly chopped toasted hazelnuts

  • Turbinado sugar (or granulated sugar), for sprinkling on top

Directions

  1. Sift the flour, sugar, baking powder, baking soda, and salt together into a large bowl. Whisk in the orange zest.

  2. Add the butter pieces to the mixture by working with your hands or a pastry cutter, and rub the mixture together until it resembles course crumbs. Slowly add the buttermilk, mixing it in with a fork or wooden spoon. Very carefully, fold in the chopped chocolate and hazelnuts.

  3. Turn the dough out onto a lightly floured surface and knead it a couple of times. Using your hands, work the dough into a 1-inch thick circle. With a sharp knife, cut the circle into 8 wedges and transfer the scones to a large plate (or two) and pop them into the freezer for 30 minutes.

  4. Preheat the oven to 400°F and line a baking sheet with parchment paper. Transfer the scones to the prepared baking sheet, leaving about 2 inches between each scone. Brush each scone with buttermilk and sprinkle with turbinado sugar.

  5. Bake the scones in the oven for 20-25 minutes, rotating halfway through, until the tops are a light golden brown. Enjoy!