

Today we are celebrating with cake because it is the ONE YEAR anniversary of The Vivid Kitchen! I feel like I’ve come a long way since my first post featuring skillet strawberry cobbler (which is still a favorite of mine, btw). This past year, I’ve been consistent with my posts but allowed myself time off when needed, I’ve gained confidence in areas of baking where I never was before (hello, cheesecake), and I’ve kind of learned to stress less about the whole process. The last one is forever a flaw of mine, so it’ll take more than a blog and a year to change that!
I started this blog because I really wanted to put my voice out there. My recipes may not be the most exciting or instagram-worthy, but I fully stand behind every single one of them. Each recipe was posted because I had a story to tell with it… none of them were random or because I thought it would “do well”. I waited for each post to happen organically and only if I could add my personality or anecdotes to it.

Although the blog brings me a lot of joy, I do have to be honest and say that it’s hard and expensive being a food blogger. Buying the items for each post adds up, especially when you are testing a recipe multiple times or have to remake the whole thing because the pictures you shot of the first batch came out horribly. Or, how people just expect you to have a never ending supply of props for each photoshoot… different glasses, plates, bowls, napkins, cutlery, vases. And let’s talk about photo backgrounds: I see how some bloggers have at least 5 different colored wood backdrops and each of those costs over $150. And we’re not even getting into the photography side of things! Some people have multiple camera bodies, half a dozen camera lenses, the best editing software, and so on and so forth. It all adds up. And it’s tough to not compare myself to these other bloggers who have been around for years and who have all the right tools to make amazing content. I try to focus on what I have, what I can share, and hope that you’re all recognizing that I’m doing the best that I can.
But back to the good. Years from now, I’m going to look back on this blog not only so I can refer to my favorite recipes all in one place, but also as a way to read what was happening in my life. Although I do believe in privacy, I did share a good amount of personal anecdotes and happenings in my life and because I documented them here, I know I’ll forever be grateful that I wrote about it. I really do love writing and it’s something I’ve missed ever since graduating college. So this is a definite outlet for me that I’m so lucky to have.

With that said, I would love your feedback on my blog. What’s working? What’s not working? What recipes would you like to see more of? Less of? Would you like me to do other kinds of posts where I talk about other stuff (movies I’ve seen lately, where I buy my kitchen essentials, workouts that I’m doing, etc. etc. etc.). Seriously, let me know what you think and I really promise that I’ll take it into consideration.
Alright, let’s get to the recipe. Believe it or not but today is the first time I’m sharing a recipe for a frosted layered cake! And not any typical layered cake but the ultimate carrot cake that I’ve been making for years. It’s the one recipe I reach for to celebrate birthdays, other holidays like Mother’s Day, and I even made it for my sister’s wedding, but in cupcake form. This recipe comes from Ina Garten and it is 100% perfect with just a couple tweaks of my own added.

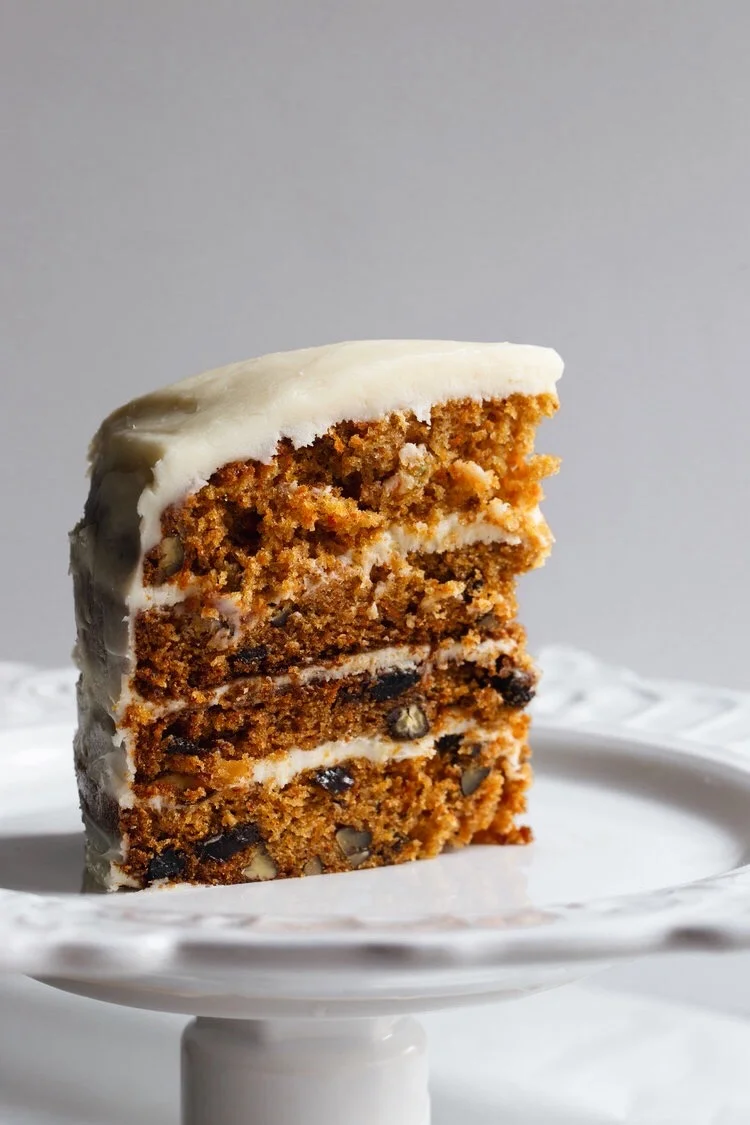
A great carrot cakes needs to have a couple of things in order to achieve perfection: 1) a super moist texture - which in my recipe comes from the addition of vegetable oil and crushed pineapple. Some people add yogurt or applesauce (or nothing) in place of the pineapple, but I’m telling you, the pineapple makes the texture unbelievably good; 2) a good amount of spice - cinnamon, ginger, nutmeg and clove all work perfectly with the sweet carrots and frosting; 3) cream cheese frosting - there’s no better cake duo than a spice-y carrot cake and a cream cheese frosting. Tangy cream cheese mixed with a healthy (re: A LOT) amount of confectioners’ sugar and butter is the perfect pairing for this cake; and 4) additional mix-ins - I don’t think I’ve ever cared for raisins but for some reason I’m of the mindset that a carrot cake without raisins isn’t a carrot cake at all. We also add pecans (or walnuts) for extra texture and taste.
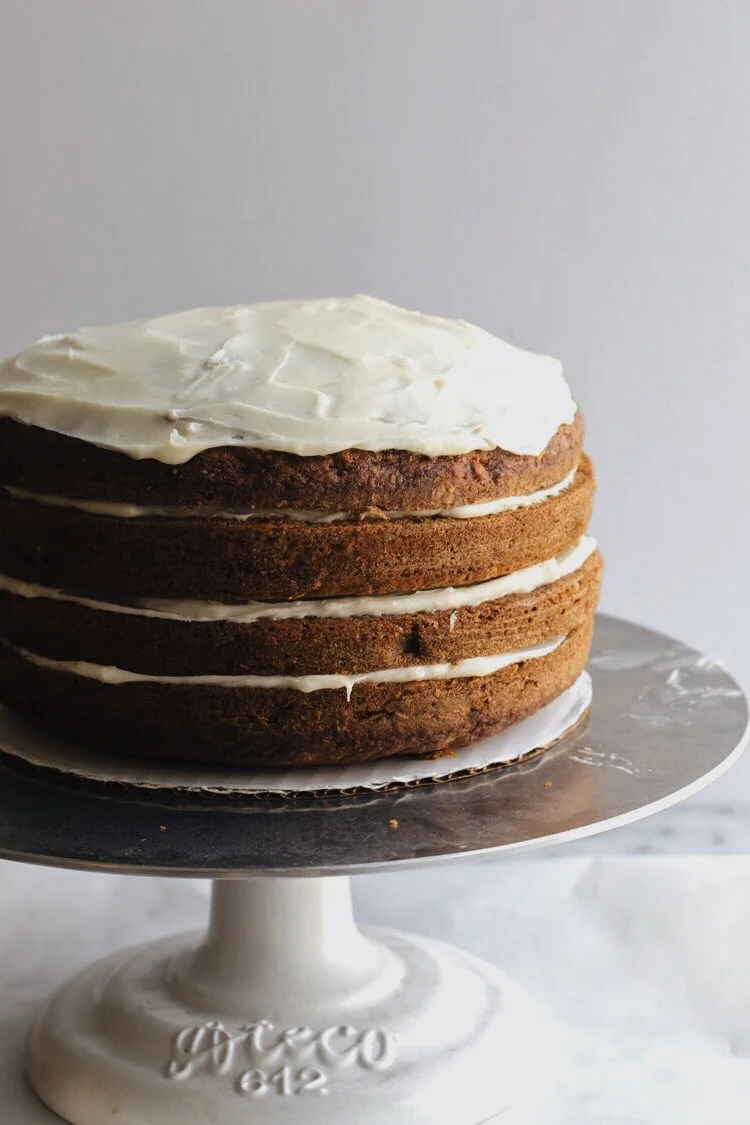
This recipe will give you two 8-inch cakes, but as you can tell from my pictures, I cut those two layers in half. I did this just for fun and also because I wanted to do a “naked”-style cake, aka a cake with less frosting on the sides. This was my first time doing it this way and I really like the way it came out! It definitely has a more rustic look to it and I’m all about that less-than-perfect aesthetic. Since I had more layers to frost, I therefore had less frosting to go around the overall cake. So if you want to have 4 layers, plan on having only enough frosting to do it naked-style. Otherwise, keep the two layers intact and you’ll have plenty of frosting to use up. Note: The directions below will reflect the standard 2-layer cake.
Carrot Layer Cake w/ Cream Cheese Frosting
Yields (2) 8in. cakes
Recipe adapted from Ina Garten
Ingredients
For the cake:
2 cups granulated sugar
1 1/3 cups vegetable oil
3 large eggs, room temperature
1 tsp. vanilla extract
2 1/2 cups plus 1 tbsp. all-purpose flour, divided
2 tsp. ground cinnamon
1 1/2 tsp. ground ginger
1/4 tsp. ground nutmeg (or fresh if you have it!)
1/4 tsp. ground cloves
2 tsp. baking soda
1 1/2 tsp. kosher salt
1 lb. carrots, grated
1/2 cup crushed pineapple (from a can)
1 cup toasted pecans or walnuts, roughly chopped
1 cup raisins
For the frosting:
12 oz. cream cheese, room temperature
8 oz. (2 sticks) unsalted butter, room temperature
1 tsp. vanilla extract
16 oz. (1 lb.) confectioners’ sugar, sifted
1-2 tbsp. milk (any kind)
Directions
Make the cake:
Preheat the oven to 350° F. Butter two 8-inch cake pans, line them with parchment paper, and then butter and flour them. Set aside.
Using a stand mixer fitted with the paddle attachment (or in a large bowl if using a hand mixer), combine the granulated sugar, oil, and eggs. Mix on medium speed until the mixture is a pale yellow, 1-2 minutes. Add the vanilla extract and mix until incorporated.
In a separate medium bowl, sift together 2 1/2 cups of the flour, the spices, baking soda, and salt. Whisk to combine.
Add the dry ingredients to the wet ingredients all at once and mix on low until just coming together. Add the grated carrots and crushed pineapple, and mix on low again.
In a small bowl, toss the pecans and raisins with the remaining 1 tbsp. of flour (so they won’t sink to the bottom of the cake while baking). Fold these into the batter using a spatula.
Pour equal amounts of batter between the two cake pans. Smooth the tops with a spatula and bake them in the oven for 55-60 minutes, or when a toothpick inserted in the middle comes out clean.
Allow the cakes to cool completely in the pans before removing them.
Make the frosting:
Using a stand mixer fitted with the paddle attachment (or in a large bowl if using a hand mixer), mix together the cream cheese, butter and vanilla extract until well combined. Add the confectioners’ sugar all at once as well as 1 tbsp. milk, mix on low for 10 seconds, and then mix on medium speed until frosting is smooth. Add another tbsp. of milk if you want it to be thinner.
Place one of the layers on a cake stand or plate. With a butter knife or offset spatula, spread a thick even layer of the frosting on top. Carefully stack the second layer on top of the frosting and frost the entire cake, including the sides. Decorate the cake with pecans, pineapple, or flowers. Store the leftovers in the fridge.