THE ULTIMATE CHEWY + FUDGY BROWNIES

IMG_5138.jpeg

Today we are getting into one of my all-time favorite indulgent desserts: brownies. I have tried countless homemade brownie recipes over the years, and it's safe to say that this one is an absolute winner. 

Growing up, I pretty much subsisted on boxed desserts, with brownies at the forefront (I have a huge soft spot for the Ghirardelli version). My mom probably baked my sister and I boxed brownies a few times a month, and we probably could have eaten it more. When I started baking recipes from scratch after college, I still believed that boxed brownies were untouchable - they were just so easy and SO GOOD and the taste gave me a sense of nostalgia. But like all other desserts, the moment I baked a homemade batch, there was no going back to the box. (For the record, my mom, who has the BIGGEST sweet tooth and loves everything I bake, still makes boxed brownies and eats it for breakfast (and lunch... and dinner.) 

IMG_5118.jpeg

When it comes to brownies, everyone has their own opinion on what's "best" and that's totally fine! For me, the ultimate brownie has no nuts, a fudgy center, and a verrrrrrry chewy top (I am definitely a person who loves the edge pieces). As for finishing the brownies with a dusting of sugar, I'm 50/50 on it. I think it makes brownies look prettier, but I actually like treating my super sweet brownies like I treat my chocolate chip cookies: sprinkling them with flaky sea salt. Try it! 

IMG_5214.jpeg

With that said, read through my ingredients list and feel free to make changes to adapt to your own liking. For example, if you want to add nuts, I would suggest adding a cup of toasted chopped pecans or walnuts. Also more importantly, you'll notice that there are three different forms of chocolate in this recipe: 1) cocoa powder 2) chocolate chips and 3) a 4 oz. chocolate bar, like Ghirardelli or Lindt. All three are necessary to creating the ultimate brownie recipe! But I actually make it more complex by using a blend of cocoa powders (regular and dark) and a mix of chocolate chips (semi-sweet and dark). This is totally an option for you and not necessary - I'm sure you don't want to spend extra $$$ on two different kinds of cocoa powder and chocolate chips. If that's the case, don't do a cocoa blend and use one kind of chocolate chip (semi-sweet is what the original recipe calls for). I just so happen to love dark chocolate and I think the intensity from it just adds to the overall flavor of the brownie.

IMG_5281.jpeg

Chewy + Fudgy Brownies

Adapted from Sally's Baking Addiction

Ingredients

IMG_5323.jpeg
  • 3/4 cup unsalted butter

  • one 4 oz. semi-sweet chocolate bar, chopped and divided

  • 2 cups sugar

  • 3 large eggs, room temp.

  • 2 tsp. vanilla extract

  • 1 cup unsweetened cocoa powder, sifted if lumpy (I used a blend of 3/4 cup regular, 1/4 cup dark)

  • 1 cup all-purpose flour

  • 1/2 tsp. espresso powder (optional but recommended - it helps intensify the chocolate flavor!)

  • 1 tsp. salt

  • 1 1/4 cup chocolate chips (I used about 3/4 cup semi-sweet, and 1/2 cup dark)

  • powdered sugar or flaky sea salt to finish

Directions

  1. Preheat oven to 350°F. Butter a 9"x13" baking dish and line it with parchment paper so that there is an overhang, and then butter the parchment paper as well.

  2. In a microwave-safe bowl, melt the butter and 2 oz. of the semi-sweet chocolate bar together. Do this in 30 second intervals, stirring well after each time, being careful not to burn the mixture. Once melted, transfer the mixture into a large bowl.

  3. To the butter and melted chocolate mixture, whisk in the sugar until well incorporated. Whisk the eggs for a couple minutes in a separate bowl (this will give you a crinkly top to the brownies), then add them to the butter and sugar mixture, along with the vanilla extract. Mix until incorporated.

  4. Add the cocoa powder(s), flour, espresso powder, salt, the other 2 oz. of chopped chocolate, and chocolate chips to the bowl. Use a spatula to mix together. It will be very dry at first, but with some arm strength, it will form a very thick and fudgy batter.

  5. Spread the batter into the prepared baking dish and bake for 30-35 minutes, or until a toothpick inserted in the middle comes out with a few crumbs - you don't want to see any raw batter on the toothpick. Dust brownies with powdered sugar or flaky sea salt.

  6. Allow the brownies to cool for 1 hour at room temperature and then place them in the fridge for another hour. This will lead to a chewier texture and will also make it much easier to cut the brownies (I learned this tip from Claire Saffitz). If you can’t wait 2 hours, then dig in after they’ve cooled a bit.

SKILLET STRAWBERRY COBBLER + WELCOME TO THE VIVID KITCHEN

The day has finally arrived: welcome to my blog, The Vivid Kitchen! After a few years of posting and sharing recipes on my Instagram account and countless times being asked “Do you have a blog?... Why don’t you have a blog?!?” from friends, family and acquaintances, I have finally decided to create a space for myself to channel my love for all things food related.

Cobler Image 1 (Full size).jpg

A bit of my background: I was born and raised in Los Angeles, California, and currently live in Orange County with my very supportive and hungry boyfriend, Alex. Even though baking is such an integral part of my life at the moment, I didn’t get into it until I graduated from college. Growing up, I wasn’t the kind of kid who helped her grandmother with baking pies or cheesecakes, I just happily ate it... all of it. After I graduated from college in Chicago, Illinois I moved back home and kind of fell into a slump that most post-graduates can relate to. I wasn’t happy with my life and didn’t know exactly what I wanted to do with it, and it was in that mess that I discovered baking from scratch. I have a background in photography and so whenever I baked something, my favorite thing was photographing the finished product, even it was just a simple batch of cookies that I made for myself. My parents must have noticed how happy my hobby was making me and so for Christmas that year they gifted me with a Kitchenaid stand mixer and an ice cream maker. Those two amazing gifts were the catalyst that led to my love for baking. 

Cobbler Image 2 (Full Size) (2).jpg

My posts will focus primarily on the sweet side, ranging from breakfast pastries (muffins, scones) to favorite desserts (cookies, cakes) and everything in between (I’m a huge ice cream fan). Furthermore, I will post savory dishes as well as cocktail recipes, and every now and then will include travel posts with photo diaries. I want to stress that I am a self-taught baker! I have pretty much learned how to bake everything on my own and I still have many struggles in the kitchen (baking cheesecake gives me stomach ulcers). But what is important here is that if I can bake these recipes, I have no doubt in my mind that anyone can! 

Ok enough small talk, let's get to the cobbler. 

Cobbler Image 3 (Full Size) (2).jpg

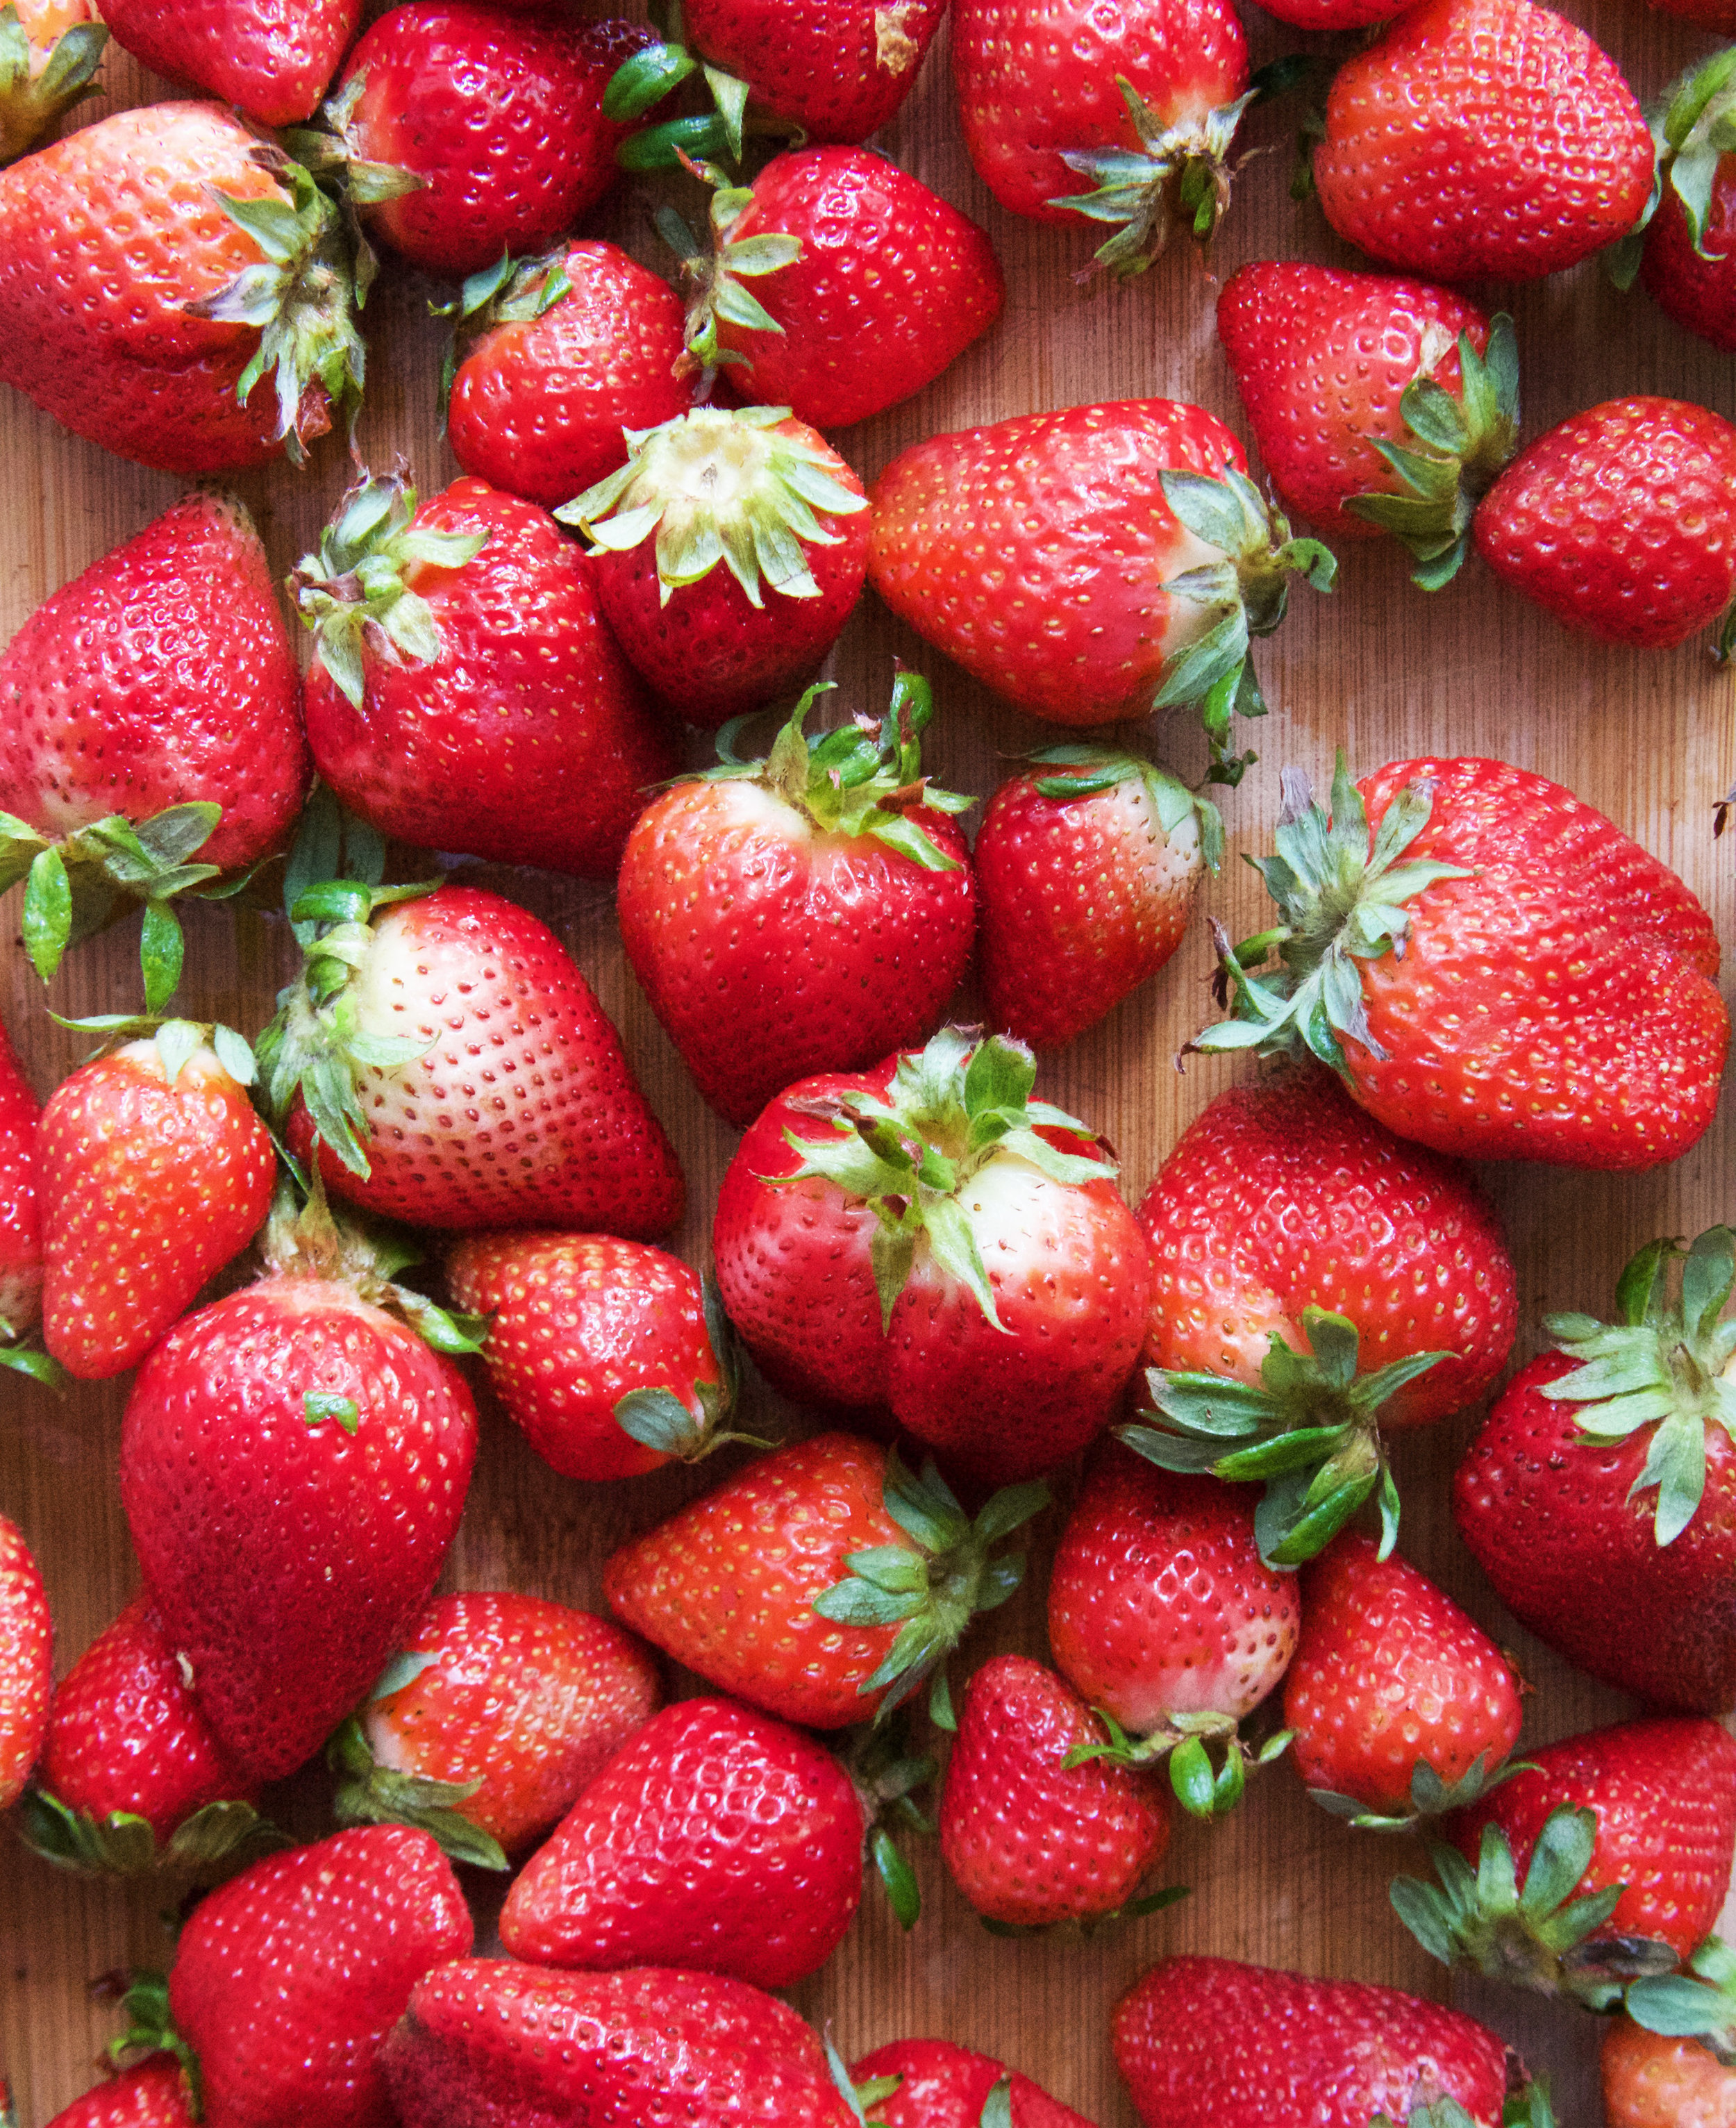
I have made this strawberry cobbler a few times and every time I do I ask myself why I don't make it every other week. There are few things better in life than a spoonful of warm, roasted strawberries with a bit of cobbler dough and melty vanilla ice cream.

Cobbler Image 4 (Full Size).jpg

This recipe is very easy in the sense that it doesn't require the use of any fancy kitchen tools (no stand mixer) and none of the ingredients have to be brought to room temperature, which is always a huge plus when you're in a time crunch. I know it isn't quite strawberry season yet and for that reason, I have added the option for you to add more or less sugar, depending on how sweet your berries are.

SKILLET STRAWBERRY COBBLER 

Ingredients

Cobbler Image 4 (2) (Full Size).jpg
  • 32 oz. fresh strawberries hulled and sliced (smaller berries can be left whole)

  • 1/3 - 1/4 cup sugar (depending on how sweet your berries are)

  • 2 tbsp. cornstarch

  • juice of 1 med. lemon

  • 1 1/3 cup all-purpose flour

  • 2 tbsp. sugar

  • 2 tsp. baking power

  • zest of 1 med. lemon

  • pinch of salt

  • 6 oz. unsalted butter, cold and cut into cubes

  • 1/2 cup milk (I've used whole and skim - both worked just fine!)

  • 1 large egg

  • 1 tsp. vanilla extract

  • vanilla ice cream for serving

Directions

  1. Preheat oven to 350°F. Mix together strawberries, sugar, cornstarch and lemon juice in a 9 or 10” skillet (this could be done in a separate bowl, but why wash another dish!). Set aside.

  2. For the cobbler: In a medium-size bowl, whisk together flour, sugar, baking powder, lemon zest, and salt. Add cubed butter to the bowl, and with a pastry cutter (or your hands) mix the butter into the flour mixture until well incorporated and small pieces/crumbs remain. In a separate bowl, whisk milk, egg and vanilla extract and then add mixture to the dry ingredients. Mix until a dough forms.

  3. Add 5-6 spoonfuls of dough over the strawberries and bake in the oven for 35-45 minutes, until the cobbler is cooked through and golden brown.

  4. Serve immediately with vanilla ice cream and enjoy! Sidenote: I have eaten this the next day straight from the refrigerator and I can safely say that it is just as amazing as straight from the oven.