After last weekend’s getaway to Big Bear, Alex and I fortunately have another trip coming up that we are beyond excited about. On Wednesday, we’re heading to the actual opposite side of the country, Portland, Maine, which will be our second time visiting. We traveled to Portland last October to visit our dear friend, Spencer, who had recently moved there (he’s a born and raised Southern Californian) and since Alex and I had never been to Maine before, we jumped at the opportunity to visit him. To say that we fell in love with the city would be a severe understatement. Although Portland is on a small peninsula, it is beaming with beautiful landscape, a plethora of amazing restaurants and bars, and is downright charming. In fact, Bon Appétit magazine appointed Portland the high honor of “Restaurant City of the Year” for 2018.

We love the city so much that Alex and I have been contemplating moving there. After this second trip, we’re going to really discuss our options and see if it’s even possible, but regardless, it’s something to dream about. If you want me to dedicate a post to Portland and my recommendations, aka a travel guide, I would love to! I have a huge list compiled from my own research and experience, and I’m sure I’ll have the city down after seeing it for a second time. Let me know in the comments!
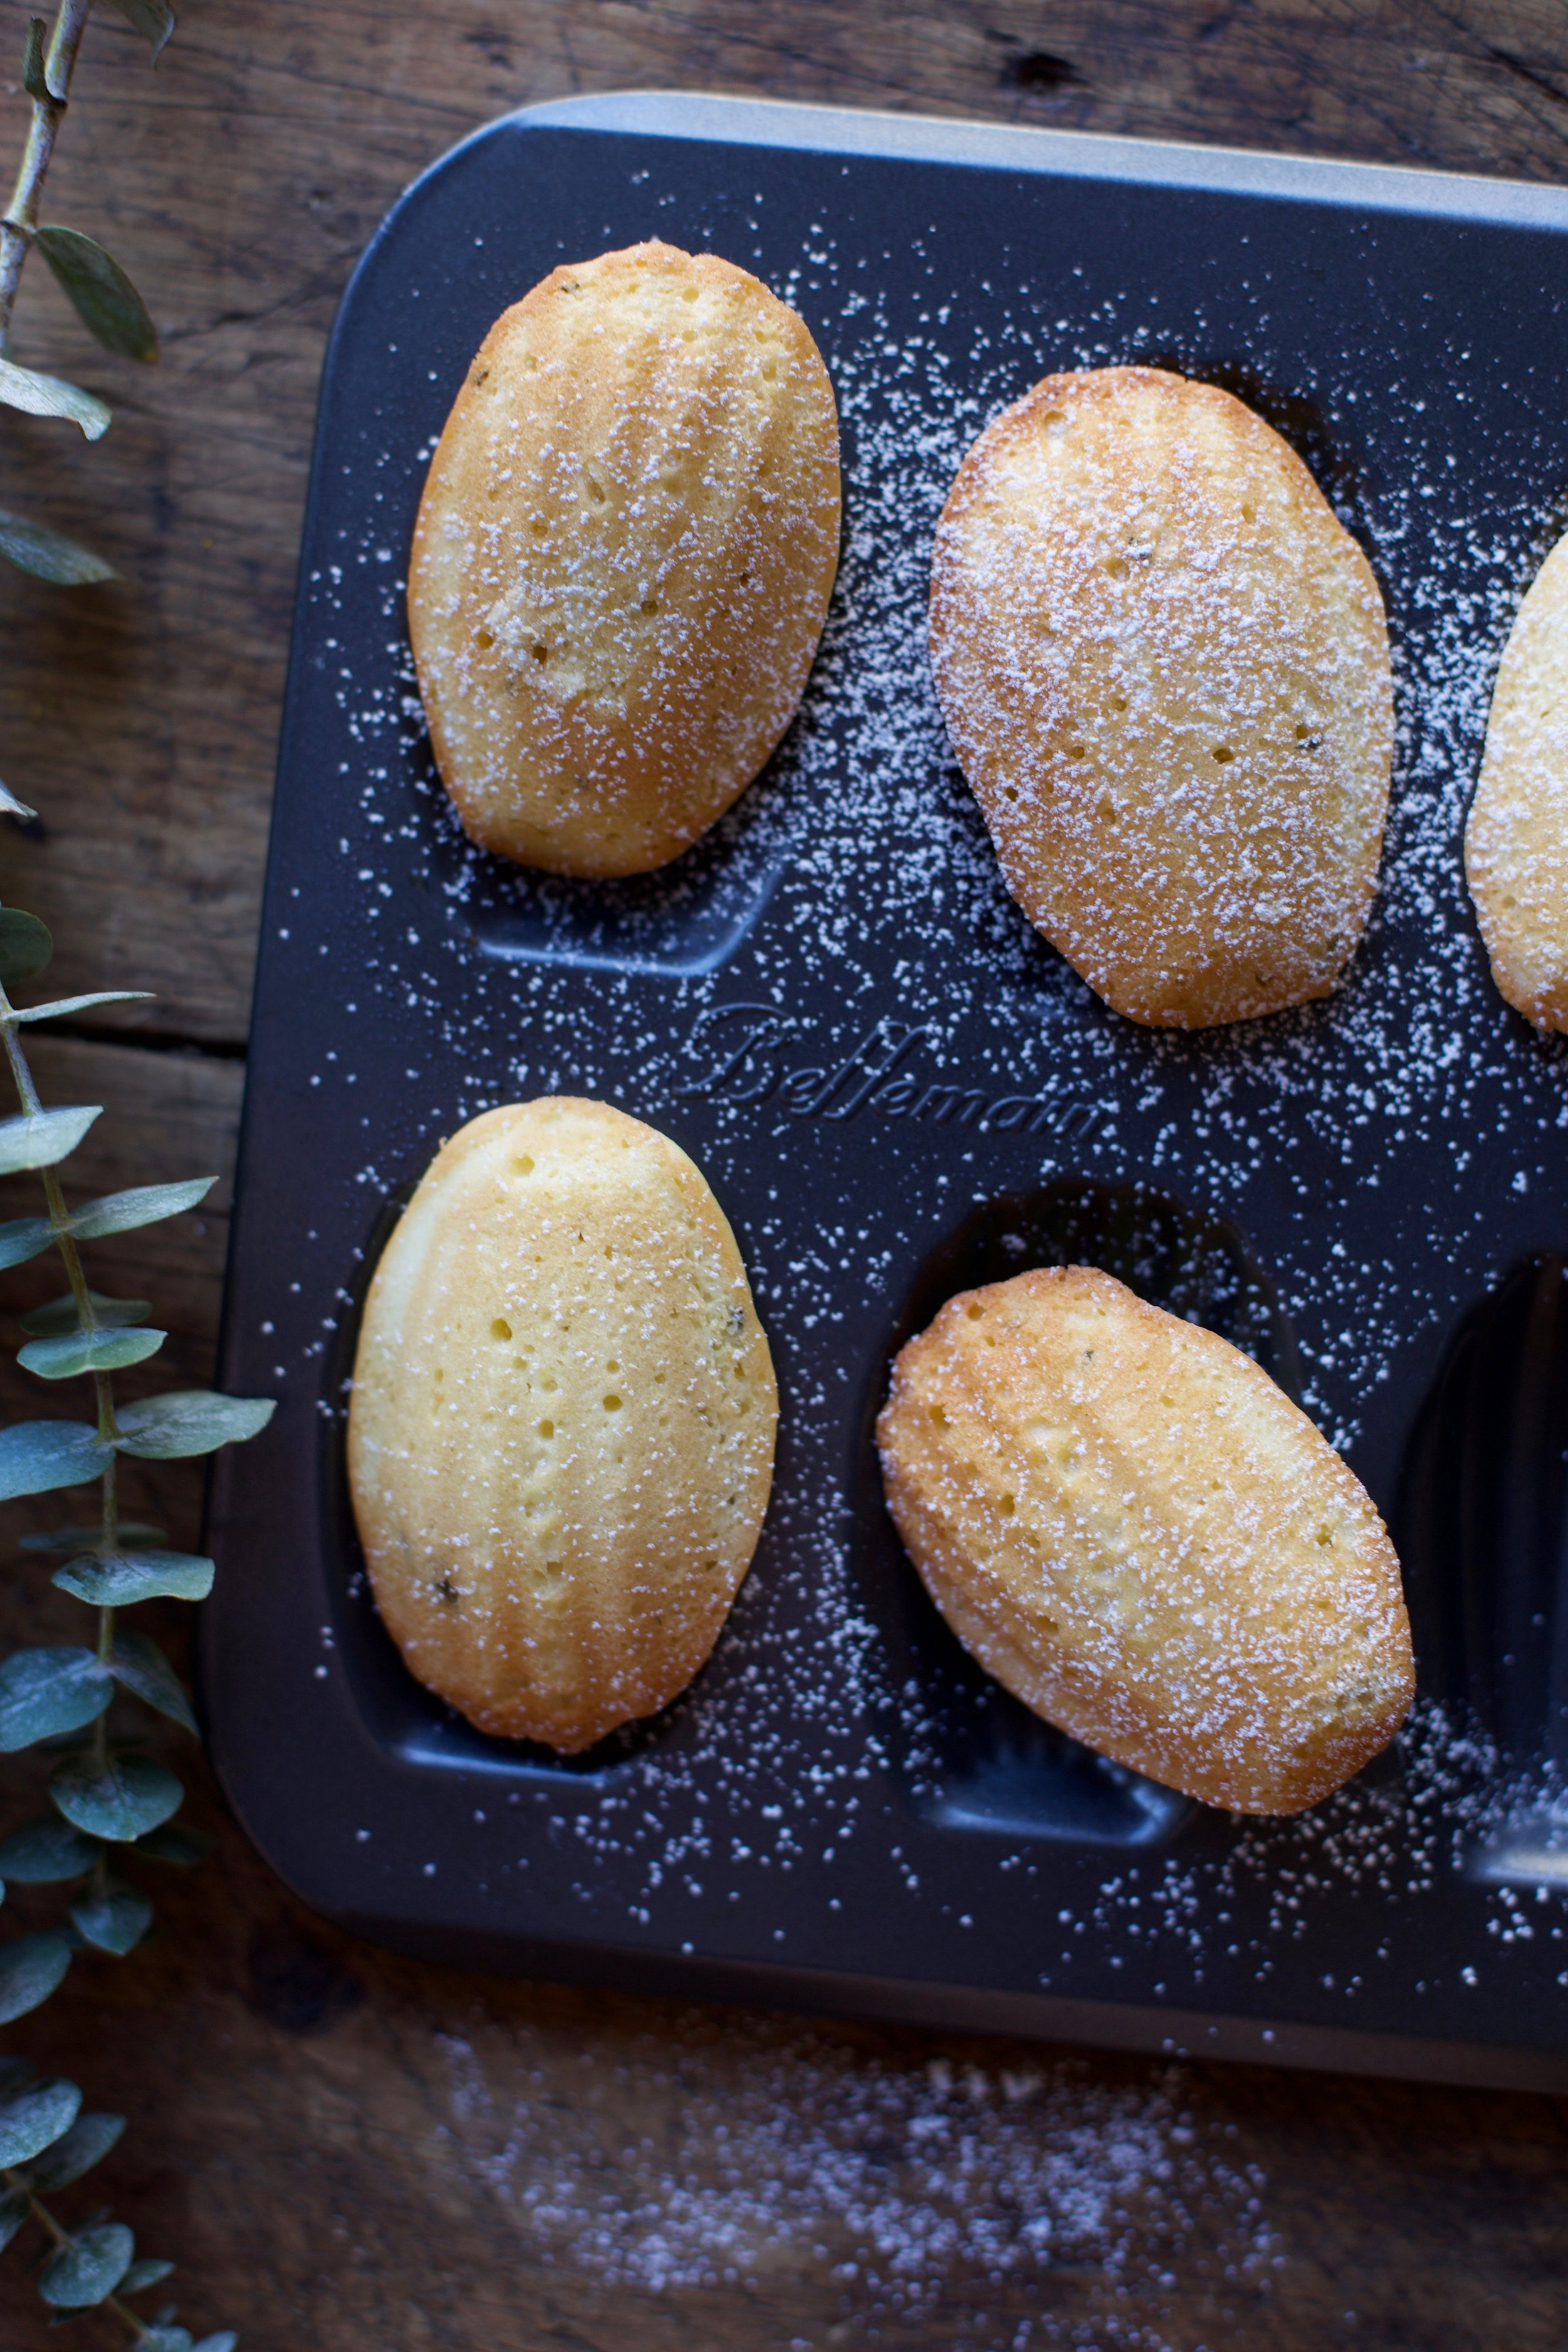
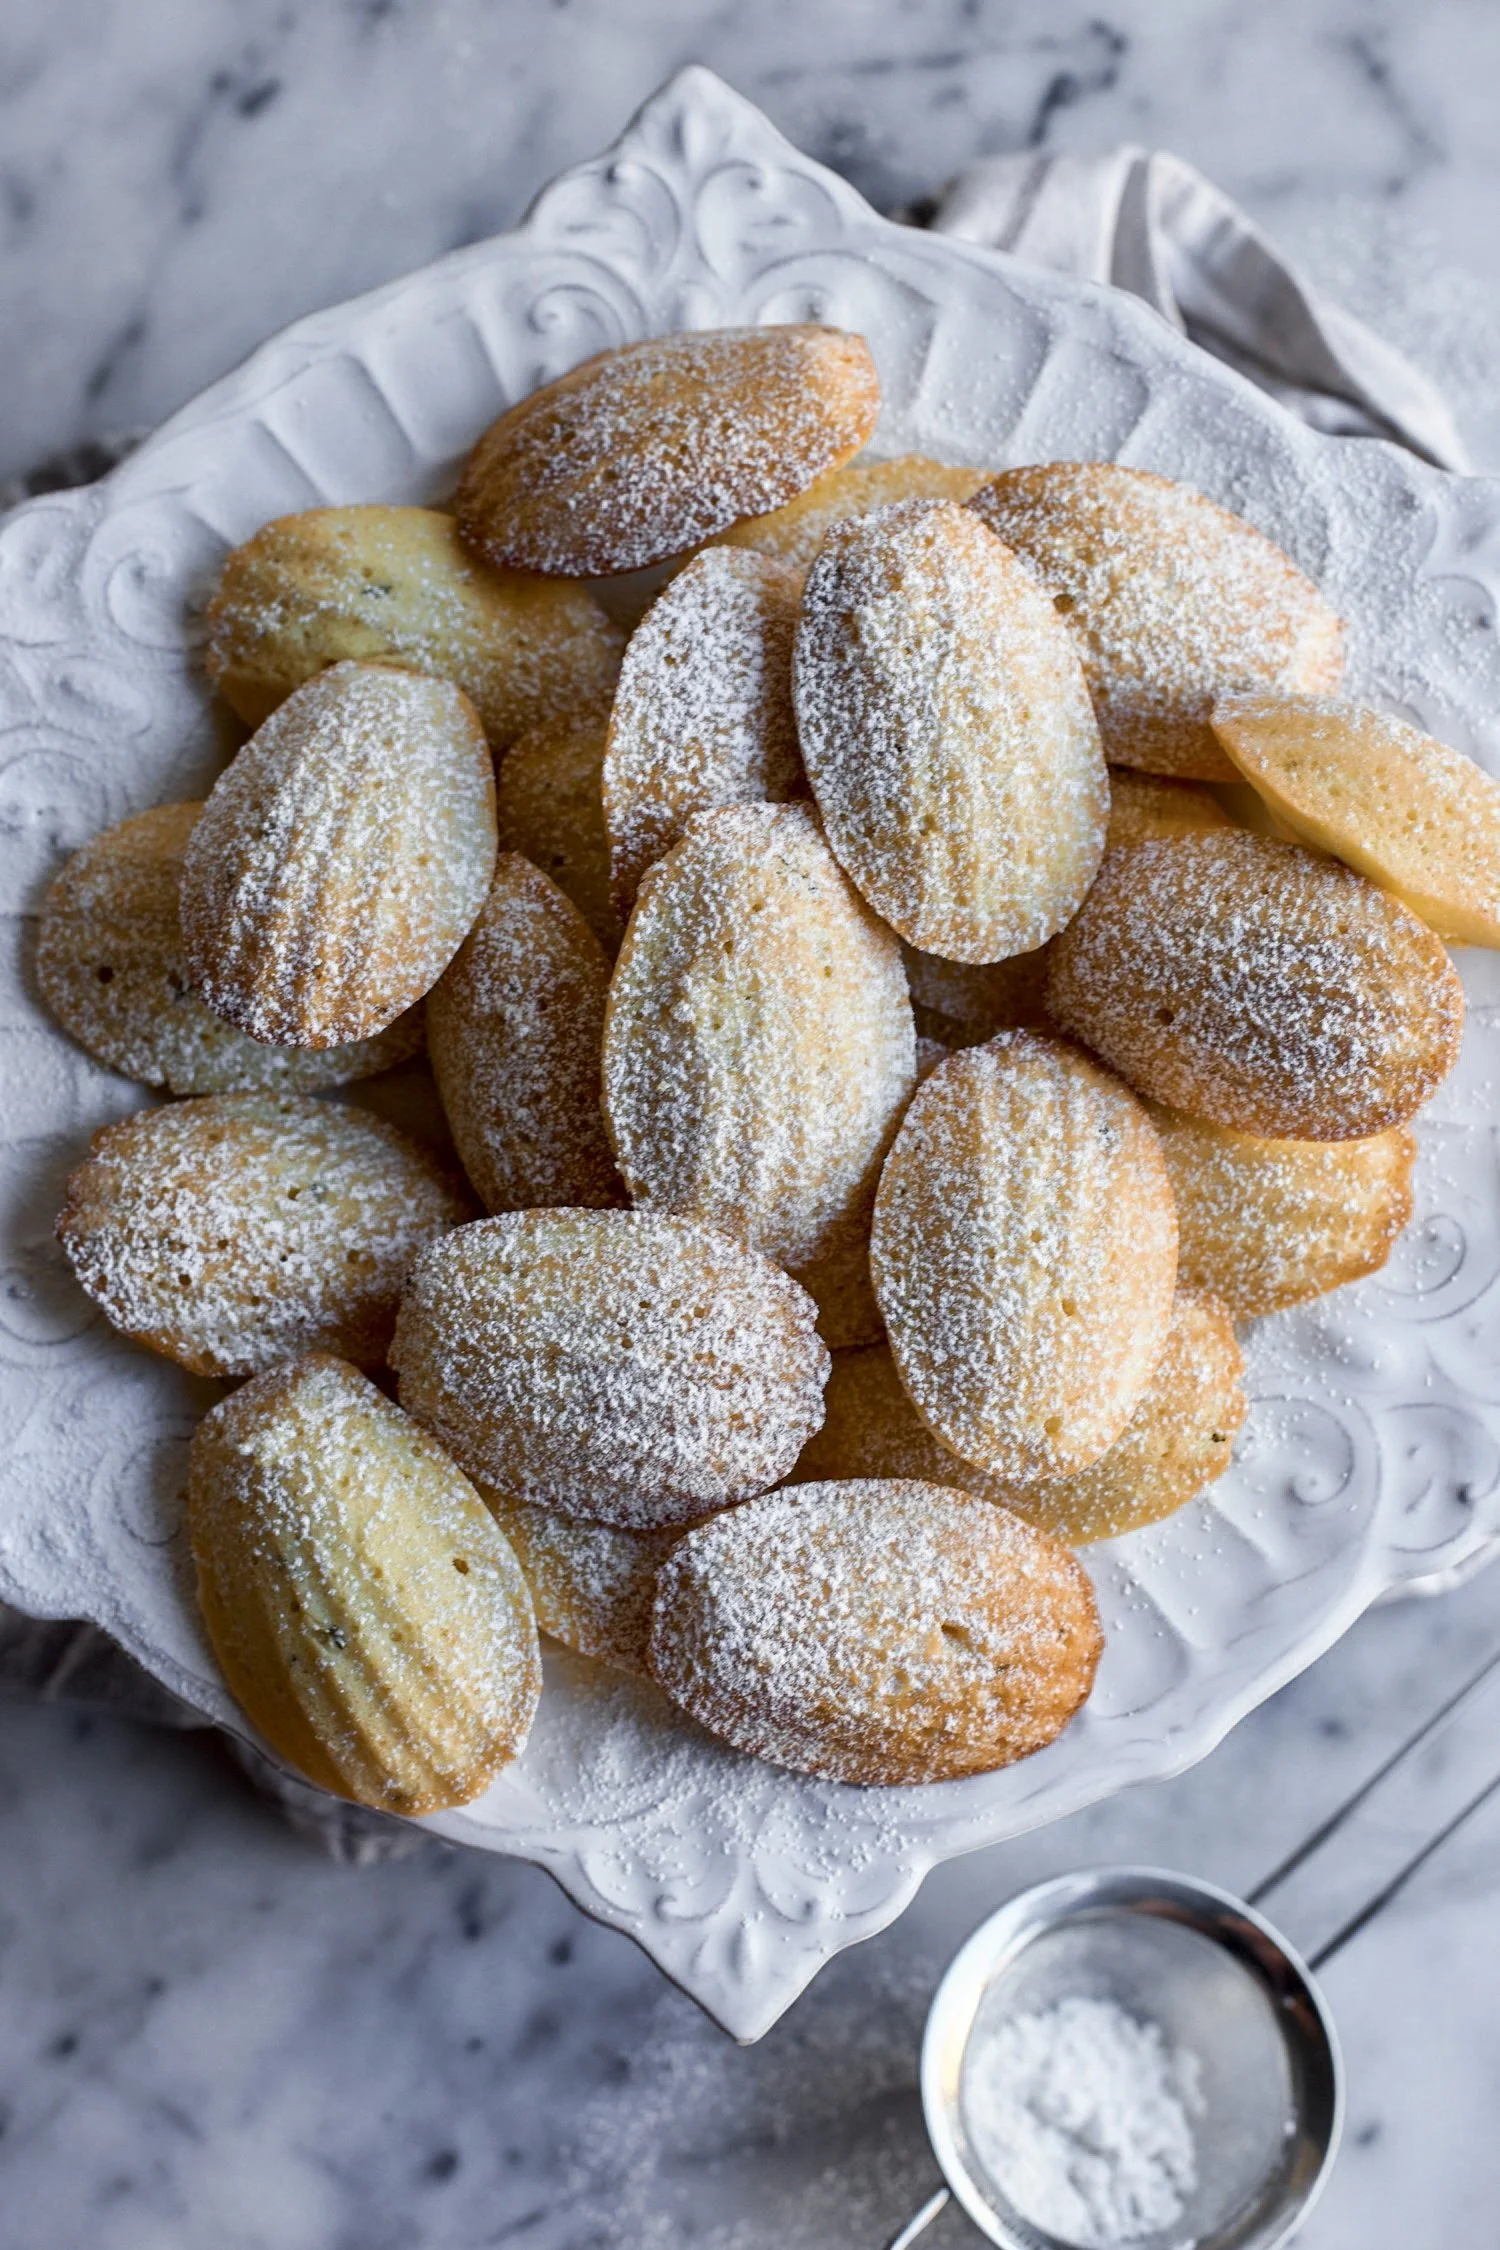
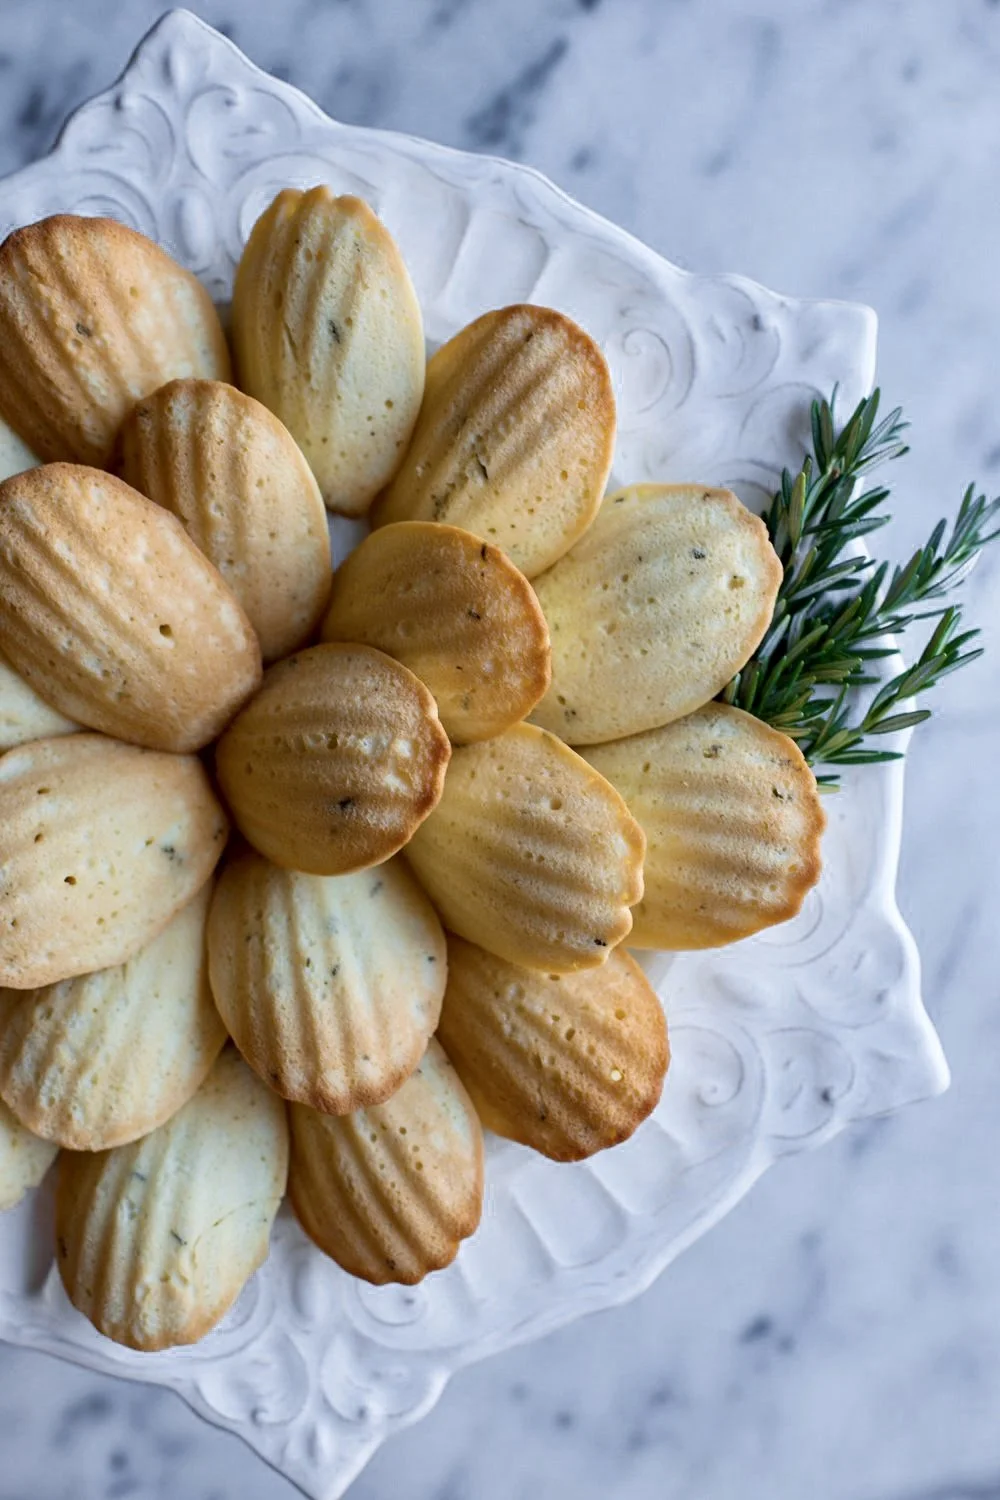
Since I’m leaving in the middle of next week, I won’t be posting another recipe until after I get back from the trip. But until then, I’m leaving you with one of the easiest, yet rewarding little treats I could offer you. Today we’re talking about madeleines, French teacakes that could also pass as cookies, that are perfectly buttery, light and airy, with crisp edges and distinctive shell-like shapes. If you’ve been in any chain of coffee shops, you’ve probably seen them for sale near the register. This is actually how I was introduced to the tiny cakes, when my mom first started getting coffee from Coffee Bean & Tea Leaf when I was a kid. She would get her ice-blended mocha, and if I was lucky enough, she would treat me to a package of madeleines.
Years later, it was Alex who surprised me with buying me a madeleine pan, probably because he caught on to my love for them or probably because he wanted fresh ones for himself. My first batch of madeleines, although I overfilled the cavities and made them jumbo-sized, were amazing and much better than any coffee shop could offer. I used a traditional recipe from world-renowned French chef Daniel Boulud, and continued to use his recipe for years due to its simplicity and perfection.
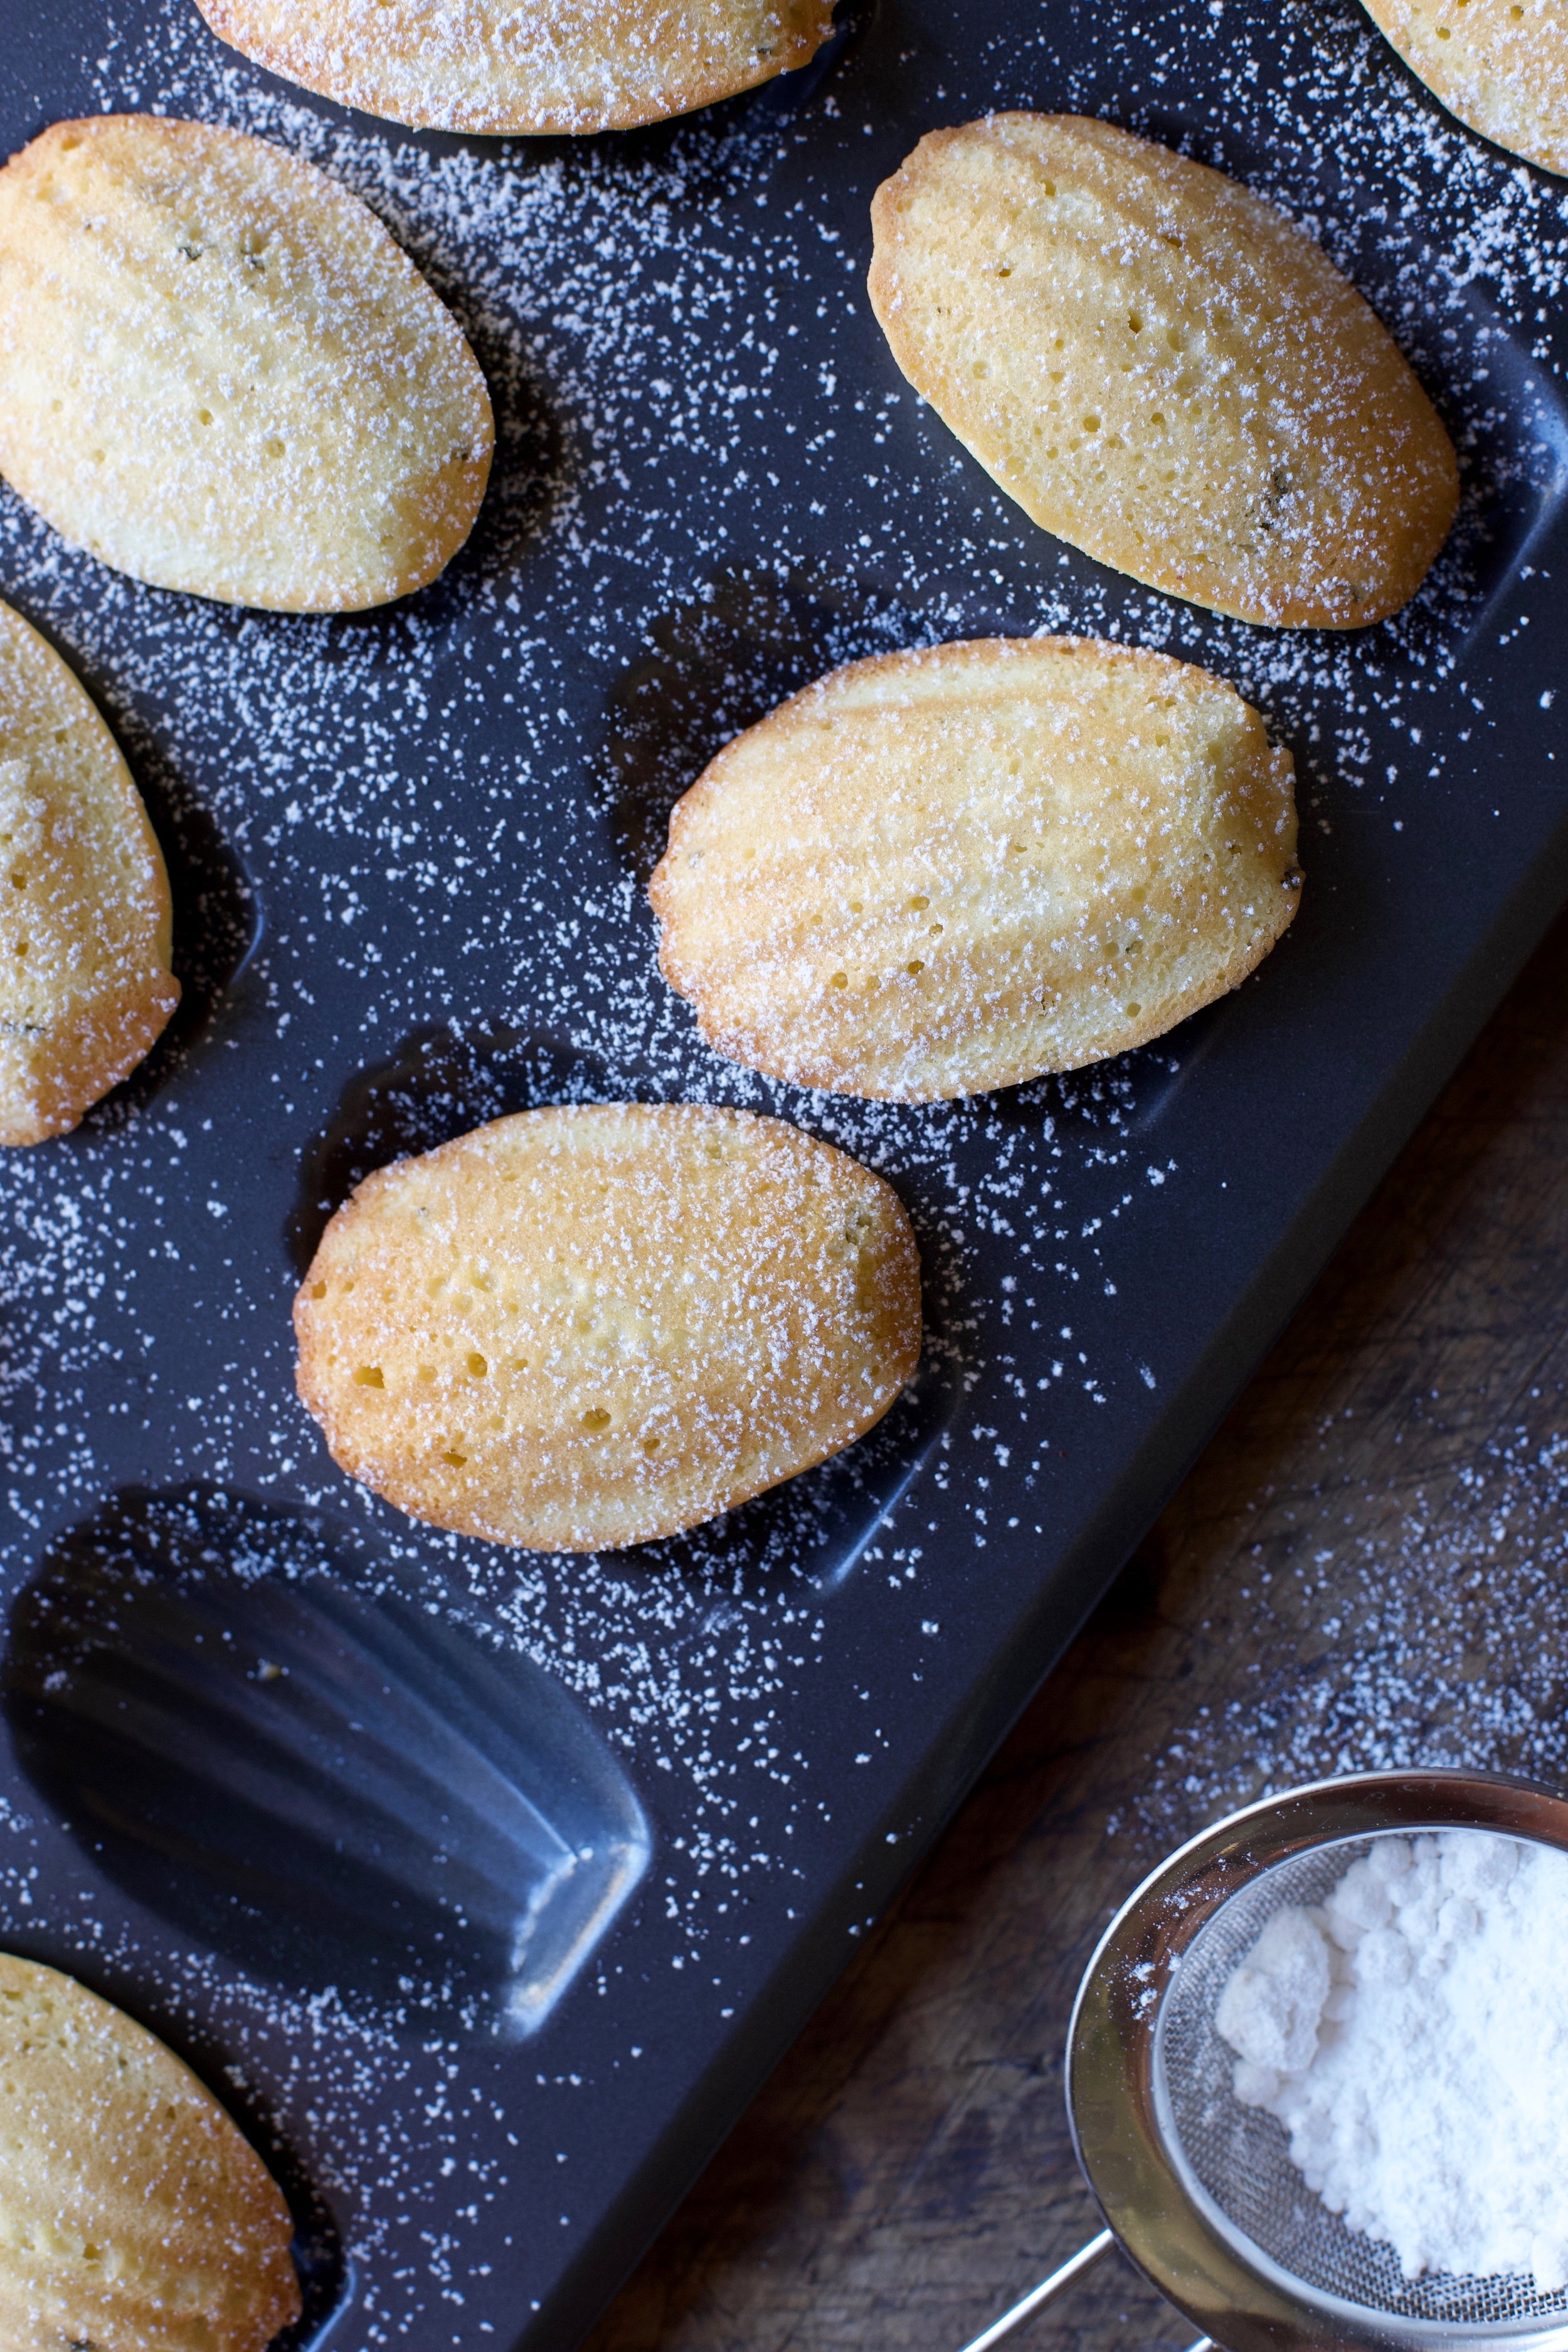
But when I ordered the cookbook, The Fearless Baker, by Erin Jeanne McDowell last year, I came across her madeleine recipe that incorporated fresh rosemary. I was immediately intrigued and found myself baking her version the same day the book was delivered to my doorstep. The addition of rosemary gives the simple teacakes a more complex flavor, and although you wouldn’t think that rosemary belongs in desserts, it works beautifully, especially when paired with fresh lemon zest. The herb isn’t overpowering in any sense, but just the right amount. With Daniel Boulud’s classic madeleines, I was able to finish them in a number of ways: sprinkled with powdered sugar, dipped in chocolate, or dipped in chocolate and sprinkled with chopped pistachios. But with Erin’s madeleines, the best and only way to finish them is with a sprinkling of powdered sugar. I feel like any other toppings would clash with the rosemary/lemon combo.
Like stated above, baking madeleines is extremely simple, but requires owning a madeleine pan - you can find them sold online or in stores like Williams Sonoma. The only other thing asked of you is to let the batter sit in the fridge for about an hour, or even overnight. This helps the madeleines achieve the signature “bump” that occurs while baking. So if you are planning on making this for breakfast or a brunch party, it actually would be perfect for you to make the batter the night before and then just pop ‘em in the oven first thing in the morning. In my opinion, madeleines are best when they are fresh out of the oven, but according to Alex who literally just ate one that is three days old, they’re still just as good as the first day.

Lemon and Rosemary Madeleines
Makes about 30 madeleines
Adapted just slightly from Erin McDowell via her book, The Fearless Baker
Ingredients
1 cup sugar
3 large eggs
1 tsp. vanilla extract
1 1/2 tsp. fresh lemon zest
1 1/2 cups all-purpose flour
1/2 tsp. baking powder
1/2 tsp. fine salt
10 tbsp. (1 stick plus 2 tbsp.) unsalted butter, melted and slightly cooled
2 tsp. finely chopped fresh rosemary
Confectioners’ sugar (powdered sugar), to finish
Directions
In the bowl of a stand mixer fitted with the whisk attachment, or in a large bowl if using a hand mixer, whisk the sugar and eggs for 1-2 minutes on low speed, or until combined. Add the vanilla extract and lemon zest, and whisk again for about 30 seconds.
To the bowl, add the flour, baking powder, and salt and mix together until just incorporated. While mixing on low, slowly add the melted butter in a steady stream, taking about a minute to add all of it. Finish mixing with a spatula, making sure to scrape down the sides of the bowl, then fold in the chopped rosemary. Cover the bowl with plastic wrap and chill for at least 60 minutes, or up to 12 hours/overnight. Don’t skip this step!
Preheat the oven to 375°F. Grease your pan with cooking spray (you can also butter and flour them). Fill each madeleine cavity with a heaping tablespoon of batter. Do not spread the batter out because it will fill the mold naturally in the oven.
Bake for about 10 minutes, or until the madeleines have popped up and the edges are slightly golden. If you’re still not sure if they are done, lightly press down on the tops with your finger - if it springs back, they’re good! Let the madeleines sit in the pan for a couple of minutes before removing (I like to use a butter knife to get them out). Cool slightly on a baking rack, and then top with a heavy dusting of powdered sugar. Enjoy!