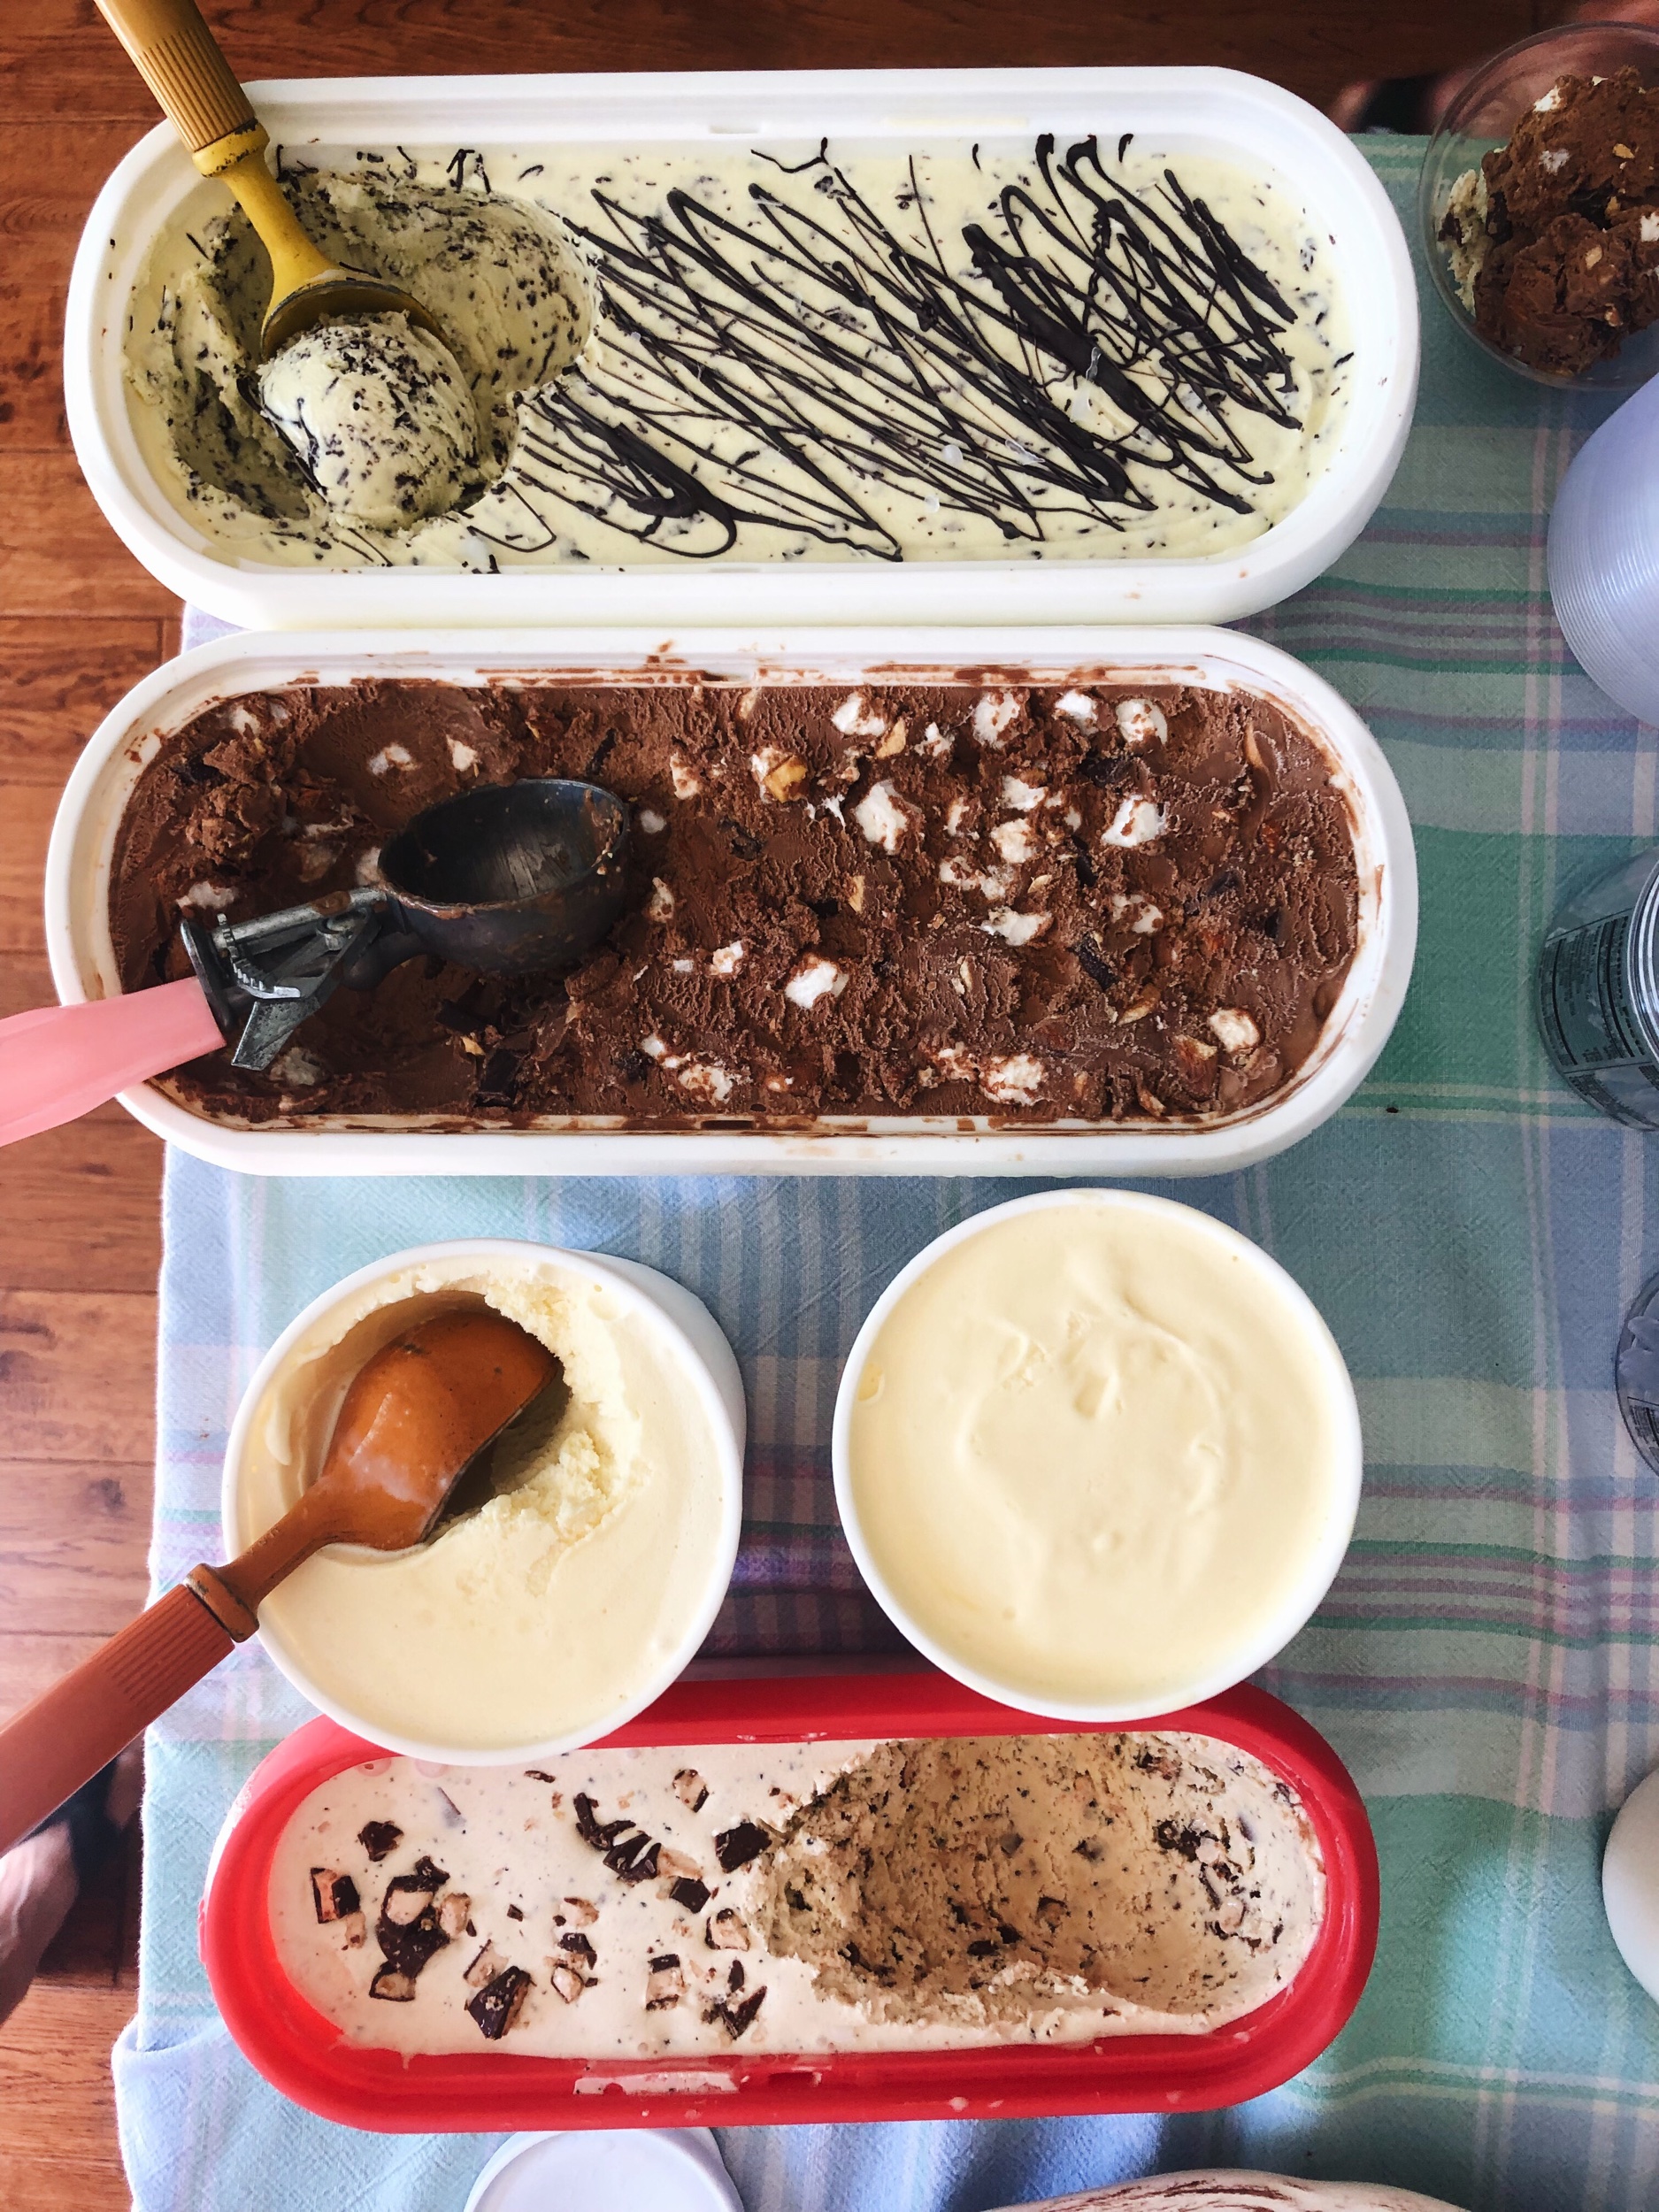
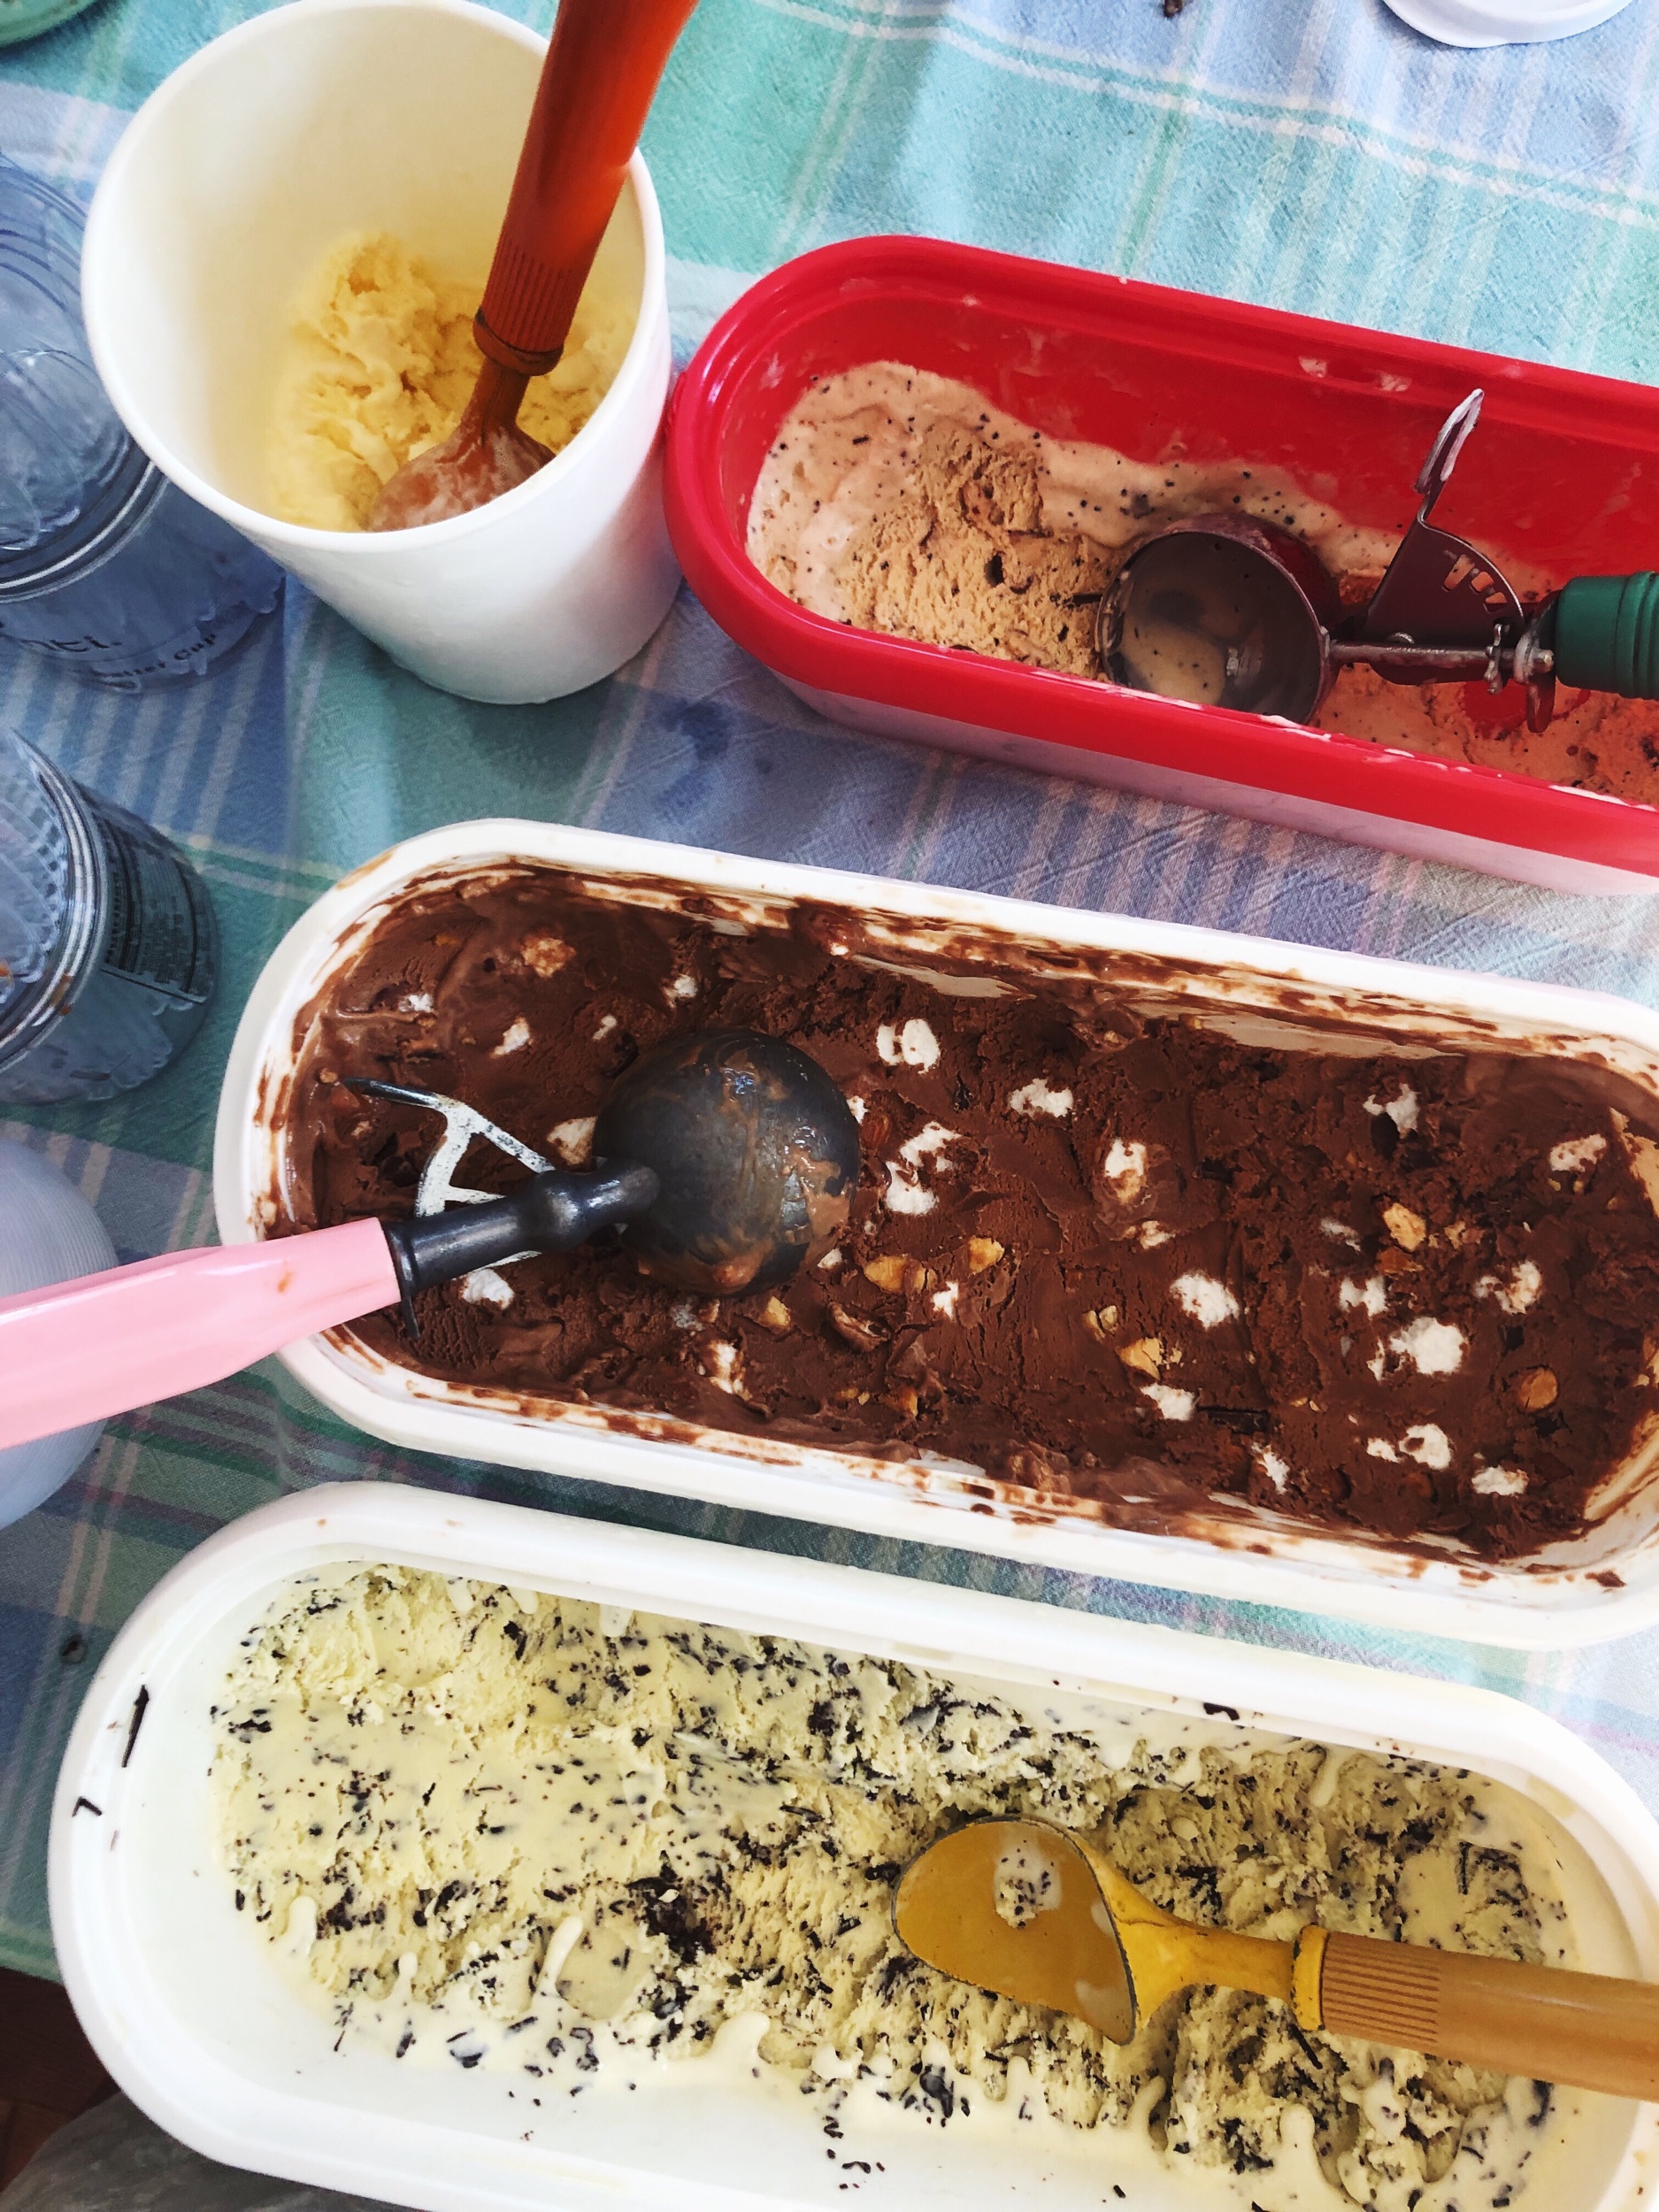
The ice cream line-up (from top to bottom): mint chocolate chip, rocky road, vanilla, coffee toffee. All stored in various Tovolo containers.
This past Saturday was my sister’s baby shower, and I, of course, took on the task of handling dessert. I feel like for most baby showers, there’s usually a cutesy dessert table filled with pink cupcakes, blue candies or a donut wall, but if you know my sister and I, that’s not really our style. We both just wanted simple, summer-y desserts that both men and women would enjoy, since it was a co-ed baby shower. My initial plans were to make about three Victoria sponge cakes with each one highlighting a summer fruit (peaches, strawberries, etc.) but the closer we got to the date, the temperature continued to rise and the less I wanted to turn on the oven to make 6 or more cake layers.
So eventually I thought to make ice cream, which by now, I’m sure you all know is my favorite dessert to make. Everyone loves ice cream, and there’s something nostalgic about eating it that makes you feel like a kid, which I think is perfect for a baby shower. So, I set out to make an ice cream bar with homemade ice cream and even though it was my first time tackling such a large task (the party had about 70 attendees), it was actually super fun and not that daunting due to simple planning and organization. Here are my steps and tips to a successful ice cream bar.
(I apologize that I don’t have more photos of the ice cream bar setup - it was a looooong day, starting with my mom breaking her arm and winding up in the hospital. So once the party finally began, I tried to relax and indulged in many, many margaritas. Photos weren’t my priority by ice cream time!)

Rocky road and mint chocolate chip ice creams both in 2.5 quart-sized Tovolo containers
1) Buy quality ice cream containers: before you begin making the ice cream, make sure you have good containers to store it in. All these years that I’ve been making ice cream, I’d always stored them in either random mismatched Tupperware containers or various cake pans covered with plastic wrap, which was obviously an eye sore. Although this worked just fine for a single batch of ice cream consumed by myself, it wasn’t going to cut it for 8 batches of ice cream on display at a party. I had been eyeing Tovolo’s ice cream containers for years and finally purchased 5 of them in different sizes. Not only are they adorable, but ensure that there’ll be no freezer burn with its double wall insulation and secured lids. Tip: the cheapest place I found the containers for sale was at Sur La Table! Not Amazon!
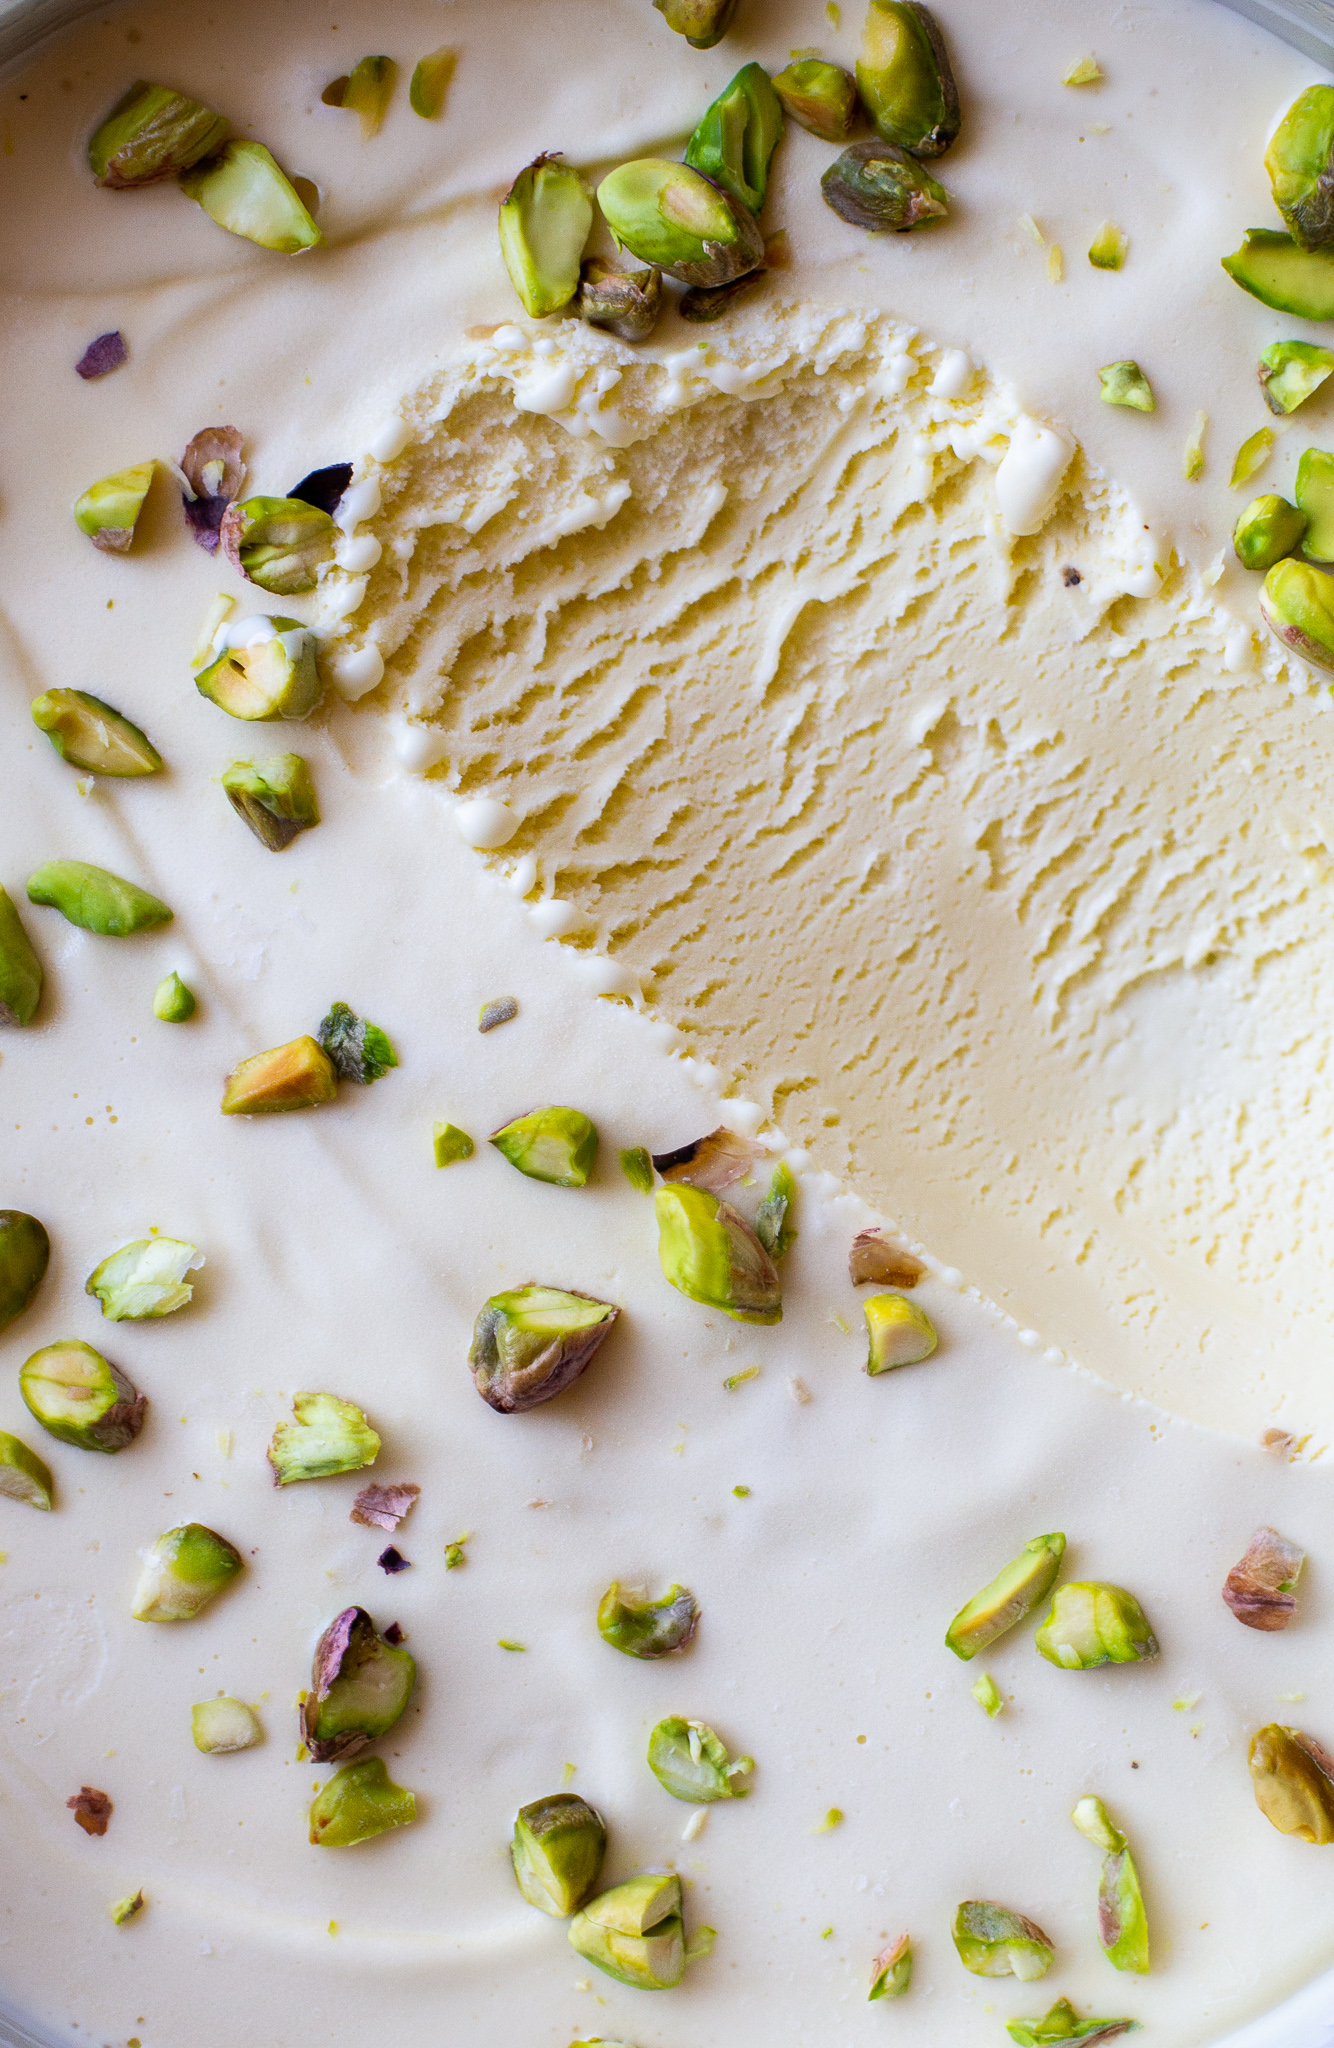
2) Choose ice cream flavors and quantity: pick however many flavors that you are comfortable with making and how much you’ll make of each (based on how large the party will be). Furthermore, stick with recipes that you’re also acquainted with: I wouldn’t suggest making a new recipe that you’ve never tried before, which could lead to a disaster. I ended up making 4 different flavors - coffee toffee, fresh mint chocolate chip, rocky road and plain vanilla - all recipes found on my blog - and either did a single, double, or triple batch. I wanted to use 3 classic flavors because I knew everyone would love them and threw in the coffee toffee since it’s my favorite and not something you can find at the store (it ended up being the most popular at the party). Once you have all your flavors picked out, you can then make your grocery shopping list.

The ice cream toppings selection: rainbow sprinkles, chopped peanuts, mini chocolate chips, crushed Oreos, toffee bits and gummi bears.
3) Go shopping for the ice cream bases and extra toppings: since all of my ice creams were custard-based, I bought my eggs in bulk at Costco, but everything else either came from Trader Joe’s or a standard grocery store. I also set up a toppings section for those that wanted to jazz up the plain vanilla or the other flavors. My toppings included: crushed Oreos, mini chocolate chips, Haribo gummi bears, toffee bits, chopped peanuts and sprinkles. If you want to make it more baby shower themed, you can opt to put out only pink or blue candies.
4) Plan out making your ice cream. The best part about ice cream is that you can make it well in advance as long as you have room in your freezer. I decided to dedicate one flavor per day and spread it out over the week leading up to the party so that 1) I didn’t lose my sanity and 2) my ice cream maker’s freezer bowl had significant time to freeze between batches. I also did the most time consuming ice cream first (rocky road) and left the easiest (vanilla) to be my last.

I brought my own collection of ice cream scoops to the party. It added a personal touch to the ice cream bar and made it feel more rustic.
5) Purchase servingware for ice cream: this includes small bowls, spoons and ice cream cones. I got plastic bowls and spoons from the dollar store to save money, but for a more eco-friendly option, you can buy bamboo utensils and biodegradable bowls. As for the cones, I bought a few packs of my favorite waffle cones from Trader Joe’s which honestly taste like they’re freshly made from an ice cream shop. Also, try to have enough ice cream scoops so that there is one per flavor. I collect vintage and new ice cream scoops, so I had plenty to bring with me to the party, but you can find cheap ones at the dollar store as well.
6) Have dry ice, will travel: if you plan on setting up an ice cream bar at a location that’s not at your house, I strongly suggest buying dry ice the day of the party. My sister’s baby shower was in Culver City in LA, which with traffic, is about an hour and a half drive from my house. I bought about 10 lbs. of dry ice, put the ice cream containers at the bottom of a large cooler, and placed broken up pieces of the dry ice on top, since cold air travels downward. Since dry ice lasts up to 24 hours, the ice cream is safe from melting and could stay in the cooler all through out the party if there happens to be no freezer available.
7) Setting up: I didn’t worry about setting up the ice cream bar until about an hour after everyone at the party had eaten the main course. I used the same table that the main meal was served on and put out three trays - one that held the ice cream toppings, one for ice cream scoops, and the last for the waffle cones/bowls and spoons. I had intended on putting the ice cream on ice in big buckets to prevent any melting but since everyone came in at once to serve themselves, the ice cream went pretty quickly before it had a chance to melt. Since I didn’t make placards detailing each ice cream flavor or ice cream topping, I stuck around and answered any questions people had (but I definitely do recommend making cute placards if you have the time). But I actually enjoyed hanging around because it was so rewarding to see people’s reactions to the ice cream that I made and to hear their nice comments about it all. It was a lot of work, so it was nice to be praised, not gonna lie.
So there are my tips! Once again, I really enjoyed setting up the ice cream bar (more than when I did the desserts for my sister’s wedding) and I think it’s a great idea for not only baby showers, but for birthday parties or any other celebrations. If you plan on doing one in the future and need some more guidance, let me know!

One party-goer’s ice cream creation: plain vanilla with rainbow sprinkles in a waffle cone. Classic.