CHOCOLATE SORBET

IMG_1600.jpg

Today I'm sharing a tried-and-true recipe that I find myself making more often than not: chocolate sorbet. And it's not just any chocolate sorbet; it's David Leibovitz's recipe. David, an amazing and well-known pastry chef, is my go-to guy for the best ice cream-related recipes for many reasons, but mainly because he wrote the book on it - literally. When I was gifted my Cusinart ice cream machine years ago, the first recipe I tried was David's mint chocolate chip ice cream. Even though the recipe was pretty daunting because I had never even attempted making custard before (it was a custard-based ice cream), I was hooked when the final product was better than any other mint ice cream I had ever tried. Don't worry, I'll do a post for this ice cream in the future! 

But today, we're not discussing ice cream... we are discussing its much easier to make cousin, the sorbet. Sorbet by definition has no dairy in it, but makes up for that loss with plenty of sugar. Fruit flavors are usually the standard when it comes to sorbet, but being the chocolate lover that I am, I tend to stray from those kinds. With that said, I knew that I had to try David's chocolate sorbet when I came across it on the internet.

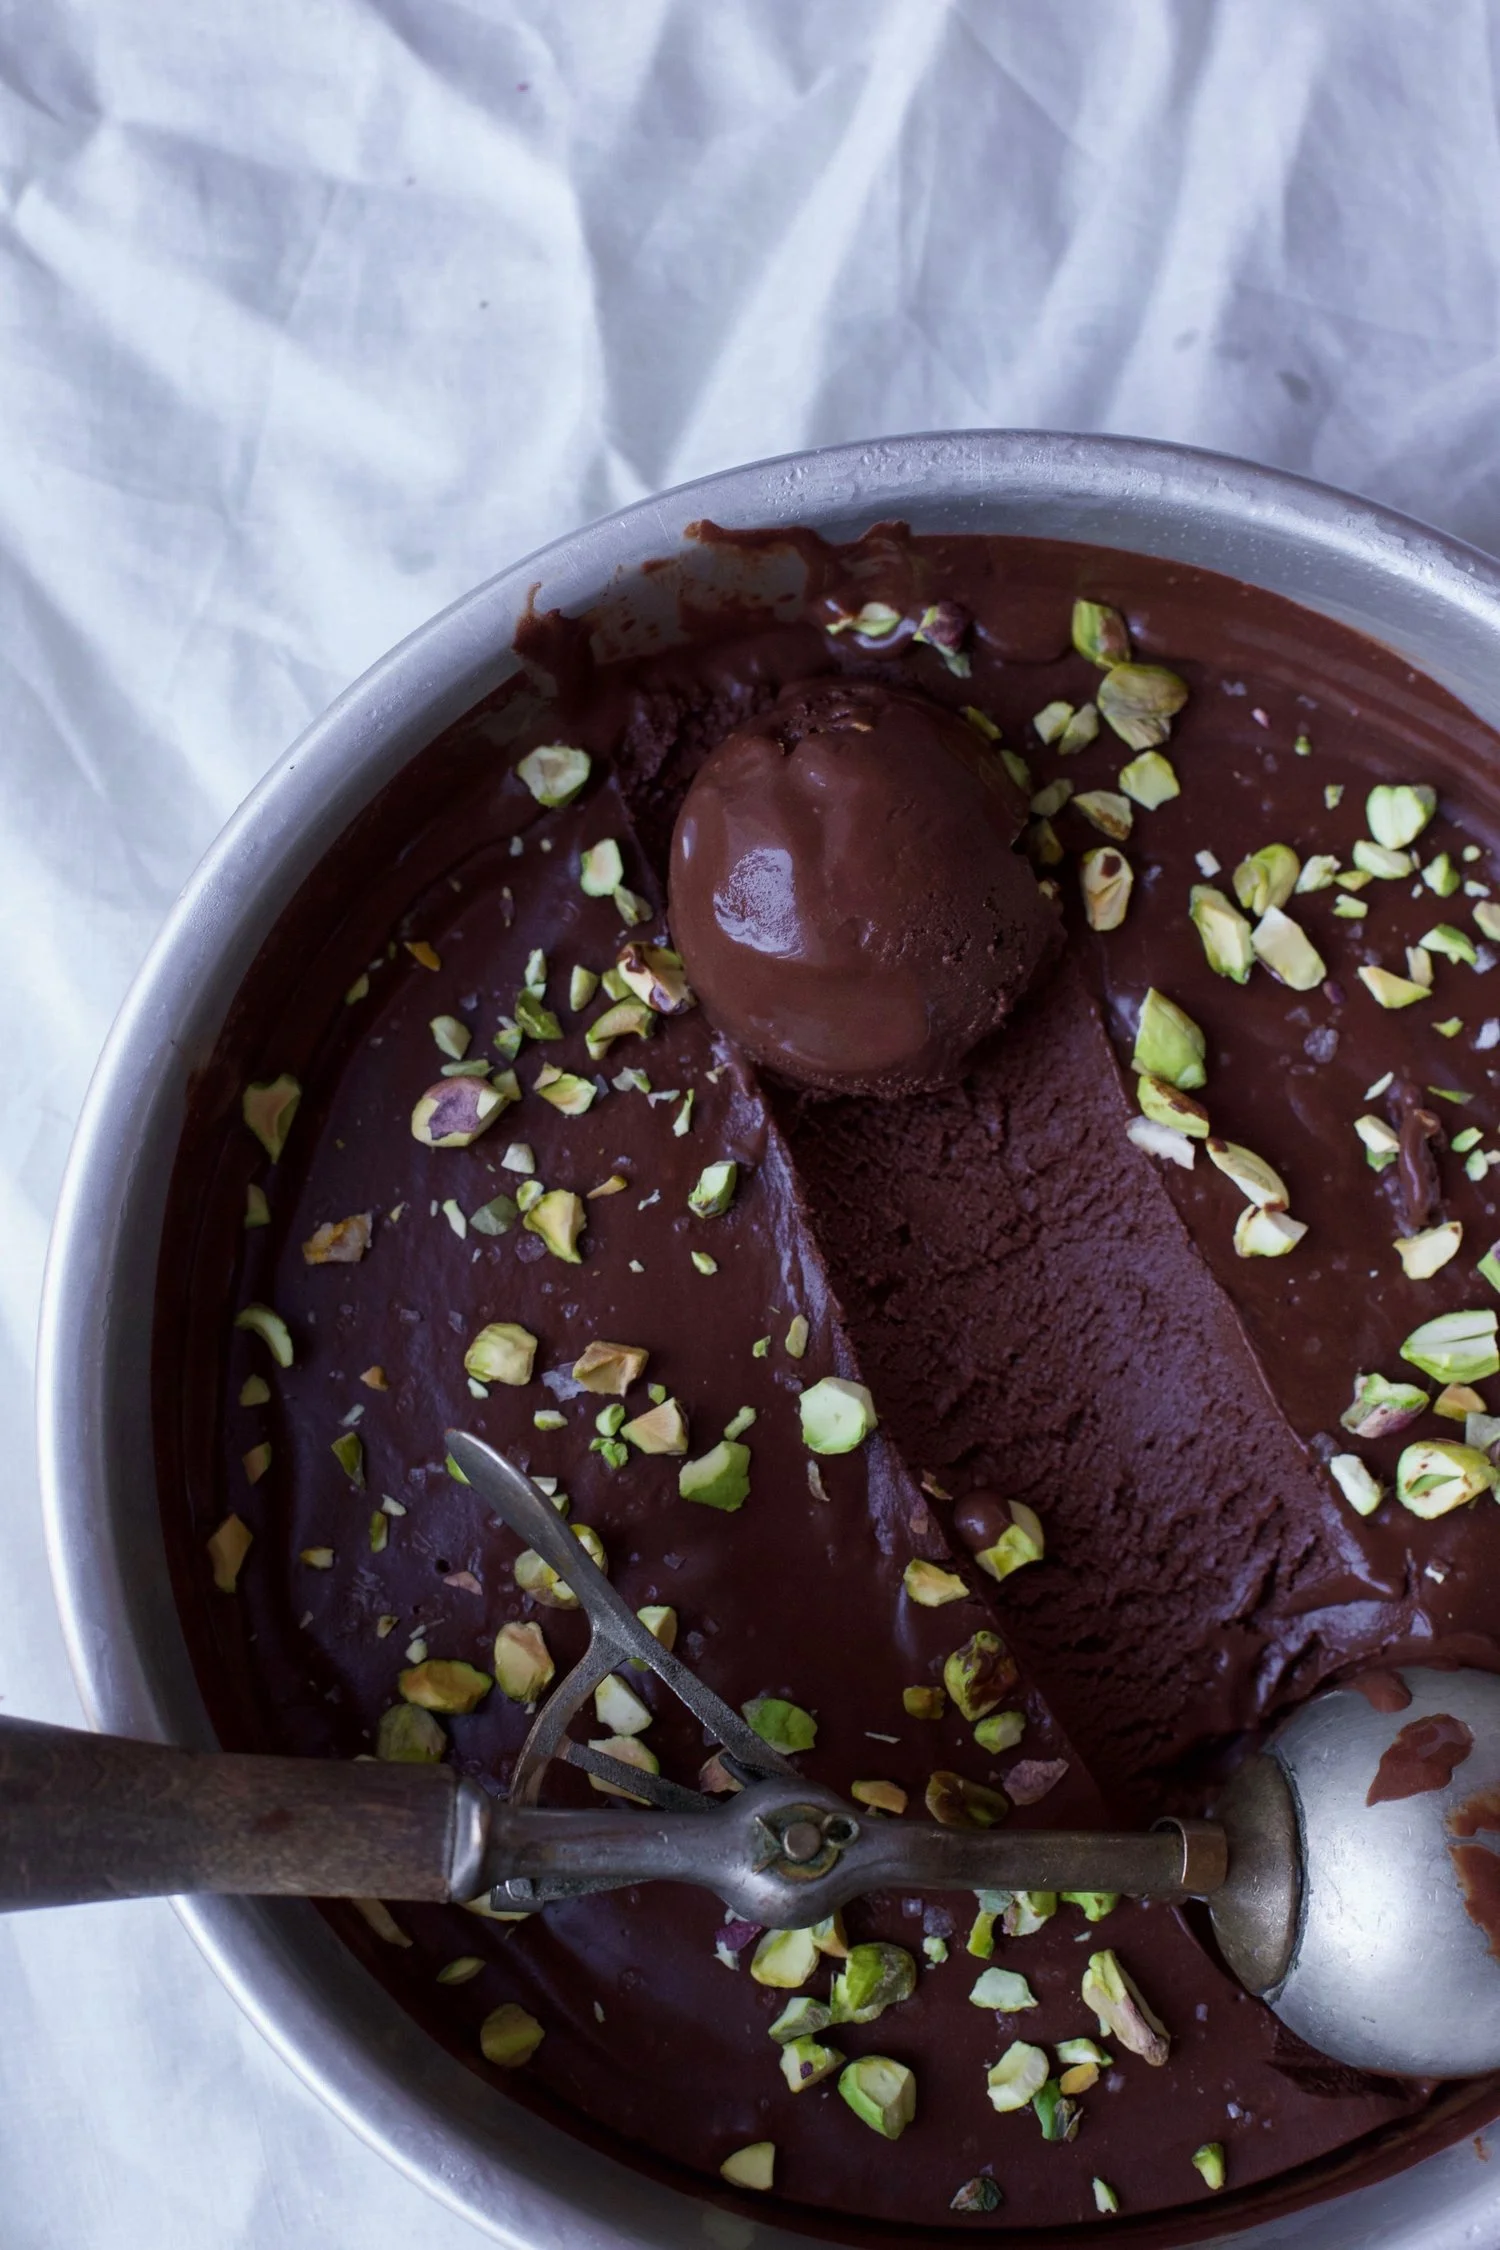
With only six ingredients, one of those being water, this sorbet goes against all odds. Sorbet may tend to have an icy texture due to the lack of dairy in it, but this recipe yields a very creamy and rich sorbet, almost to the point that you are 100% sure that there has to be dairy in it. David actually credits the amazing texture to the high proportion of bittersweet chocolate that is added.  

This recipe is just so easy and delicious that it's almost a given to find a batch of it hidden in my freezer somewhere. When Alex and I are trying to cut back on dairy but are craving ice cream (we both would eat ice cream every day if we could), this is the perfect dessert to reach for. And if you want to impress your vegan or lactose-intolerant friends, I highly suggest whipping this recipe out. It's much, much better than the fruit salad you were planning on putting out instead. I promise.

IMG_1570.jpg
IMG_1583.jpg

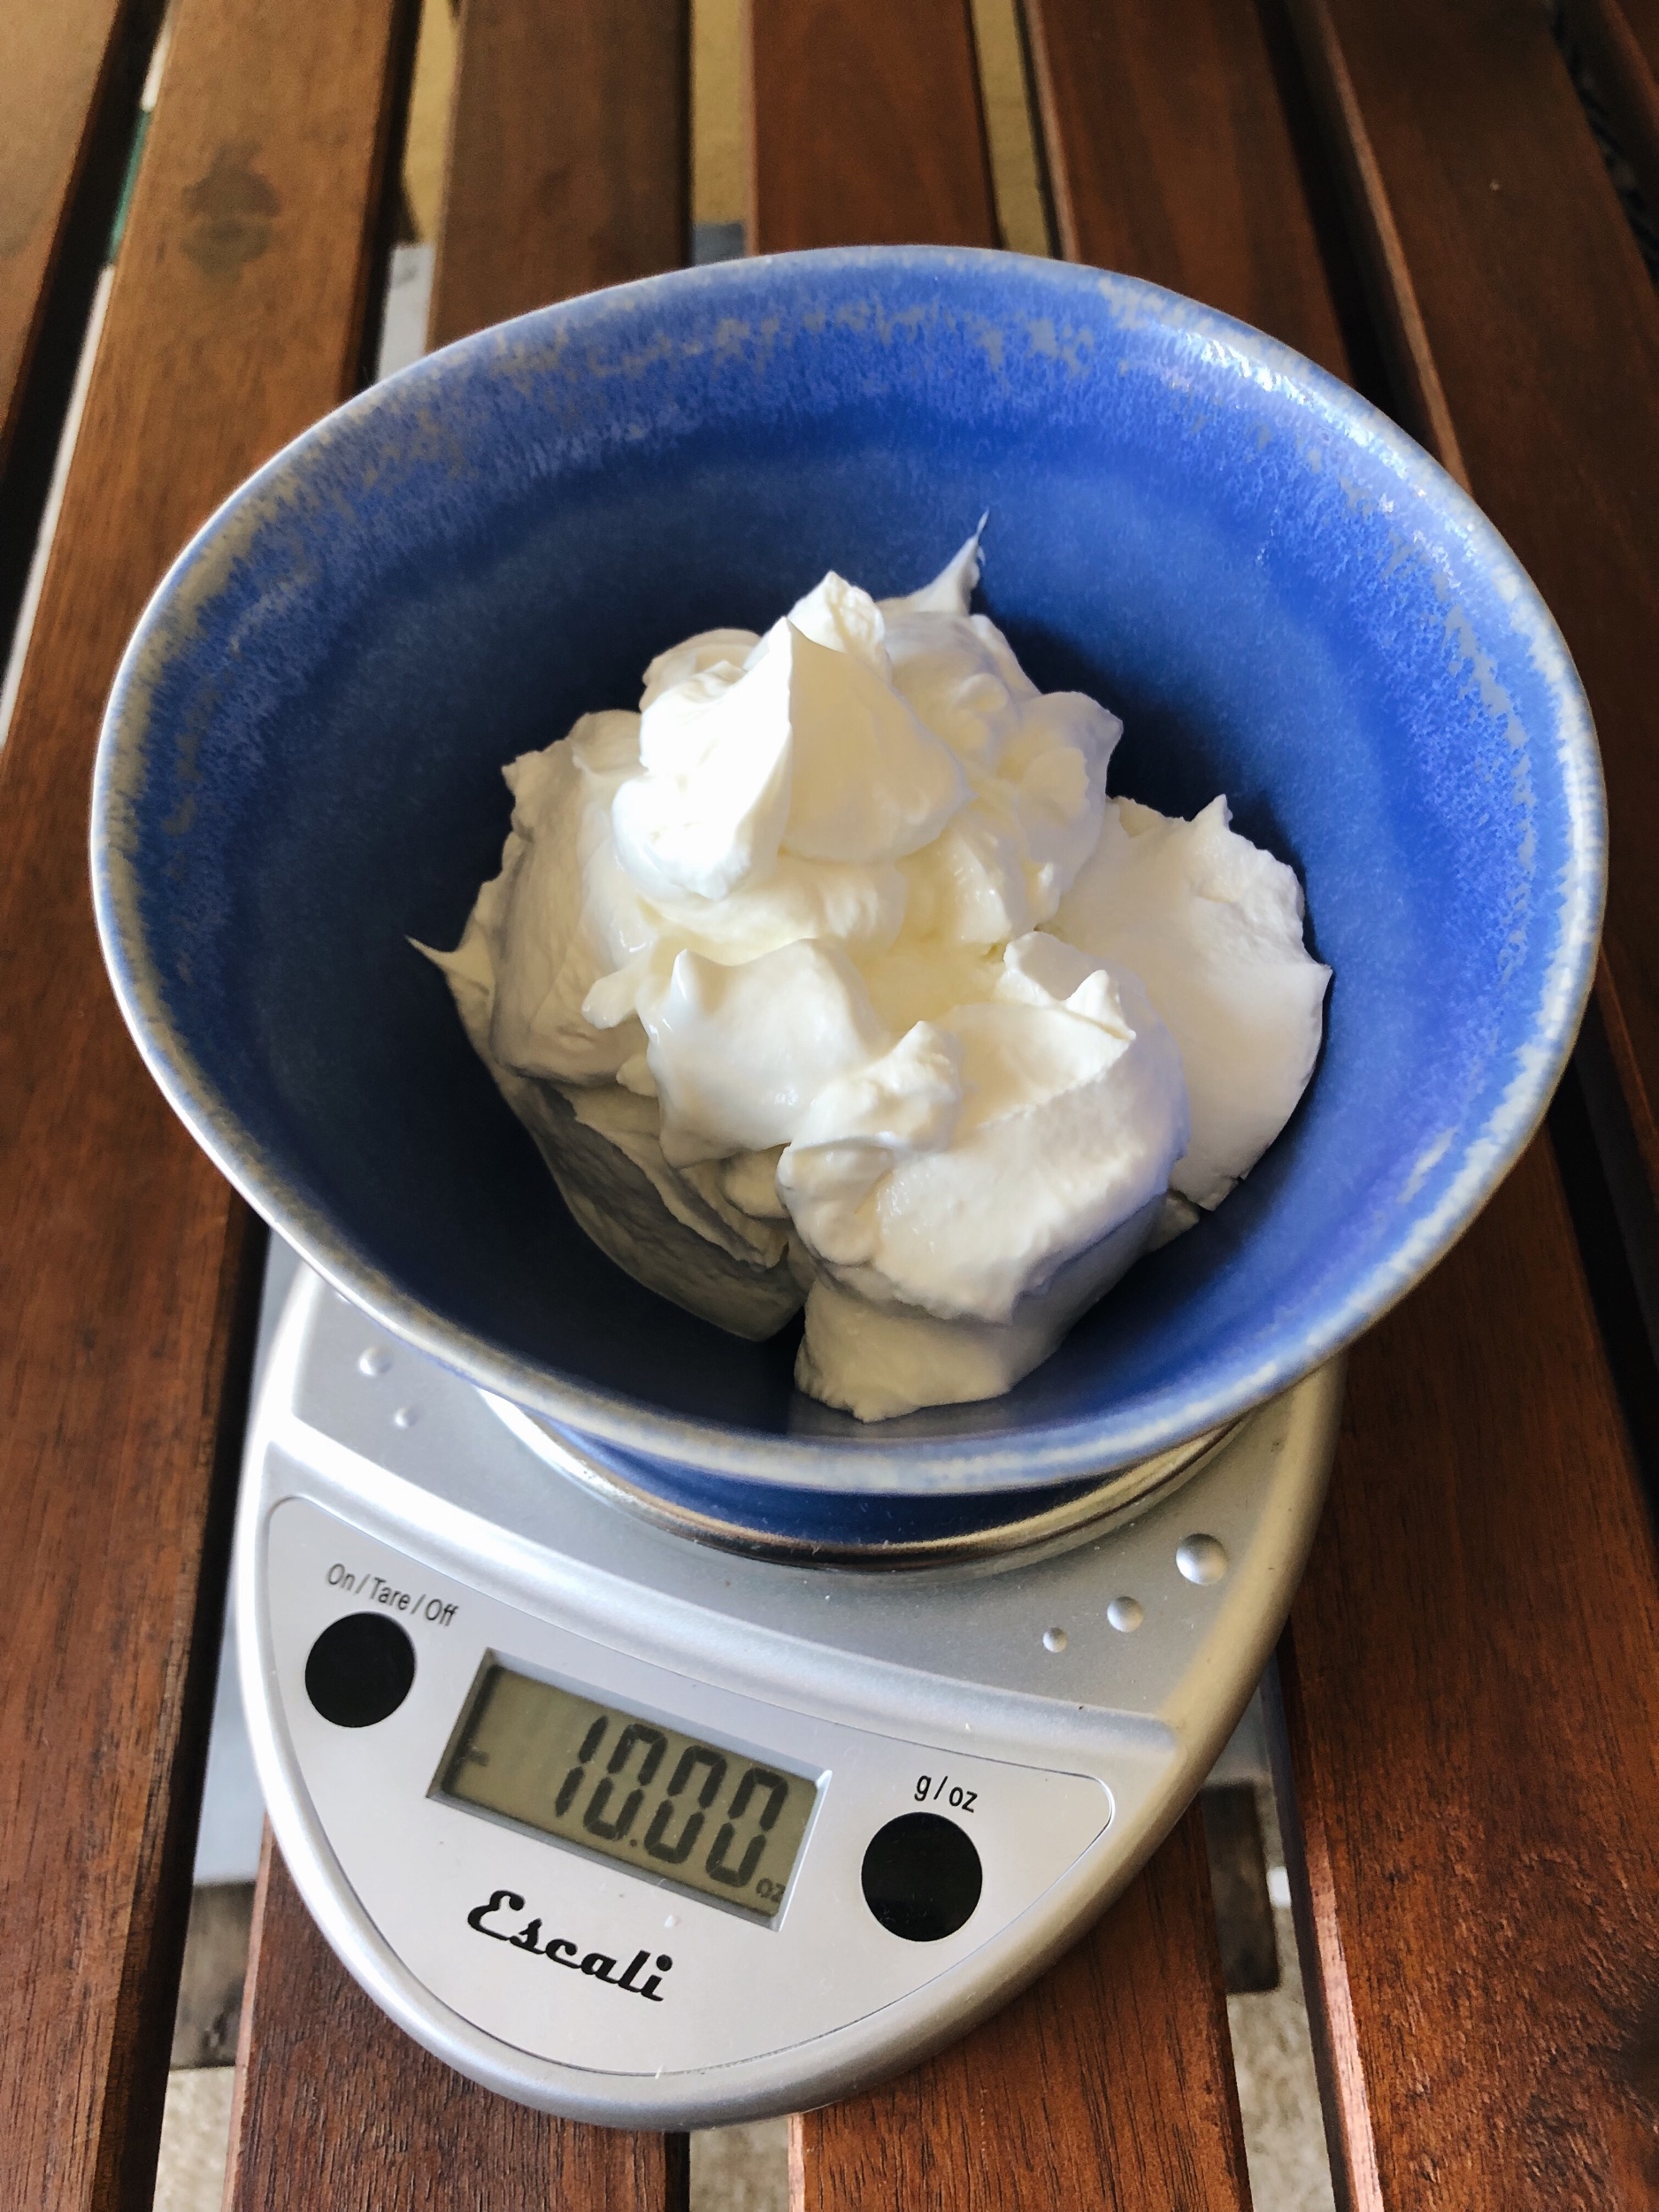
Once again, I am giving you the option to weigh out your ingredients in grams using a kitchen scale. David includes both options (weight and volume), as do I, so feel free to use either. This was my first time making the chocolate sorbet using the scale, and I gotta say that I think it yielded my best batch yet. Just saying! 

ALSO, if you're wondering about my ice cream cones, I simply dipped store-bought sugar cones into melted dark chocolate and sprinkled chopped pistachios on top. I thought it not only would look cute, but compliment the sorbet perfectly, especially since my favorite way to enjoy the sorbet is with pistachios.

Chocolate Sorbet

Yields about 1 quart

Recipe from David Leibovitz

IMG_1596.jpg

Ingredients

  • 2 1/4 cups filtered water

  • 1 cup (200 g) sugar

  • 3/4 cup (75 g) unsweetened Dutch-process cocoa powder

  • Pinch of salt

  • 6 oz. (170 g) bittersweet or semisweet chocolate, finely chopped (use a higher quality bar, not chips)

  • 1/2 tsp. vanilla extract

  • Flaky sea salt, chopped pistachios, for topping (optional)

Directions

  1. In a large saucepan, bring 1 1/2 cups of the water, the sugar, cocoa powder and salt to a boil over medium heat, whisking frequently. Let it boil for 45 seconds, as you continue to whisk it. If the mixture is about to boil over, quickly lower the heat!

  2. Take the saucepan off the heat and stir in the chopped chocolate. Once smooth, stir in the remaining 3/4 cup of water and vanilla extract.

  3. Pour the liquid into a blender and blend for 15 seconds (make sure to remove the small lid cap since it’s hot - hold a dishtowel or napkin over the top to prevent a mess). Transfer to a bowl, cover with plastic wrap, and refrigerate for at least 4 hours, or overnight.

  4. Before churning, give the mixture a mix with a whisk, since it’ll have firmed up in the fridge. Churn the mixture in your ice cream machine according to the manufacturer's instructions. Serve with flaky sea salt and chopped pistachios sprinkled on top, if desired. Enjoy!

CHOCOLATE CHUNK AND ORANGE POUND CAKE

public.jpeg

Since starting this blog about six weeks ago, I've been using it as an excuse to buy new kitchen/bakeware products that I've always wanted. This includes some new cake plates, a bundt cake pan, a set of offset spatulas to help with frosting cakes, etc. etc. Furthermore, with me being in charge of the desserts at my sister's upcoming wedding, I've been taking it as an opportunity to trade in my hand-me-down mismatched cake pans and upgrading to a set that hopefully will allow me to bake level and identical cake layers. 

One product that I recently purchased was a digital kitchen scale. Any good baker knows that weighing ingredients in either grams or ounces is the most efficient and accurate way when baking. But being in America where we don't use the metric system and measure our ingredients not by weight but rather by volume, we've just become accustomed to not using a scale. 

public.jpeg

The kitchen scale not only helps with the obvious aspect of properly measuring out ingredients - with flour at the forefront of ingredients that most bakers do not successfully measure out when using cups - but it also helps with dividing up batter for layered cakes. When I found out I would be baking my sister's wedding cake I decided to buy a kitchen scale. In the past, I would always eyeball the batter when dividing it between cake pans, mostly because I was just making a simple birthday cake and it wasn't that important to be identical, but the layers absolutely need to be perfect for a wedding cake.  

public.jpeg

This brings me to this very, very good pound cake. This past weekend I was scrolling through saved recipes on my computer when I came across this one. I love a simple pound cake and I especially love one that can be customized to whichever flavors you decide to choose that day. When I noticed that two of the ingredients (flour and sour cream) were given in ounces and not cups, I knew I had to test out my kitchen scale. The results were perfect, and I am going to safely say that I believe it is due to the scale... I read through the 60 or so comments on the recipe and it seems that those who didn't use the scale ended up having trouble with the recipe (or just had trouble in general).

public.jpeg

With that said, if you do not own a scale, I would suggest being very careful when measuring out your flour and sour cream - do not forget to properly spoon and level when measuring. But if you have no desire to go out and buy a scale, I provide measurements for both ingredients in cups. 

Also, if you aren't a huge fan of the combination of orange and chocolate, have no fear, you can take each of these ingredients out and either just have a plain pound cake (with whipped cream and strawberries) or you can substitute with nuts, dried cranberries, fresh berries, etc. You're the one baking here so you have the power to add whatever you want to it!

public.jpeg

Chocolate Chunk and Orange Pound Cake

Makes 1 bundt cake or 2 (9x5) loaves

Recipe adapted from Jodi Rhoden via Food52

Ingredients 

public.jpeg
  • Cooking spray or butter (for the pan)

  • 3 cups sugar (plus more for the pan)

  • Zest of 3 large oranges

  • 14.4 oz. (2 3/4 cups plus 2 tbsp.) all-purpose flour, sifted

  • 1 tsp. baking soda

  • 1 tsp. salt

  • 8 oz. (2 sticks) unsalted butter, room temperature

  • 6 large eggs, room temperature

  • 10 oz. (1 1/4 cups) sour cream, room temperature

  • 1 1/2 tsp. vanilla extract

  • 1 1/2 cups semi-sweet chocolate chips or chunks (mixed with 1 tbsp. of flour)

  • Confectioners' sugar, to finish (optional)

Directions 

  1. Preheat your oven to 350°F. Generously grease your bundt pan or loaf pans with cooking spray or butter, and coat the pan with a layer of sugar (much like you do with greasing and flouring a pan). Tap out the excess sugar.

  2. In a bowl, whisk together the flour, baking soda, and salt and set aside.

  3. In an another bowl, using your hands or a whisk, massage/mix the sugar and orange zest together until fragrant (this helps release the oils in the zest) and add to the bowl of a stand mixer fixed with the paddle attachment (or you can use a hand mixer). Add the butter, and cream together until it is light and fluffy. Scrape down the sides.

  4. Add the eggs, one at a time, making sure each one is fully incorporated before adding the next. Add the sour cream and vanilla and mix. Scrape down the sides again.

  5. Slowly add the flour mixture to the stand mixer and mix until the batter is smooth, but do not overmix. Fold in the chocolate chips or chunks with a spatula. *Reminder that the chocolate is tossed with 1 tbsp. of flour to prevent it from sinking to the bottom while baking.

  6. Pour the batter into your desired cake pan. If using a bundt pan, do not fill the cavity more than 2/3 full, to avoid the cake spilling out. If you have enough leftover batter, you can make cupcakes or even a single 6in. cake.

  7. Bake in the oven for just about 1 hour, or until a small serrated knife inserted in the center comes out clean. Allow the pan to cool for 10 minutes before turning the cake out. Dust with confectioners' sugar (if using) and enjoy!


DUTCH BABY PANCAKE

IMG_0312.jpg

On a Friday afternoon a couple of years ago, I was partaking in one of my favorite weekly traditions: watching a marathon of Diners, Drive-Ins and Dives ("Triple D" for the super fans) on the Food Network. Any fan of the Food Network knows that every Friday starting at 2pm Guy Fieri, the host of Triple D, graces your TV set for about 12 hours straight. Depending on my relationship status, I would watch somewhere between 2 episodes and... 10 (maybe even more, ugh). I've been a huge fan of the show for as long as its been airing and I literally never get sick of watching it, even if I've already seen the episode numerous times. A lot of people don't really take Guy seriously or think that I'm being ironic by saying that I like him, but I genuinely think he's a great guy (pun intended) with an awesome personality. 

IMG_0239.jpg

My point of bringing up Triple D is that it is where I was introduced to the Dutch baby. In one episode, Guy is visiting a diner in Berkeley, California where they specialize in all kinds of pancakes but their signature is a souffle pancake. Guy had never heard of such a thing and asked the diner patrons if they had either.,, they hadn't but one diner said it had reminded her of a Dutch baby. Even though the souffle pancake looked pretty interesting, I immediately looked up what a Dutch baby was and found myself baking it that very same weekend. Thanks, Guy!

IMG_0301.jpg

A Dutch baby, also known as a German pancake, is essentially a big puffed pancake that is cooked in the oven in a skillet. In my opinion, I actually think it is easier to make than a whole batch of pancakes on the stovetop - with a Dutch baby you don't have to keep an eye on it as much. What's also great about it is that you can customize it to your own liking with not only how you finish it (powdered sugar, mixed berries, jam, maple syrup. lemon juice, etc.), but you can also add fruit, nuts, chocolate chips, etc. to the batter just like you would with regular pancakes. I made a peach Dutch baby last summer and it was nothing short of amazing.

IMG_0298.jpg

I wanted to give the recipe for a Dutch baby now because like I said in my previous post, I'm focusing on Mother's Day-friendly dishes this week. A Dutch baby is absolutely perfect if you are planning on throwing a brunch together for the mother figure in you life. Each Dutch baby is enough to serve about 4 people, so it would be a perfect sweet addition to a quiche, eggs Benedict, etc. Much like a pancake, this dish is best eaten immediately so I would only suggest making it if you plan on serving it straight from oven to table. But if you plan on trekking to your mom's house for the holiday, just make your mom go watch an episode of the Real Housewives or Triple D (we've come full circle here) and you'll be surprising her with a beautiful, puffy pancake by the time the show is over.  

Note for the Dutch baby: in order to ensure that your pancake puffs up significantly, have your milk and eggs at room temperature. The best part of a Dutch baby (besides eating it) is pulling it out of the oven to see how much its risen. Each one is unique looks-wise, but always has the same delicious flavor. 

IMG_0345.jpg

Dutch Baby Pancake

Serves about 4

Recipe adapted from NYT Cooking

Ingredients

IMG_0294.jpg
  • 1/2 cup milk (whole or 2%), room temperature

  • 1/2 cup all-purpose flour

  • 3 large eggs, room temperature

  • 1 tablespoon sugar

  • 1/2 tsp. vanilla extract

  • Pinch of nutmeg

  • 2-3 tbsp. unsalted butter

  • Maple syrup, mixed berries, confectioners' sugar, jam, lemon juice, to finish (all good options, choose whatever you want!)

Directions

  1. Preheat oven to 425°F.

  2. In a bowl, whisk together the milk, flour, eggs, sugar, vanilla extract, and nutmeg. Set aside.

  3. Place the butter in a skillet (10-12 inches in size) and put it in the oven until the butter is melted (careful not to let it burn).

  4. Pull the skillet out and immediately pour the pancake batter over the melted butter and put back into the oven. Bake for 15 to 20 minutes, or until the pancake is golden brown.

  5. Finish with your toppings of choice - maple syrup, berries, confectioners' sugar, jam/preserves, lemon juice, etc. Enjoy!